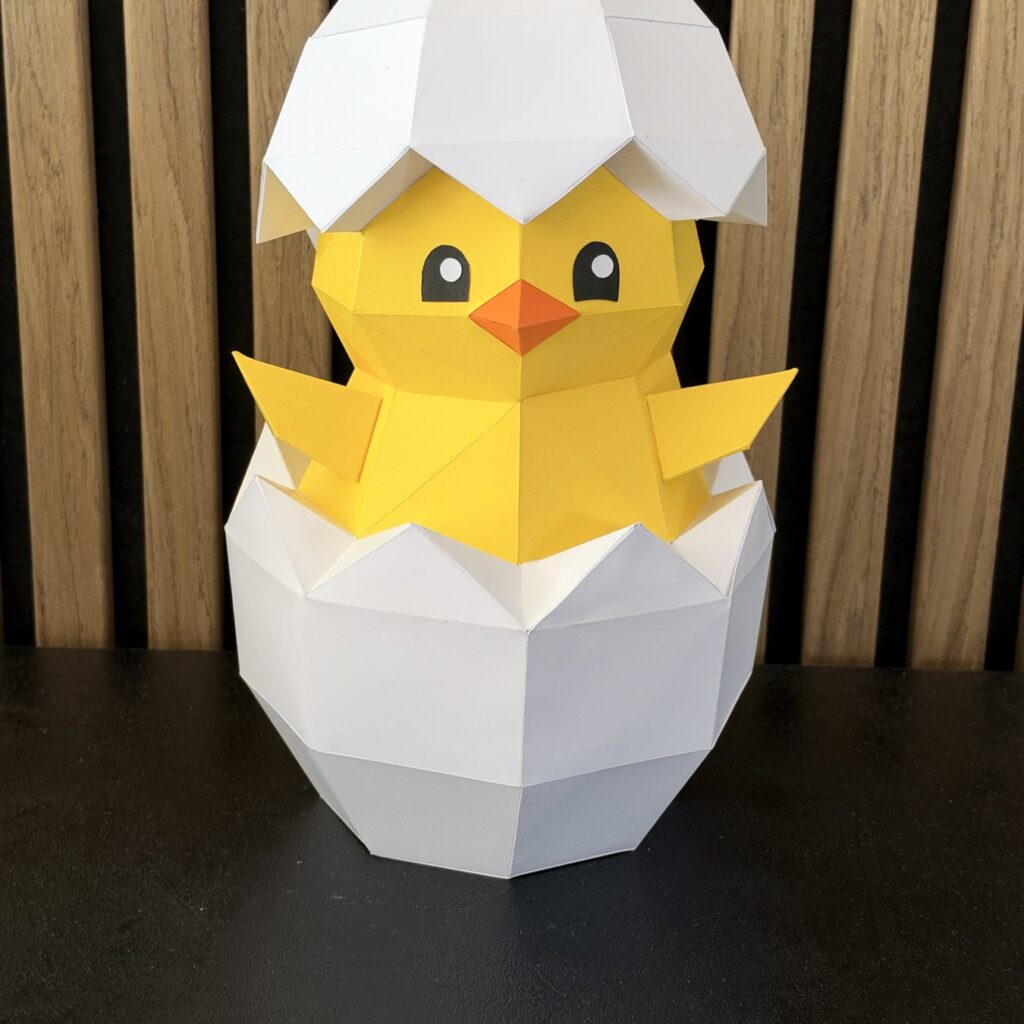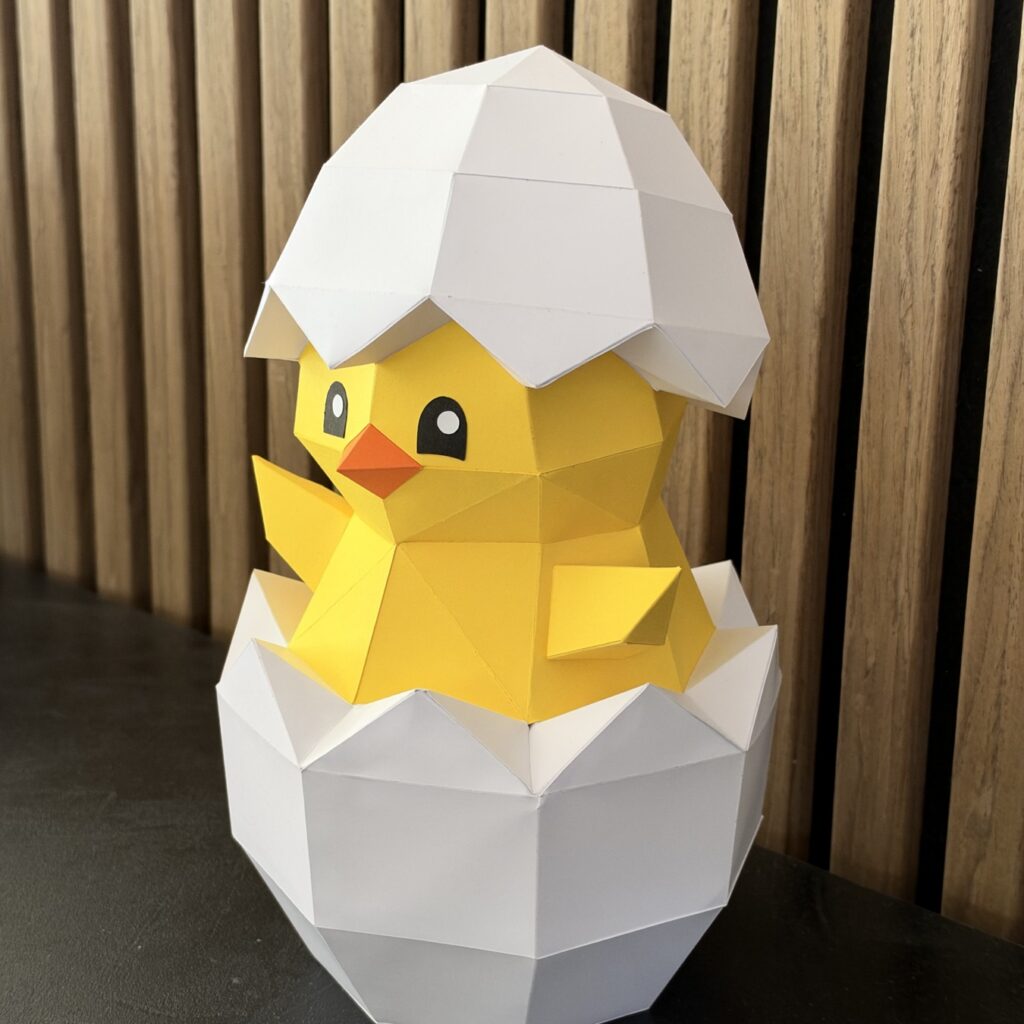
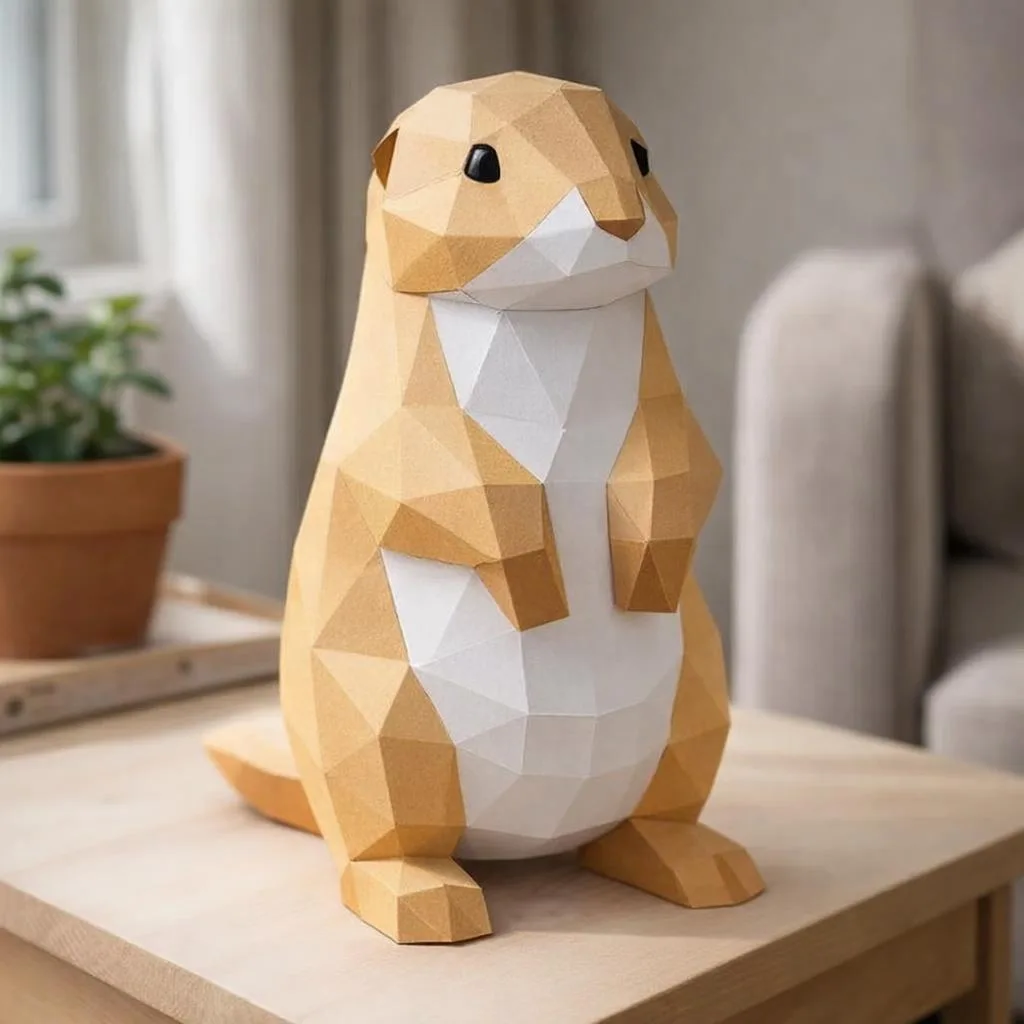
Want to make a 3D origami rabbit at home, without getting lost in vague explanations or ruining an entire sheet on your first try? Good news: this project is much more accessible than it looks. With the right template, suitable paper and a simple method, you can create a truly lovely decorative piece in just a few hours, even if you are a beginner. Whether it is for a child’s bedroom, an Easter table, a handmade gift or simply the pleasure of assembling a beautiful object, I will guide you step by step to choose, prepare and successfully make your 3D paper rabbit with a clean, sturdy and truly satisfying result.
3D origami rabbit: what exactly are we talking about?
To compare techniques, read this guide on the art of kirigami.
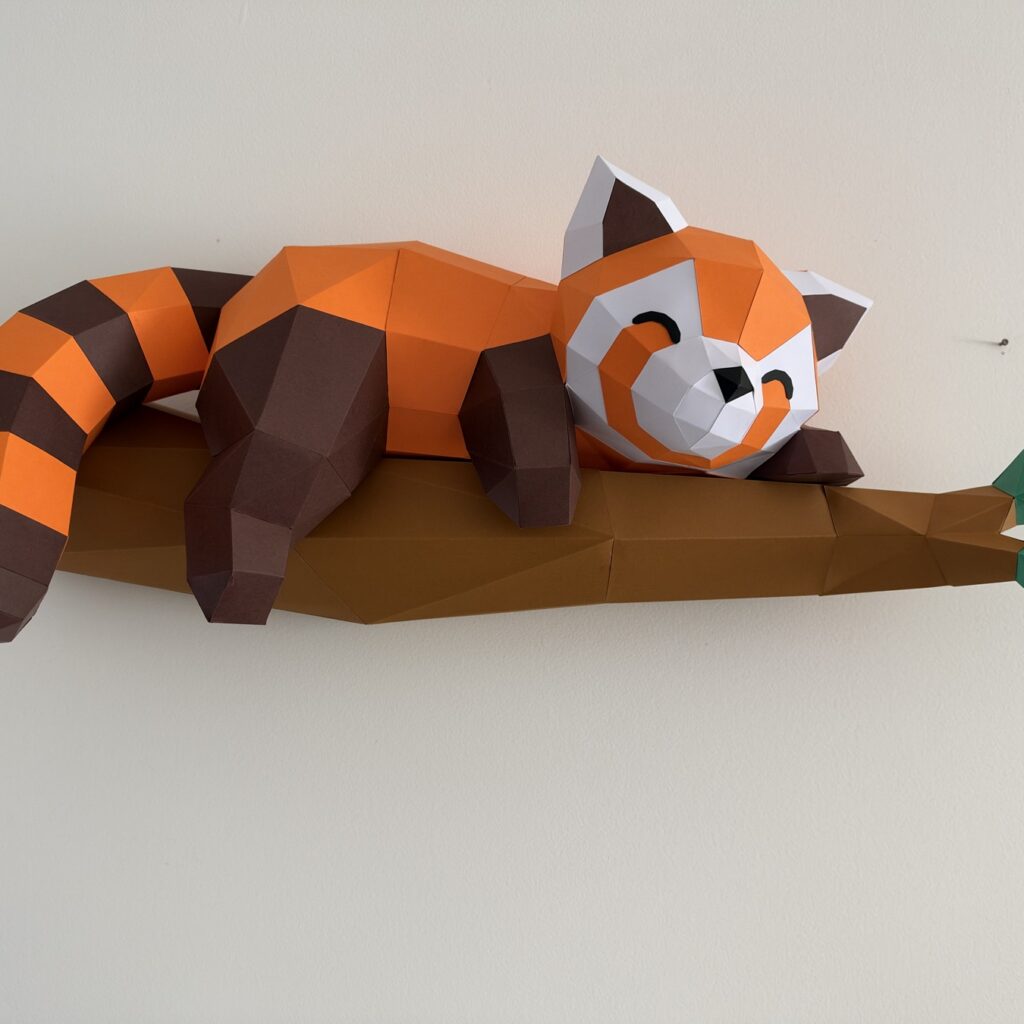
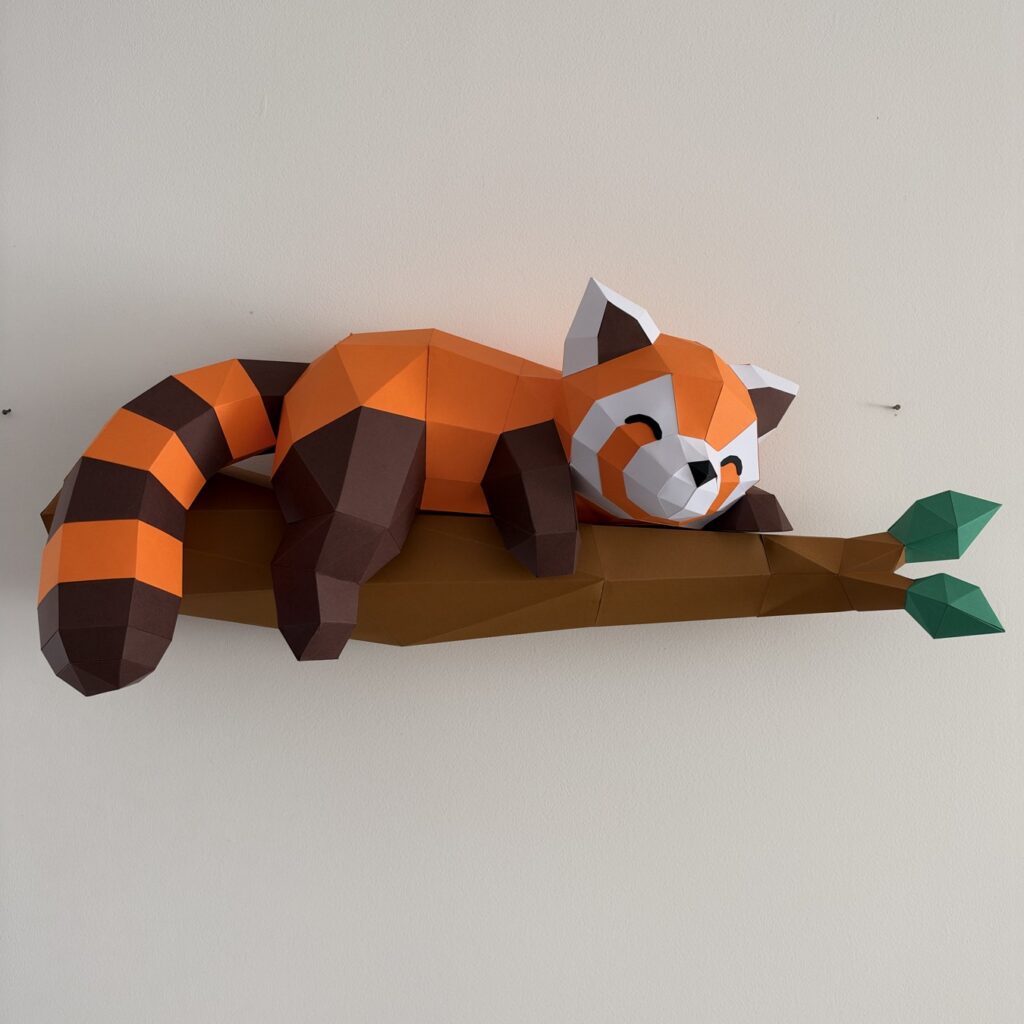
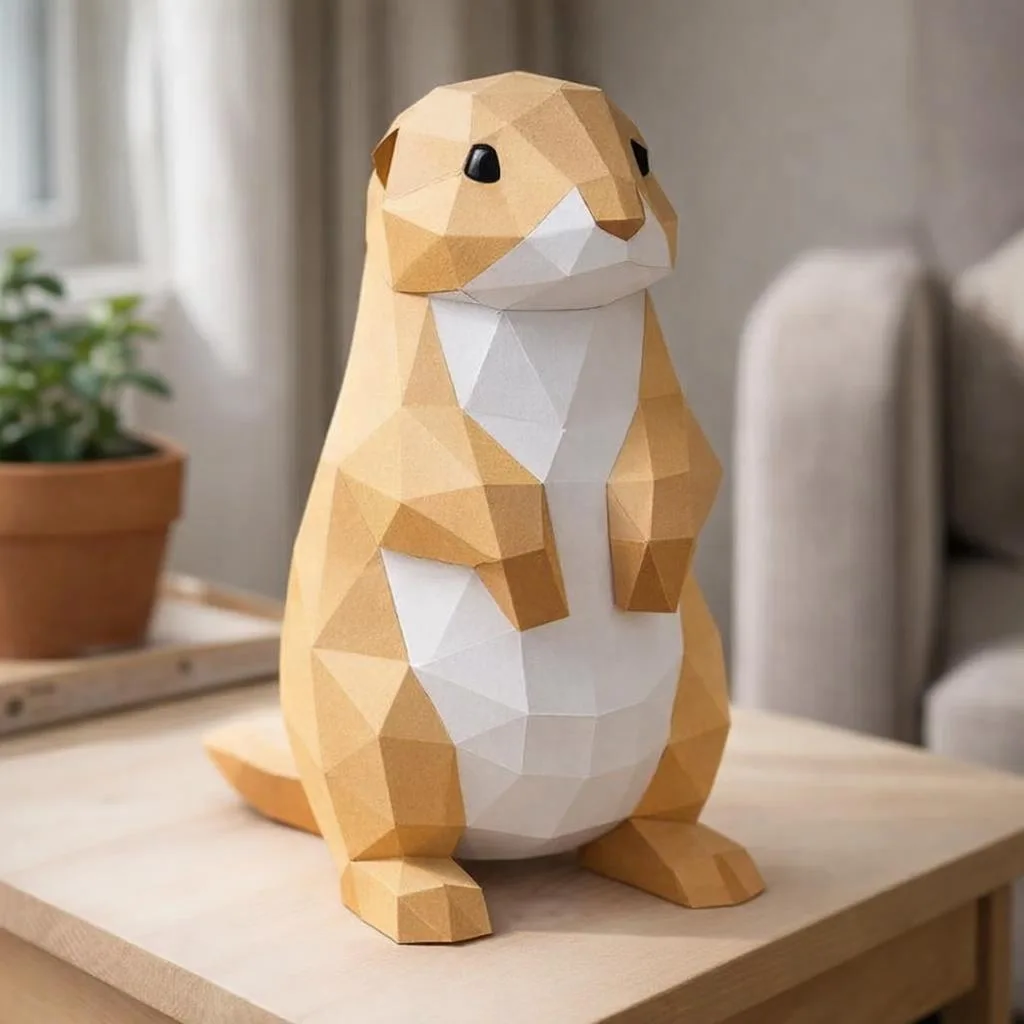
When we talk about a 3D origami rabbit, we most often mean a papercraft model: a paper creation made up of printed, cut, folded and then glued pieces that form a volume. So it is not traditional origami in the strict sense, which is normally made from a single sheet without cutting or glue.
In practice, the 3D rabbit origami you see as wall decor, a tabletop figurine or a faceted sculpture very often belongs to the world of papercraft. The finish is geometric, crisp, modern and, above all, much more varied in shapes and sizes. For a more impressive piece in the same faceted style, also take a look at these wall decor ideas with an origami lion.
This type of project has several advantages:
- it allows you to achieve a voluminous and stable result;
- there are very progressive levels, from beginner to advanced;
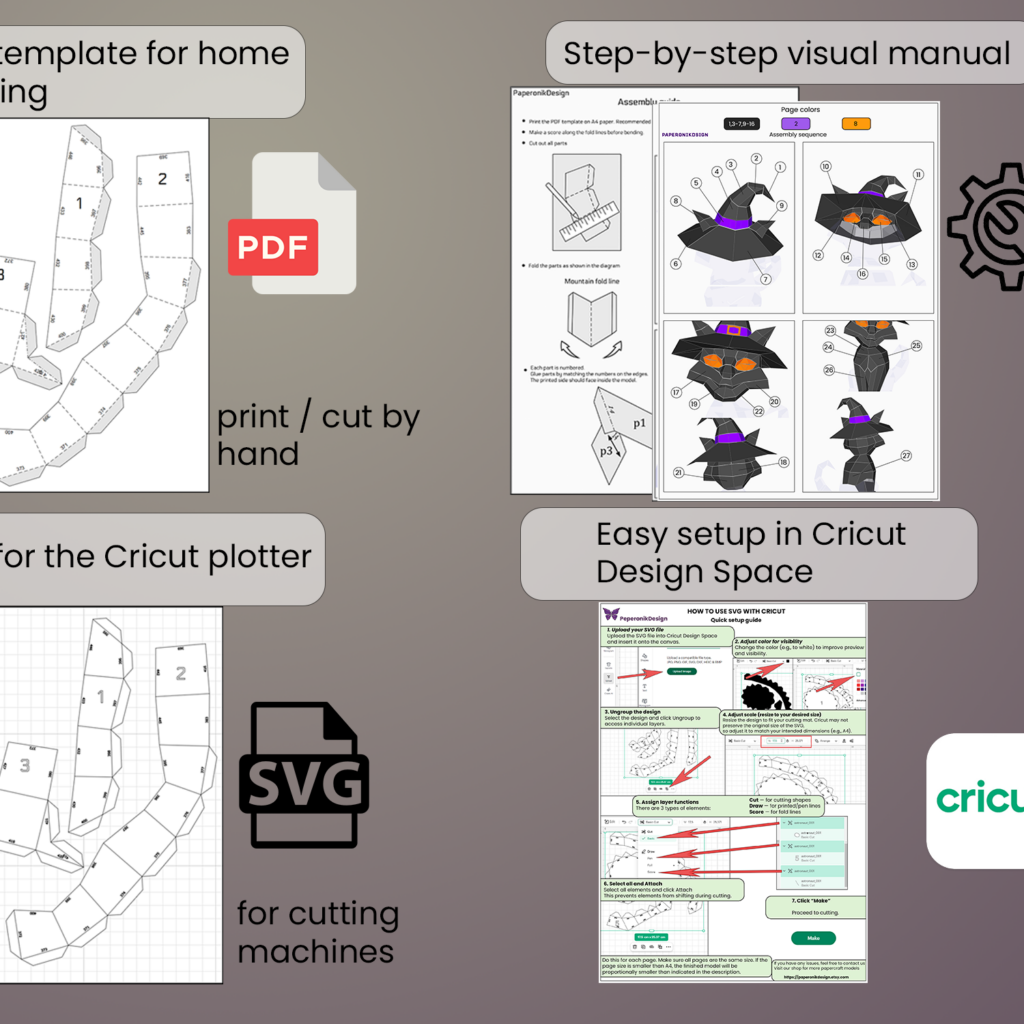
- you can print at home or choose a ready-to-assemble kit;
- the final result really makes an impact in a room.
If you love paper animals, you can also explore the 3D paper animal origami collection to compare shapes, sizes and difficulty levels before getting started.
Why a 3D paper rabbit is an excellent DIY project
The rabbit is one of the most enjoyable models to make. It has an instantly recognizable silhouette, soft volumes, and it works with many decor styles. It is also a reassuring shape for beginners: ears, head, body, paws… each part is easy to identify during assembly.
Decor that works all year round
Of course, the papercraft rabbit is perfect for Easter. But it is not limited to that season. In white, beige, powder pink or light gray, it easily finds its place in a child’s bedroom, on a shelf, in an entryway or even in the middle of minimalist decor.
A handmade gift that truly stands out
A 3D paper rabbit can also become a very touching gift. You can personalize it with a color the person likes, add a name on the base, or choose a symbolic model such as a rabbit with a heart. It is more personal than a ready-made object, and it shows that you took the time to create something with your own hands.
An accessible project in terms of time and budget
For a small model, allow between 1 hour 30 minutes and 3 hours of assembly if you are a beginner. An intermediate model usually takes 3 to 5 hours. Budget-wise, a printable PDF version remains very affordable, especially if you already have glue, scissors and a ruler at home.
How to choose the right printable paper rabbit model
The best choice depends on your skill level, the time you want to spend on it and the final use. Not all rabbits tell the same visual story.
- The sitting rabbit: this is often the most reassuring shape for beginners, with a stable base and fairly intuitive assembly.
- The standing rabbit: taller and slimmer, a little more delicate to balance, but very elegant as seasonal decor.
- The heart rabbit: ideal for a cute gift, romantic decor or a personalized gesture.
- The large rabbit: perfect if you want a real statement piece in a bedroom or living room corner.
- The paper kit: practical if you do not have a printer or if you want to save time on preparation.
If you want to start without pressure, I honestly recommend the free sitting 3D origami rabbit model. It is an excellent entry point for understanding how tabs, numbers and folds work without jumping into a structure that is too complex.
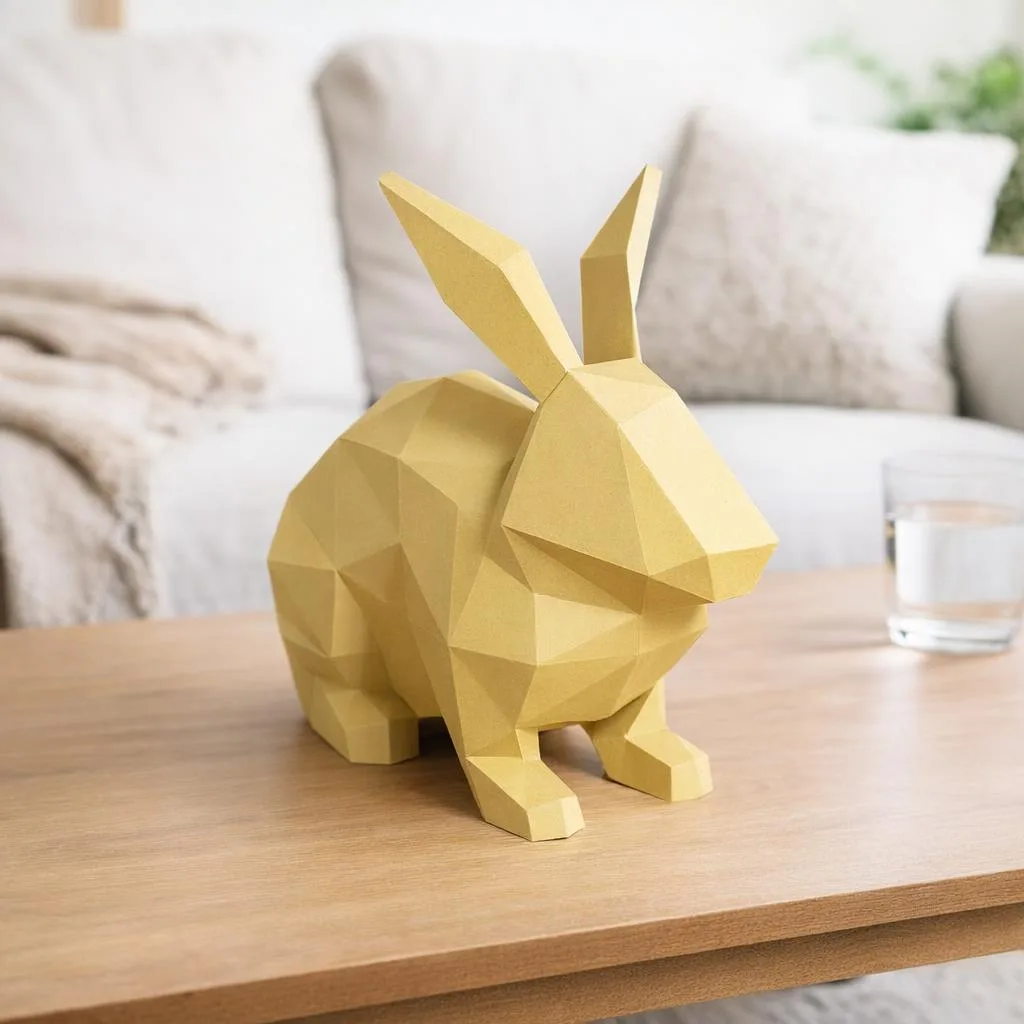
If, on the other hand, you want a more spectacular result, take a look at the large 3D origami rabbit, which quickly becomes a beautiful decorative piece. And to browse several styles, sizes and poses, you can also explore the papercraft / 3D origami rabbit collection.
My simple advice: first choose a model between 10 and 25 sheets maximum if you are a beginner, with few tiny pieces. You will enjoy finishing an accessible project much more than abandoning an oversized model one-third of the way through assembly.
The ideal materials for a clean and sturdy result
The secret to a beautiful 3D paper rabbit is not just the model: it is also the materials. Poor paper or glue that is too liquid can make an otherwise simple build much more complicated.
The right paper
For most models, aim for paper between 160 and 220 g/m².
- 160 g/m²: good for small models, easier to fold.
- 180 g/m²: an excellent compromise for most rabbits.
- 200 to 220 g/m²: great hold for large volumes, but requires more careful folds.
Below 120 g/m², the model often becomes too flexible. Above 250 g/m², you may struggle with folding, especially on small tabs.
Useful tools
- a pair of precise scissors or a precision craft knife;
- a metal ruler;
- a tool for scoring folds: bone folder, empty pen or the back of a craft knife;
- white glue with a reasonable setting time or a clean gel glue;
- fine tweezers to hold certain tricky areas;
- a cutting mat if you use a craft knife.
Avoid using too much very runny glue: it warps the paper and quickly stains the edges. A thin layer on the tab is almost always enough.
The step-by-step method for a successful 3D rabbit origami
Here is the most reliable method for achieving a neat result, even if this is your first printable paper rabbit model.
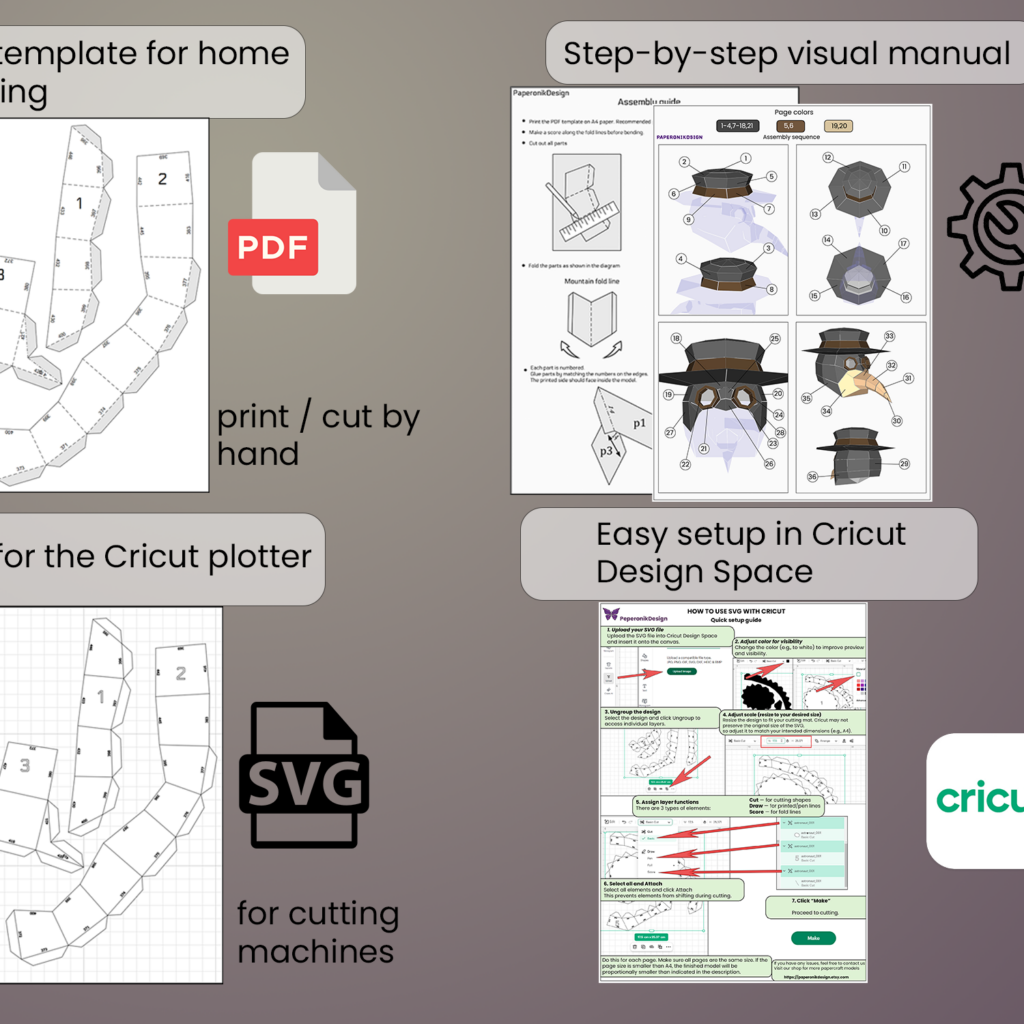
- Print the pages at 100%
Do not activate the “fit to page” option if the model includes precise markers. A slight change in scale can distort the assembly. - Sort the sheets before cutting
Look at the overall logic: head, ears, body, base. This overview will save you time later. - Cut the pieces neatly
Take your time on the angles. Clean cuts create nicer edges and make gluing easier. - Score all folds before assembly
This step is too often overlooked. By scoring the fold lines, you get a more precise volume and put much less strain on the paper. - Pre-fold mountain and valley folds
Follow the fold direction indicated on the template. If you reverse several folds, the piece loses its shape and assembly becomes frustrating. - Assemble the numbered tabs in order
Use little glue, press for a few seconds, then let it set before pulling on the next piece. The most comfortable way is to progress in small areas: muzzle, head, back, belly, base. - Close the volume only at the end
On many models, it is easier to keep an opening so you can insert your fingers and press the internal tabs. - Check the finishing touches
Wipe away any glue mark, gently reshape an edge, then let it dry completely flat or in a stable position.
Realistic times:
- small beginner rabbit: 1 hour 30 minutes to 2 hours 30 minutes;
- intermediate model: 3 to 5 hours;
- large decorative rabbit: 5 to 8 hours, sometimes more depending on your pace.
My comfort tip: do not try to finish in one session if the model is long. Two or three 45 to 90 minute sessions often give a much cleaner result than a gluing marathon.
Common mistakes to avoid and the prettiest customization ideas
Most failed attempts come from very simple details. Fortunately, they are easy to correct when you anticipate them.
Classic mistakes
- Choosing paper that is too thin: the rabbit sags or creases too quickly.
- Cutting too quickly: an imprecise piece causes misalignments throughout the whole volume.
- Forgetting to score the folds: the edges become soft and uneven.
- Using too much glue: it warps, smears, and the tabs slide around.
- Wanting to go too fast: it is better to let it set for 15 to 20 extra seconds than to redo an entire area.
Simple ideas to personalize your papercraft rabbit
Once the assembly is finished, you can really have fun. The simplest option is to play with the paper color from the printing stage. Off-white gives a Scandinavian look, nude pink softens the object, and light kraft adds a more natural style.
You can also:
- add a small cotton pom-pom for the tail;
- glue the rabbit onto an oval base made from thick cardboard;
- write a name or date on the back;
- create a parent-child duo with two different sizes;
- compose a scene with dried flowers, decorated eggs or a fine string light.
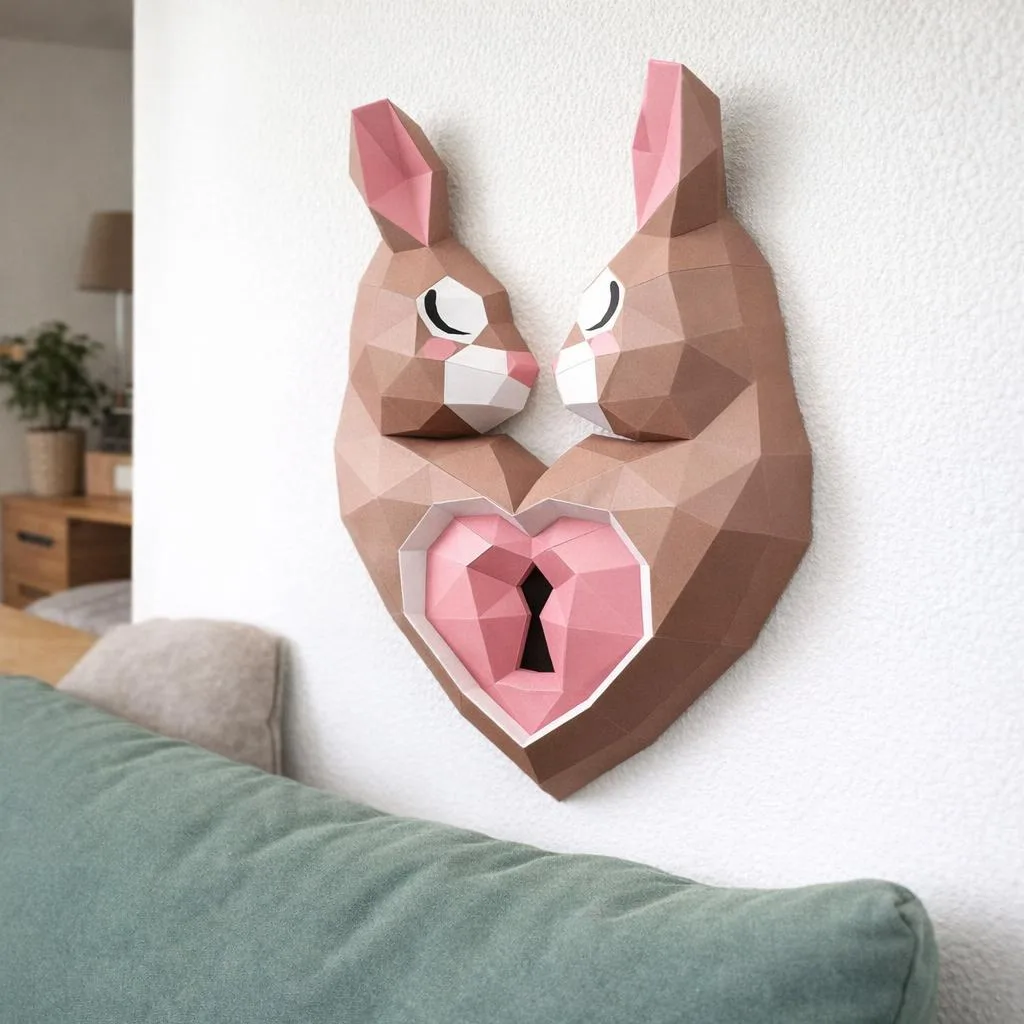
For a gift, the model with a heart is particularly successful: it works very well for Valentine’s Day, a cute declaration, a birth gift or a little love note slipped inside the heart before final assembly.
Where should you place your rabbit once it is finished?
Your 3D paper rabbit deserves better than a forgotten corner on a piece of furniture. Since it catches the light beautifully thanks to its facets, place it somewhere its volumes will be visible.
- on a dresser in a child’s bedroom;
- in the center of an Easter table with a few natural elements;
- on a wall shelf in a softly styled living room;
- in a creative display case with other paper animals;
- on a desk for a poetic and graphic touch.
Simply avoid damp areas, prolonged direct sunlight and places where the object will be handled often. Paper remains sturdy, but it likes peace and quiet.
Frequently asked questions
Is a 3D origami rabbit suitable for a complete beginner?
Yes, provided you choose a simple model with few pieces and a stable shape. A sitting rabbit is often the best starting point. Allow about 2 hours for a first build, taking your time.
What paper weight should I choose for a 3D paper rabbit?
The most versatile range is between 160 and 220 g/m². For beginners, 180 g/m² is often ideal: rigid enough to hold well, but still comfortable to fold and glue.
Do I need a special printer for a printable paper rabbit model?
No, a home printer is enough in most cases. Just check that it accepts the paper weight you choose. If your printer struggles above 200 g/m², stick to 160 or 180 g/m².
How long does it take to assemble a papercraft rabbit?
For a small, easy model, allow between 1 hour 30 minutes and 3 hours. An intermediate model can take 3 to 5 hours, and a large format 5 to 8 hours depending on your experience and pace.
What glue should I use to avoid marks?
A small amount of white glue or a precision gel glue works very well. The most important thing is to use very little and press the tab neatly for a few seconds before continuing.
Can this type of rabbit be made with children?
Yes, but with some adjustments. Children can help with simple folding, matching the numbers or the final decoration. Precise cutting and certain gluing areas are still better handled by an adult.
What is the difference between 3D rabbit origami and classic origami?
Classic origami is normally made from a single folded sheet, without glue or cutting. The 3D origami rabbit sold as a PDF or kit most often falls under papercraft: several pieces to assemble in order to create a more complex volume.
Conclusion: a simple, rewarding and truly decorative project
Creating a 3D origami rabbit is the kind of DIY project that immediately brings real satisfaction: you start with flat sheets, and a few hours later you have a beautiful sculptural object, light and full of charm. By choosing a model suited to your level, paper with the right weight and a calm assembly method, you give yourself every chance of succeeding on the first try. And once your first rabbit is finished, there is a good chance you will want to assemble a second one.
If you want to get started without spending hours searching for the right file, discover our rabbit models and ready-to-assemble kits on Papercraft-3D.com to create handmade decor or a gift with real style free shipping from €69 to France and across Europe, including Switzerland.