The paper workshop
A mountain landscape to cut, layer after layer. Download the template and build your paper frame.
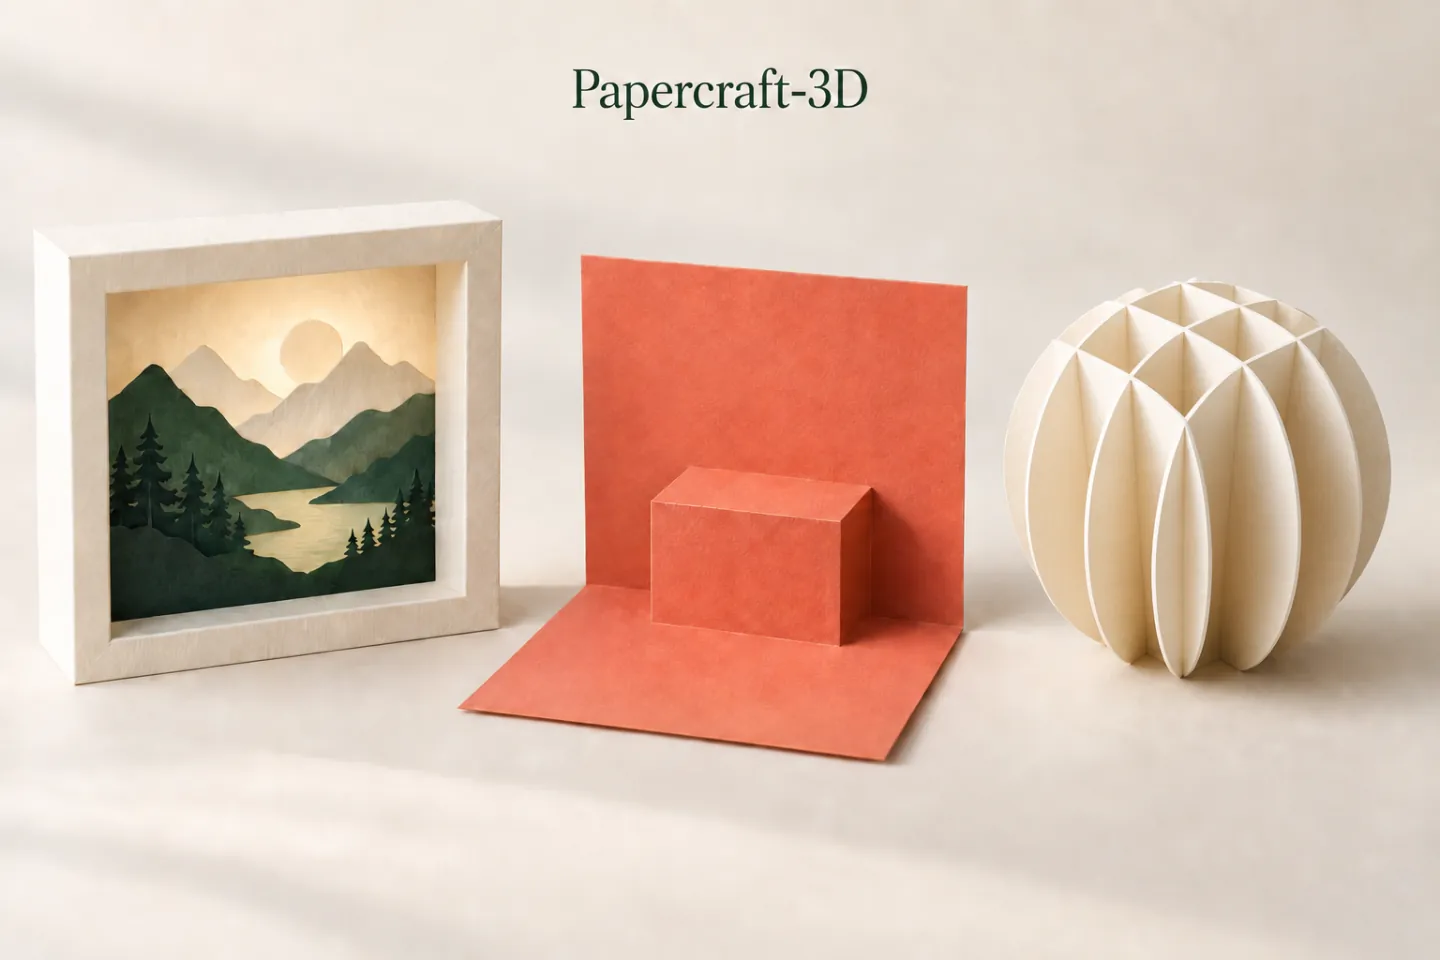
This free paper lightbox template lets you build a layered light picture from a PDF or a set of cut-ready SVGs. This page details the pack contents and how to choose the right format before printing or cutting.
What the free lightbox pack contains
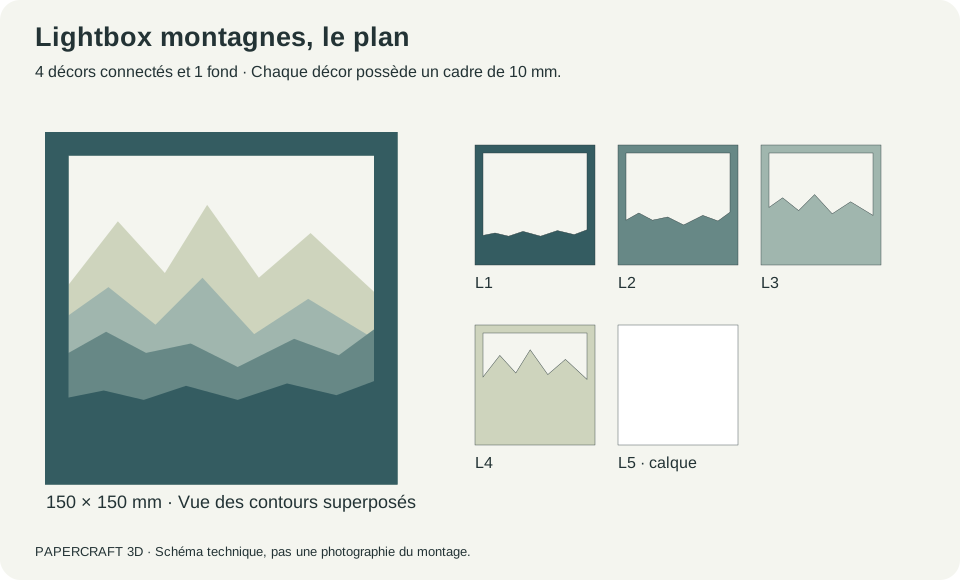
The template is designed for 150 x 150 mm square paper pieces, outer size. It includes four connected decorative layers, meaning motifs whose parts stay joined with no loose islands, plus a solid L5 back to cut from tracing paper so light can diffuse. These five pieces come both as a print-ready PDF and in a ZIP with the five SVG layers, an all-in-one file to ungroup, a calibration square and a note.
The frame itself is not included, nor is a light source. You choose your own frame and, if you want, your own lighting depending on the effect you want.
Does the pack include a frame or lighting?
No. The file only supplies the motifs to cut. The frame, spacing accessories and any LED lighting are up to you, which leaves a lot of freedom for the final look.
PDF or SVG: which format to choose
The PDF is calibrated for A4 printing at 100%, with no automatic scaling from your printer. It contains labels that identify each layer and its stacking order, which helps before a manual cut with a craft knife.
The cutting SVGs contain only the piece outlines, with no labels or text to cut. The ZIP also includes the note and a calibration square. It is meant for direct use in cutting software, where layers are identified by filename rather than a visual mark on the motif.
| Format | Use it to | Check before cutting |
|---|---|---|
| PDF A4 | Print the sheets and cut by hand | Print at 100%, 50 mm control bar |
| SVG in the ZIP | Import the outlines into a cutter | Each layer must measure 150 × 150 mm |
Understand the cuts before printing
Each decorative layer is built to stay in one piece after cutting. Before you start, spot the finest areas on the PDF: they are more fragile when you weed the backing paper and need a slow cut, especially with a craft knife.
The solid back has no internal cut, only its square outline. Cut from tracing paper, it diffuses the light behind it. Opaque paper in that place would block the backlight.
The stacking order on the PDF matches the intended visual depth: the layer closest to the viewer usually carries the most detailed motif, while later layers add broader masses and the background. For this template, follow L1, L2, L3, L4 then L5: the mountain lines were drawn to read in that order.
Size and compatibility of the square frame
The template is sized for a frame whose usable opening takes a 150 x 150 mm outer square. If your frame opening is different, scale proportionally before printing, which also changes how fine the thinnest cuts become.
The square format also helps alignment while stacking: the four corners of the frame are visual references to line up each motif before gluing, which limits shifts once every layer is in place.
Using the SVG with an electronic cutter
To import the cut shapes into Cricut Design Space, Cricut’s official help confirms SVG support and no PDF import. The SVG supplied keeps the vector outlines of the layers. See their help page on importing images into Design Space.
Before any cut, always check the imported file width in your software: a badly calibrated import changes every layer at once. For converting papercraft templates in general, see our page on converting papercraft files for Cricut.
Where to find the full assembly tutorial
This page covers only the file and its contents. For layer-by-layer assembly, inner frame spacing and choosing a decorative or lit build, go to our paper lightbox assembly tutorial.
Also check finishing accessories in our papercraft accessories collection before you start.