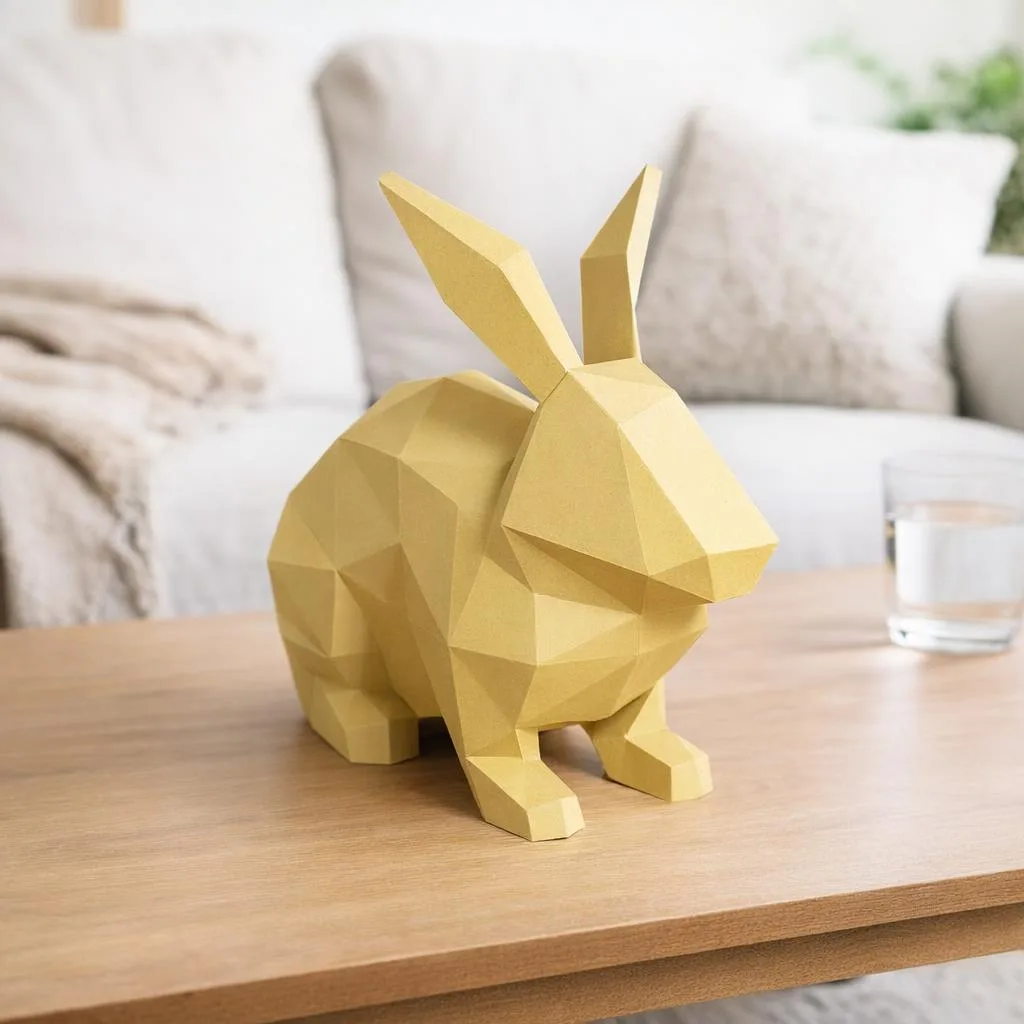
This is a free, non-commercial tutorial for making a small 3D papercraft rabbit from a printable template. Use it when you want a simple weekend paper craft: download the free model, print it at home, cut the pieces, fold the numbered edges and glue the shape together.
Free printable template
The model used in this tutorial is the Free 3D origami papercraft sitting rabbit. Open the free model page, add the template to your download list and print the PDF on standard paper or cardstock.
Download the free rabbit papercraft PDF
No commercial claim is made on this tutorial page: it is a free craft guide built around a free printable model.
What you need
- Printed rabbit template PDF, preferably on 160-220 gsm paper for a cleaner 3D shape.
- Scissors or a craft knife, used carefully on a protected surface.
- A ruler or scoring tool to prepare straight folds.
- Paper glue or a small glue stick.
- A little patience: papercraft looks much cleaner when each fold is pre-scored before gluing.
Step-by-step assembly
- Print the template at 100% scale. Avoid “fit to page” if your printer dialog changes the size automatically.
- Cut around the outer lines. Keep every flap attached to its matching shape; the small tabs are what hold the model together.
- Score before folding. Run a ruler or scoring tool along the fold lines so the rabbit keeps crisp edges.
- Fold all tabs first. Preparing every flap before adding glue makes the assembly smoother.
- Glue from the inside out. Start with the central body pieces, then close the visible surfaces once the shape is stable.
- Let each section dry. Hold larger joins for a few seconds before moving to the next tab.
- Finish the ears and base. Align the last visible edges slowly; this is what gives the final rabbit a neat silhouette.
Beginner tips for a cleaner result
- Dry-fit the first pieces before applying glue so you understand the direction of the folds.
- Use less glue than you think; excess glue can soften the paper and mark the surface.
- If a flap is hard to reach, use the end of a pencil to press gently from the inside.
- For a gift or classroom activity, print one test page first to check the paper thickness and colors.
Internal links for more free paper craft ideas
If you want another printable model after this rabbit, browse the free papercraft templates to print. For similar animals, the 3D origami rabbit collection and the broader 3D origami animals collection are the most relevant starting points.
FAQ
Is this rabbit papercraft really free?
Yes. The tutorial links to a free printable rabbit papercraft model on Papercraft-3D.
Can children make it?
Children can help with folding and decorating, but cutting tools and glue should be supervised by an adult.
Which paper works best?
Regular printer paper works for a quick test. For a sturdier 3D object, cardstock gives sharper folds and a better final shape.
Ready to start? Open the free 3D rabbit papercraft template, print it, and keep this tutorial beside you while assembling the model.