| Key idea | Details |
|---|---|
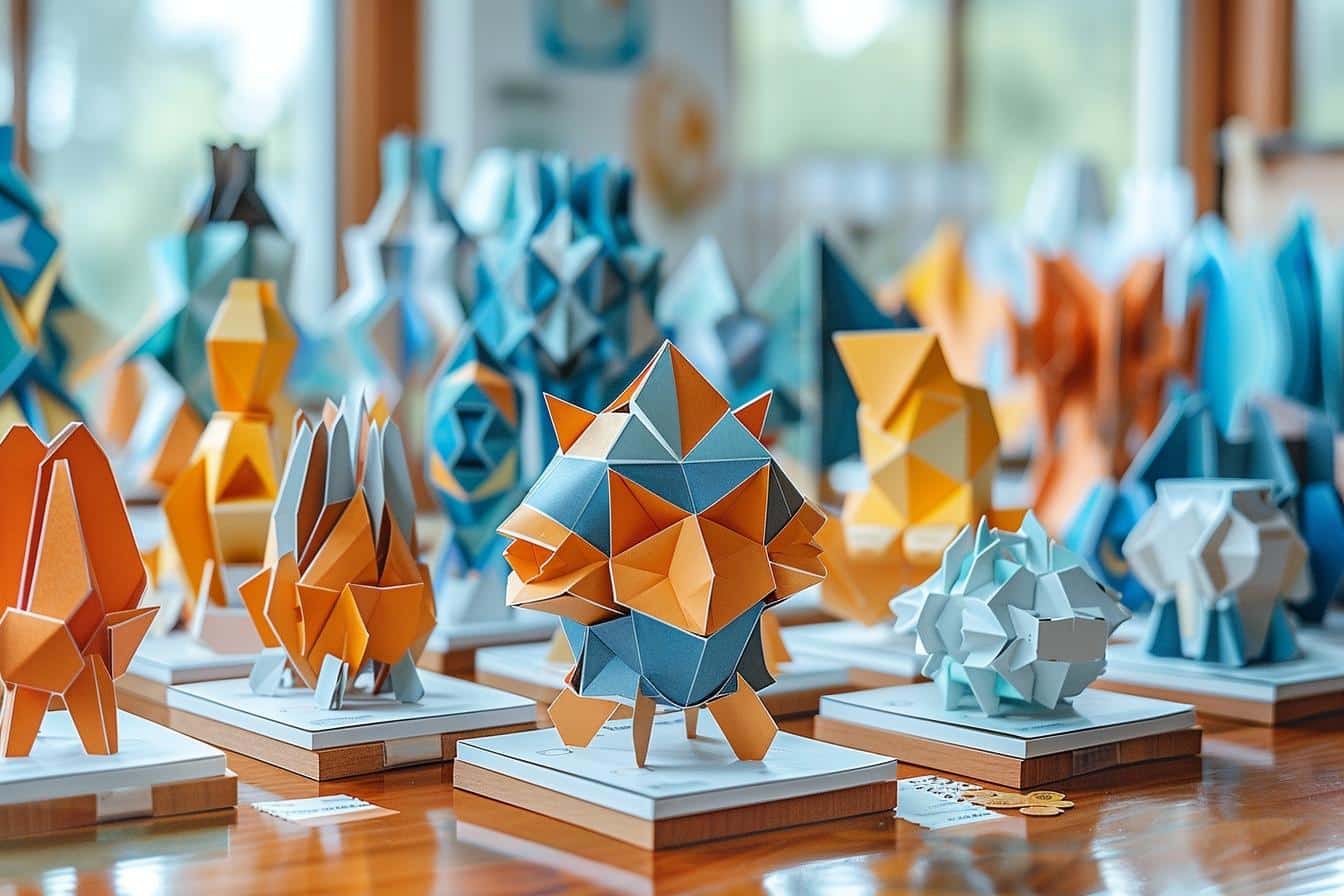
| 📦 What it is | Papercraft is the art of turning printed sheets into 3D objects through cutting, folding, and gluing. You can create animals, masks, vehicles, scenery, or geometric sculptures. |
| 🎯 Choosing a model | Start with a simple template with few parts and large tabs. Check the skill level, number of pages, print format, and recommended paper type. |
| ✂️ Preparation | Print on suitable paper, score the folds before cutting, then cut neatly. Good prep saves a lot of time during assembly. |
| 🏗️ Assembly | Assemble piece by piece by following the numbers, without using too much glue. Work from the center outward to keep the shape clean and even. |
| 🎨 Customization | Add paint, inks, varnish, shading, or a decorative base to enhance realism and achieve a more professional finish. |
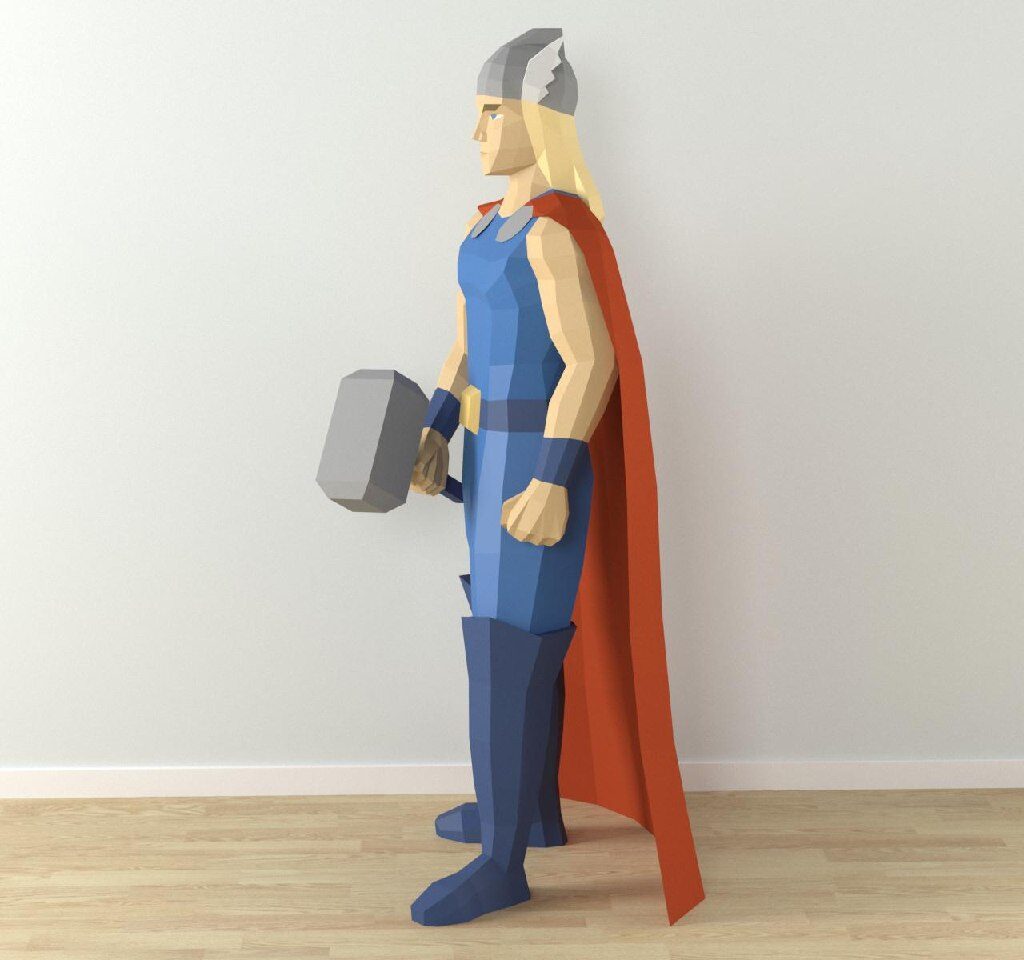
Papercraft appeals to both complete beginners and dedicated craft enthusiasts. With just a few well-chosen tools and a clear method, a simple sheet of paper can become a striking 3D sculpture. It requires precision, but it remains very accessible. You might start with a small animal head, then move on to detailed masks, stylized characters, or large-scale structures.
If you’re looking for a complete guide to making papercraft successfully, you’re in the right place. You’ll discover the basics, the right tools, advanced techniques, common mistakes to avoid, and finishing tips that truly make a difference. Whether you want to build your very first model or improve your creations, this guide walks you through it step by step.
What is papercraft?
Papercraft, sometimes associated with the term pepakura, is the art of building three-dimensional objects from paper or cardstock pieces. Unlike origami, which often relies on a single folded sheet, papercraft uses multiple parts that are cut, scored, folded, and then glued together.
This technique makes it possible to create simple shapes like a cube or a stylized animal, as well as highly complex models with many facets. That’s part of what makes it so appealing. The final look can be minimalist, decorative, realistic, or even sculptural.
Papercraft fits into many different uses:
home decor, scale models, family craft activities, personalized gifts, storefront displays, birthdays, cosplay, photography, bedroom decor, or creative studio decoration.
Another major advantage is that there are models for every skill level. A beginner can finish a small creation in an hour, while an experienced maker may spend several days on a complex piece with a base, textures, and premium finishing details.
Why is papercraft so popular?
Papercraft’s appeal comes from a very satisfying balance of simplicity and precision. The main material is affordable, the tools are easy to find, and the final result often has strong visual impact. People also love its calming, almost meditative side. Cutting, folding, adjusting, and gluing requires focus. It helps you slow down and create with your hands.
It’s also an excellent way to build practical skills. With regular practice, you develop:
patience, precision, pattern reading, a better understanding of volume, attention to finishing details, and stronger workflow organization.
For a supervised child, a curious teen, or an adult who loves DIY, papercraft is a rewarding hobby. Every finished model makes you want to start another.
How do you choose a papercraft model that matches your skill level?
Your choice of model has a huge impact on how enjoyable the build will be. A template that’s too ambitious can quickly become discouraging. On the other hand, a well-chosen project helps you improve with confidence.
For beginners
Choose a model with few pieces, broad shapes, large tabs, and clear reference marks. Low-poly animals, mini decorative objects, or small boxes are perfect for learning the basics.
For intermediate makers
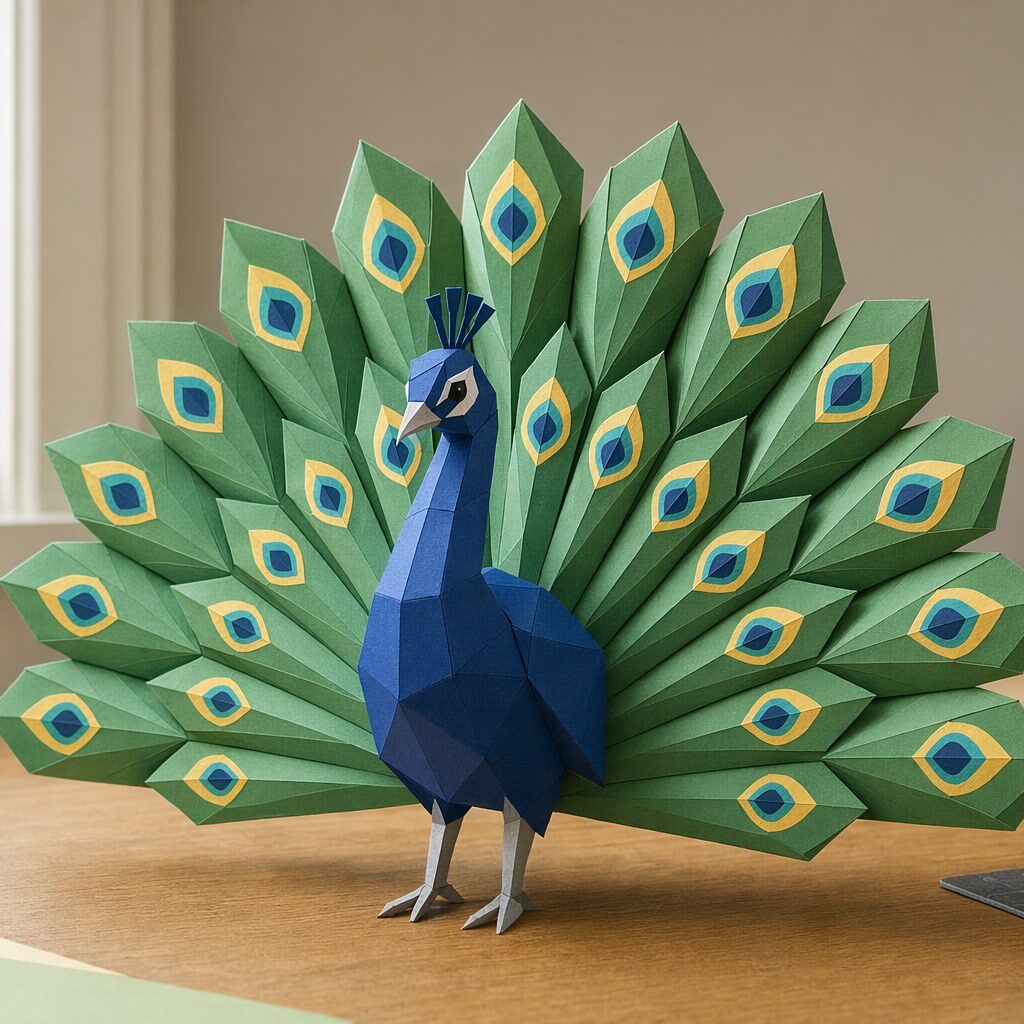
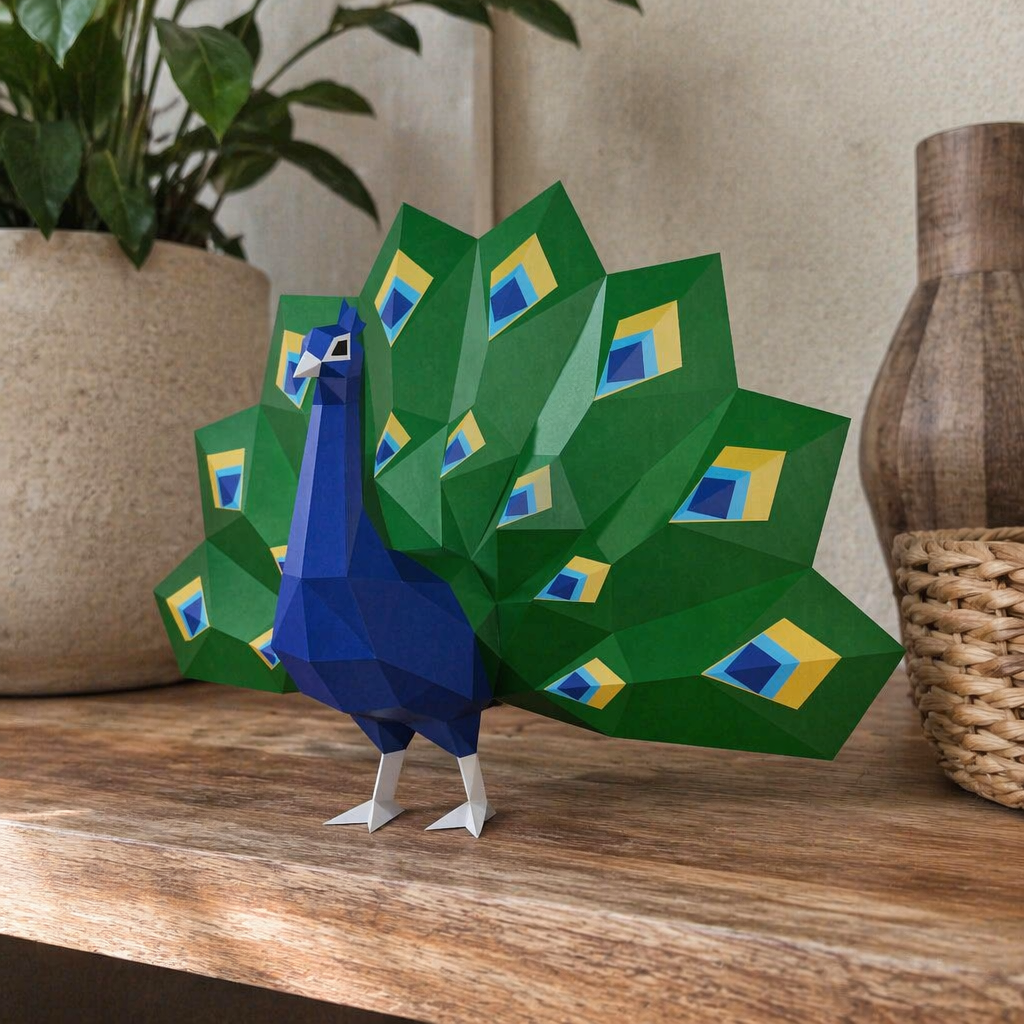
You can aim for creations of 10 to 25 pages, with finer elements, curves simulated by facets, and tighter assembly areas. Animal busts, wall masks, or stylized characters are excellent practice projects.
For advanced makers
Advanced models require excellent pattern reading, careful part management, and highly consistent folding. These often include tiny tabs, complex organic forms, internal structures, or assemblies that must follow a strict sequence.
Before printing, always check:
the total number of pages, the document format, whether alignment numbers are included, the type of fold lines, the language of the template, and the difficulty level stated by the designer.
What paper should you use for successful papercraft?
Paper makes all the difference. Too thin, and it warps and loses its shape. Too thick, and it becomes difficult to fold cleanly, especially on small parts.
For most projects, the best balance is between 160 and 220 gsm. The right choice depends on the size and complexity of the model.
Helpful guidelines
160 to 180 gsm: ideal for detailed models or small parts.
190 to 220 gsm: excellent for larger decorative pieces and well-structured forms.
Over 220 gsm: best reserved for large projects or elements that need strong rigidity.
Matte paper is often the most enjoyable to work with. It avoids fingerprints and takes certain finishes well. Textured paper can look beautiful, but it requires more care when folding. Photo paper or glossy paper is rarely the easiest choice for beginners, since glue does not always adhere as well.
Essential tools for papercraft
Good tools do not replace technique, but they make the process much easier. With a few well-chosen supplies, you’ll get cleaner and more comfortable assembly.
1. A properly calibrated printer
Print at full scale, with no automatic resizing. Incorrect settings will alter the template dimensions and make assembly harder. If the model includes calibration marks, test them before printing all the pages.
2. A precision craft knife
A craft knife is the favorite tool of many enthusiasts. It delivers clean, precise cuts, especially on tight angles. Use a sharp blade. A dull blade tears the paper instead of cutting it cleanly.
3. Fine scissors
Very useful for large curves, simple parts, or quick touch-ups. Ideally, keep one pair dedicated to paper only so the cut quality stays sharp.
4. A cutting mat
Essential for protecting your table and cutting comfortably. It also improves cutting precision.
5. A bone folder or scoring tool
To mark folds before assembly, a bone folder works wonderfully. If needed, the back of a non-cutting blade, an empty stylus, or a blunt needle can also do the job. Scoring creates crisp folds without cracking the paper surface.
6. A metal ruler
Useful for straight cuts and fold scoring. Avoid using a plastic ruler with a craft knife, as it can get damaged quickly.
7. The right glue
White PVA glue is a reliable classic. It allows slight repositioning and holds well. A precision glue pen is handy for small tabs. Gel glue can also be a good option because it soaks the paper less.
Simple tip: always apply a very small amount of glue. Too much glue softens the fibers, causes smudges, and can leave shiny marks.
8. Fine tweezers
They’re extremely useful for narrow areas, tiny tabs, and delicate interior assembly work.
9. Handy extras
A pencil for numbering parts, a soft eraser, holding clips, a clean cloth, cotton swabs for removing excess glue, and a well-positioned desk lamp all make the process much more pleasant.
Key steps for assembling papercraft neatly
A beautiful result doesn’t depend on cutting alone. The order of operations matters a lot. Here is a reliable method.
Printing
Print a test page first if the model is complex. Check the alignment marks, line quality, and solid color areas. If needed, select the “heavy paper” setting on your printer.
Scoring before cutting
Mark the folds while the sheet is still intact. It’s more stable, faster, and more accurate. Mountain and valley folds should be clearly identified. If the template doesn’t distinguish them well, mark them lightly in pencil.
Cutting
Cut methodically. Start with the larger shapes, then move on to the details. Keep your parts organized by section or by number. A simple envelope, folder, or compartment tray can prevent a lot of confusion.
Pre-folding
Fold each piece as soon as it’s cut out. This habit reduces mistakes and speeds up the next steps. Make sure the angles are formed cleanly without crushing the printed surface.
Assembly
Build in small sequences. Don’t try to glue a large area all at once. Work piece by piece, tab by tab. Press lightly for a few seconds to let the glue set.
In most cases, it’s easier to start with the inner or central sections, then work outward. This approach leaves more room for your fingers and tools.
Understanding mountain folds and valley folds
Many difficulties come from misreading a fold. Yet this basic concept becomes simple as soon as you visualize it clearly.
Valley fold: the piece folds toward you, like a V.
Mountain fold: the piece folds away from you, like a roof peak.
One reversed fold can distort an entire section. If you’re unsure, look at the logic of the volume or make a light test fold before scoring it permanently.
Advanced techniques for a cleaner finish
Once you’ve mastered the basics, a few extra techniques can dramatically improve the final result. These small details are often what take a papercraft from “pretty good” to truly impressive.
Precise scoring based on paper thickness
The thicker the paper, the more consistent your scoring needs to be. On 200 gsm cardstock, scoring too lightly creates soft folds. Press too hard, and the surface may split. Always test on a scrap piece of the same paper first.
Gradual shaping of curves
Some models simulate curves using many small facets. For a more harmonious result, don’t sharply fold every angle right away. First shape the overall curve gently with your fingers, then refine the facets one by one. The result will look smoother.
Dry fitting
Before gluing a complex section, position the parts without glue. This check helps prevent reversed pieces, poorly closed angles, or mismatched numbering.
Discreet internal reinforcement
On some models, you can strengthen a joint from the inside with a small strip of paper. This technique helps support large volumes or areas under slight tension.
Coloring the edges
White edges are often visible, especially on color-printed paper. Run a marker, watercolor pencil, or very light pen along the edge before assembly. Choose a shade close to the print color. It instantly makes the result look cleaner.
Modular assembly
For large projects, build separate subassemblies: head, body, base, accessories. This prevents you from handling a bulky structure before it becomes strong enough.
Intermediate papercraft guide
At this stage, you already know how to cut neatly, identify fold directions, and glue without overdoing it. Your next goal becomes consistency.
Here’s what changes at this level:
you handle small parts more confidently, anticipate the assembly order, know when to reinforce an area, and choose paper based on the model instead of using the same stock every time.
Concrete example: you make a low-poly fox bust designed to hang on a wall. 210 gsm cardstock provides good rigidity. You group the pieces by color or by area. You begin with the snout, then the cheeks, then the top of the head, and finish with the ears. Finally, you add a small internal structure or rear support for hanging. This kind of project teaches you how to build a coherent volume without losing facet alignment.
Expert papercraft guide
Expert-level papercraft requires method, endurance, and excellent execution. You’re now dealing with projects that combine tiny tabs, tight angles, many pages, and assembly sequences that may not always feel intuitive.
To succeed with a complex model, adopt a real strategy:
print all the pages and number them, sort the pieces, read through the entire template before cutting, plan short but focused work sessions, and keep consistent visual reference points.
Concrete example: a realistic animal mask with dozens of fine pieces. The challenge is not just the number of elements, but maintaining symmetry. You need to regularly check the center axis, monitor glue tension, and never close a large section too early. On this type of model, even a few millimeters of misalignment can carry through to the very end.
Another example: a large decorative character for a storefront display or event. The final volume can be spectacular, but the structure must remain stable. In that case, you may add a base, plan invisible reinforcements, or use stiffer paper in certain internal sections.
Finishing tips for a professional result
Finishing is often overlooked, even though it completely transforms the look of the model.
Clean up glue smudges
Remove any excess immediately with a dry or slightly damp cotton swab, depending on the glue used. Don’t wait until the mark dries completely.
Even out the edges
Once dry, check the joints. A light hand pressure can sometimes realign a facet. Work gently so you don’t crush the volume.
Add a base or stand
A simple base enhances the creation and protects the underside of the model. It’s especially useful for animals, characters, or objects meant to stay on display for a long time.
Apply an appropriate varnish
A matte spray varnish can protect the surface from dust and create a more even finish. Always test on a sample first. Some sprays add too much moisture or slightly alter the colors.
Work on shading
For decorative models, subtle shading with pencil, soft pastel, or marker can enhance the relief. This technique works especially well on low-poly animals and illustrated-style objects.
Hide visible edges
If you didn’t color the edges before gluing, you can still touch them up with a fine marker after assembly. Do it carefully to avoid going outside the lines.
Common papercraft mistakes to avoid
Some mistakes happen again and again, even among enthusiasts. Knowing them will save you valuable time.
Printing without checking the scale
The model will no longer fit correctly if the printer changes the size.
Choosing unsuitable paper
The wrong weight makes assembly frustrating and the result either too flimsy or too stiff.
Cutting before scoring the folds
It’s possible, but much less practical for most templates.
Using too much glue
This is the most common mistake. The paper warps, your fingers stick, and the tabs slide around.
Trying to go too fast
In papercraft, rushing shows immediately. Calm assembly gives a much cleaner result.
Closing an area too early
On complex volumes, keep interior access open until certain pieces are glued in place.
Mixing up the pieces
Without organization, searching becomes endless. Sort your parts as soon as you cut them out.
Real project examples based on your progress
Beginner project: a small geometric panda
Few pieces, large surfaces, easy-to-read shapes. Ideal for learning the logic of tabs and folds. Average time: 1 to 2 hours.
Intermediate project: a wall-mounted deer head
A great exercise for working on symmetry, pointed shapes, and decorative volume. Average time: 3 to 6 hours depending on the level of finish.
Advanced project: a cosplay helmet or mask
Here, papercraft becomes a structural base. It requires real assembly precision. This kind of project can then be reinforced or customized depending on its final use. Average time: several sessions.
Expert project: a large-format character
Excellent for learning modular construction, internal reinforcement, and overall stability. The result can become truly spectacular in a living room, shop, or child’s bedroom.
How do you preserve and display your creations?
A finished papercraft deserves to be shown off beautifully. Avoid humidity, direct sunlight, and frequent handling. If you display your creation on a shelf, keep it safe from bumps. In most cases, light dusting with a soft brush is enough.
For wall-mounted creations, use a light but secure hanging system. For standing models, a base or flat surface will help limit deformation over time.
| Step | Materials needed | Extra tips |
|---|---|---|
| Printing | 160 to 220 gsm paper, properly calibrated printer | Print at 100%, with no resizing, and test one page before starting a large project |
| Pre-folding | Bone folder, metal ruler, scoring tool | Score the folds before cutting for better accuracy and crisp edges |
| Cutting | Precision craft knife, fine scissors, cutting mat | Change blades regularly and sort parts by number or section |
| Folding | Ruler, clean fingers, flat surface | Respect mountain and valley folds, then shape curves gradually |
| Assembly | PVA glue or gel glue, fine tweezers, patience | Use small amounts of glue and work from the center outward |
| Finishing | Markers for edges, cotton swab, optional matte varnish | Hide white edges, remove glue smudges, and add a base if needed |
| Customization | Paints, markers, inks, decorative elements | Add shading, textures, or graphic details for a unique result |
Papercraft FAQ
What is the best paper for beginners in papercraft?
The easiest option is to start with paper between 180 and 200 gsm. It’s rigid enough to hold its shape well without becoming too difficult to fold.
Should you use scissors or a craft knife?
Both are useful. A craft knife is more precise for angles and straight lines. Fine scissors work well for rounded shapes and quick cuts.
What glue should you choose for neat papercraft?
A small amount of white glue works very well. Precision glue pens are also practical for small tabs. The key is to avoid excess.
How do you avoid visible white edges?
Color the edges with a marker or pencil close to the printed shade. Do it before assembly for a cleaner result.
How long does it take to make a papercraft model?
It depends entirely on the model. A simple project can take 1 hour. An intermediate model often takes half a day. An expert creation may spread over several days.
Is papercraft suitable for children?
Yes, with supervision if sharp tools are used. Choose very simple models with few pieces and large tabs. It’s an excellent creative and calming activity.
How do you complete a complex model without getting discouraged?
Work in subassemblies, prepare all the pieces in advance, take breaks, and keep your workspace tidy. The whole process becomes much smoother.
Ready to take it to the next level?
Papercraft is a fascinating creative hobby: easy to start, then incredibly rich once you dive deeper into the techniques. The more you practice, the more precise your movements become, the cleaner your finishes get, and the more ambitious your projects can be.
If you’d like to discover new models, find inspiration, or start a project that makes you want to grab your craft knife, ruler, and glue right away, take a look at papercraft-3d.com. You’ll find printable 3D creations, decor ideas, and plenty of inspiration for your next paper project.
Ready to create your next paper sculpture? Explore the models on papercraft-3d.com and get started today.
Ready to get started?
Want to try without spending a cent? Download our free printable papercraft models. For a flawless result, grab our printed color paper kit (glossy paper).