Paper mache and 3D papercraft are creative ways to turn paper into three-dimensional objects. With paper mache, you build shapes by layering paper soaked in glue: the result is a lightweight sculpture, often painted or varnished once dry. Originally developed in China in the 7th century, the technique later spread across Europe during the Middle Ages. The paper used (newspaper, thin cardboard, coloured paper) is often recycled, making these creations both artistic and eco-friendly. :
Example of a paper mache sculpture (stylised bird) – the details are created by layering sheets of paper.
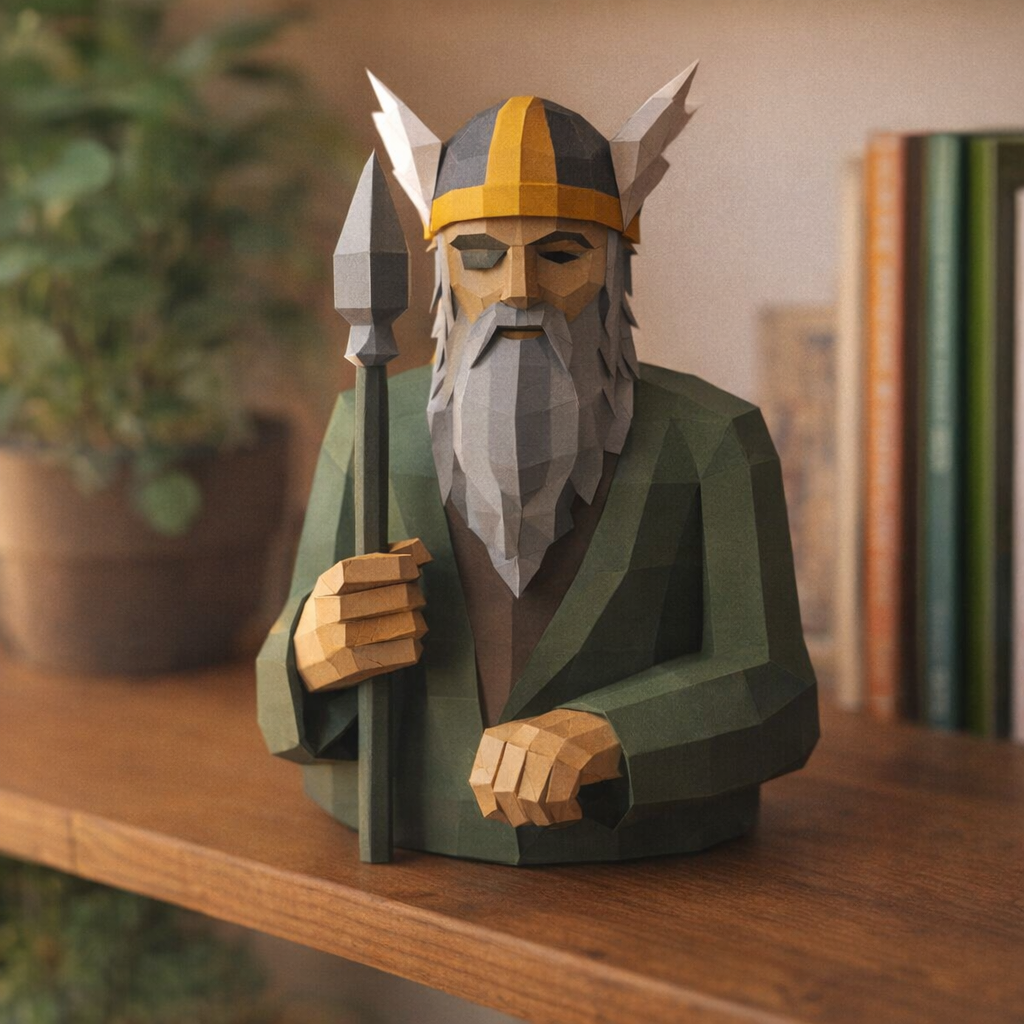
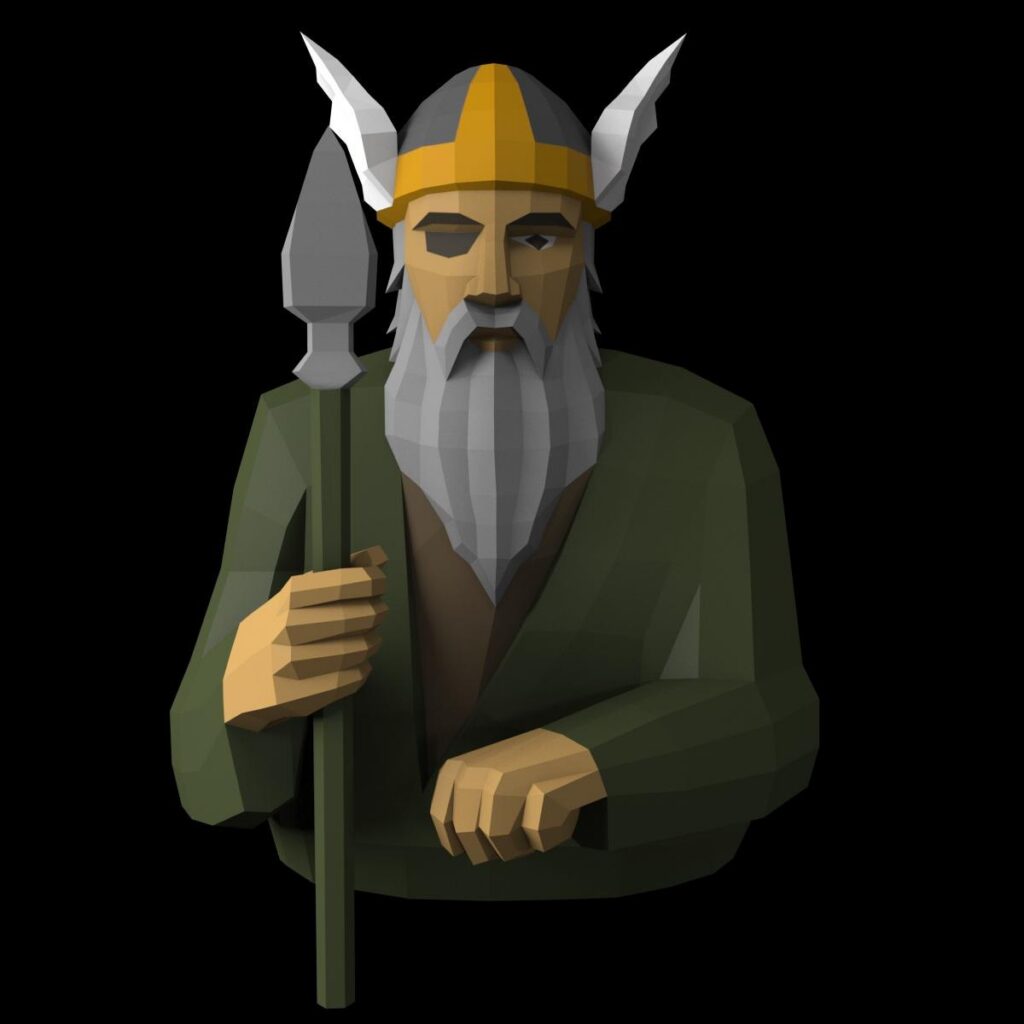
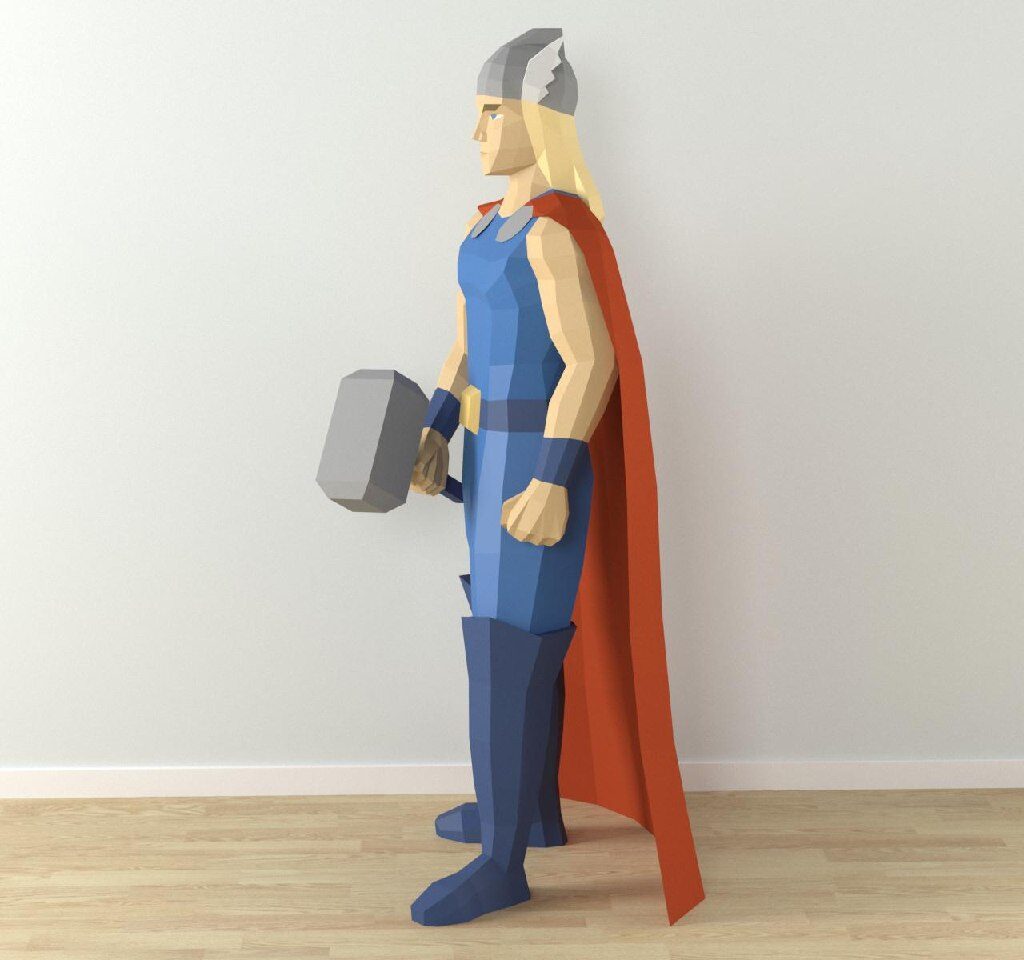
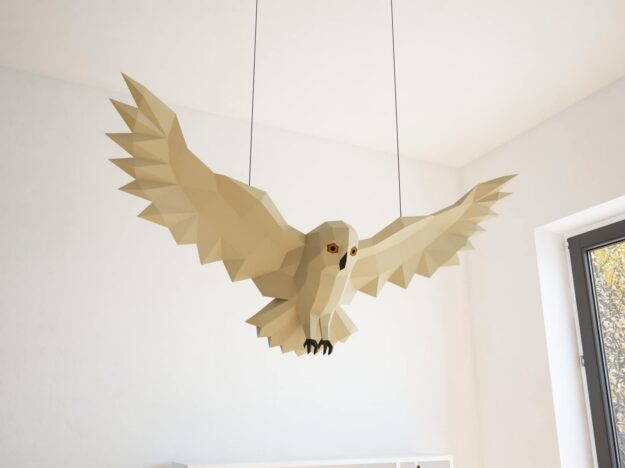
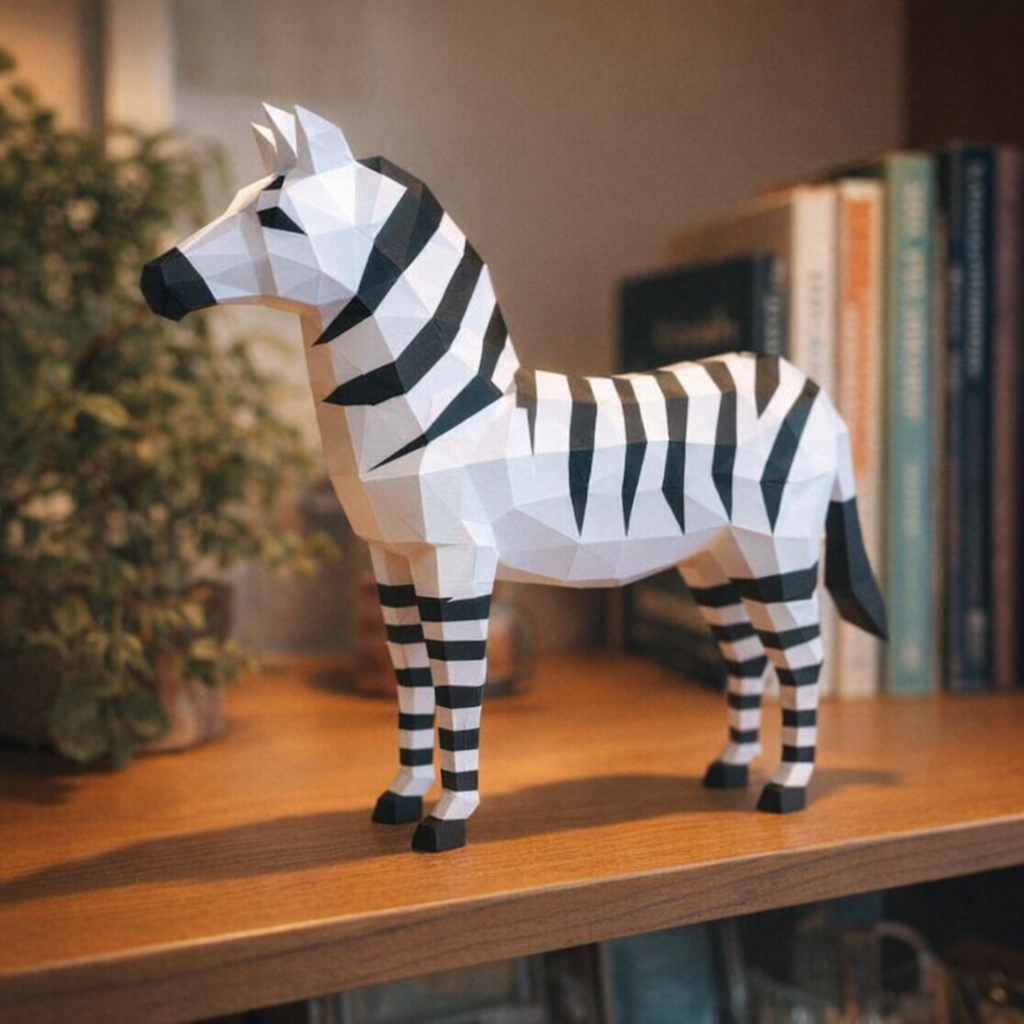
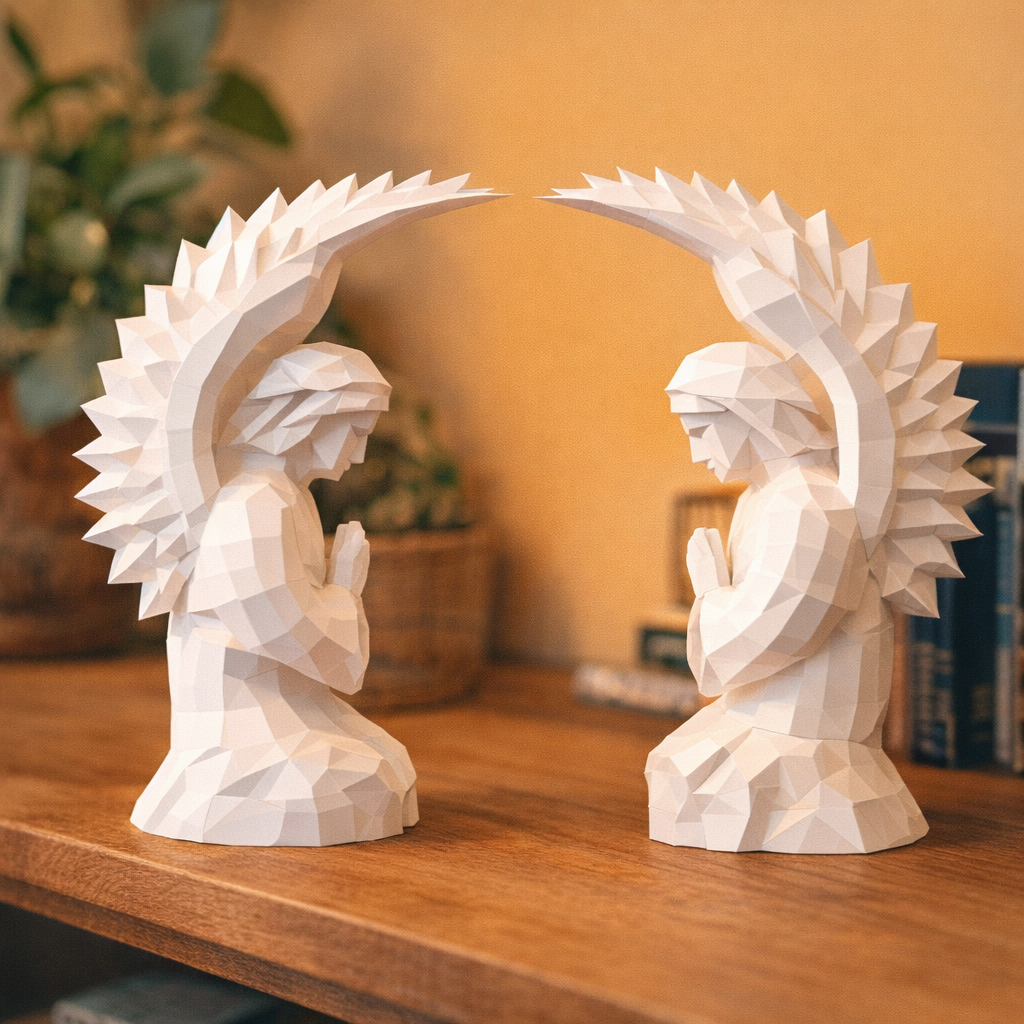
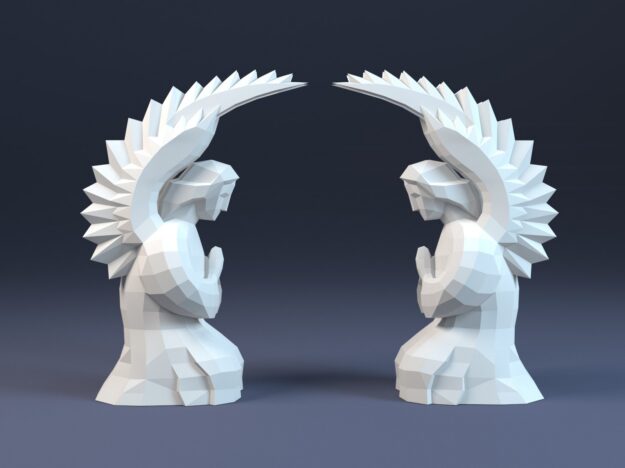
3D papercraft refers to paper models that you cut out and assemble to create volume (animal heads, wall trophies, and more). It pairs perfectly with paper mache: here, you use printable templates (generated with 3D software such as Pepakura) and glue them together along fold lines. Unlike classic origami (folding without glue), papercraft allows the use of glue and makes highly complex shapes possible. Both techniques celebrate imagination with simple materials, appealing to hobbyists and professional artists alike (for example Calvin Nicholls or Chie Hitotsuyama).
Materials and basic technique
To make sculptures, torn strips of newspaper are usually the go-to choice. You can also recycle lightweight cardboard or recycled paper for added strength. The usual binder is white glue (PVA glue) diluted with water (recommended ratio 2:1). There are also homemade alternatives (flour paste or wood glue). Some makers recommend Roman PRO-543 wallpaper adhesive (“universal”) for its convenience (ready to use, fast drying). The support structure can be an inflated balloon, a plastic bottle, wire, or rigid cardboard, depending on the shape you want. The more layers of paper you add, the stronger the final sculpture will be.
One of the easiest all-purpose methods is the balloon technique: inflate a balloon to the size you want, then glue on strips of paper soaked in paste, building up several layers. Once fully dry (at least 24 hours), pop and remove the balloon, leaving behind a strong paper shell. Sand down any uneven areas, then paint and varnish the object. For elongated shapes (arms, legs), you can wrap paper around wire or crumpled paper balls before adding the glued strips.
Practical tips
It’s best to **tear** the paper rather than cut it: rough edges stick better and blend more smoothly when glued down. Make sure to smooth each strip firmly onto the structure to push out air bubbles. As one paper art enthusiast puts it, “Patience! … use small pieces of paper, especially for the final layer. Then add a coat of Mod Podge before painting — it makes a huge difference.” In fact, adding a few coats of acrylic varnish or pure glue after drying strengthens the piece and creates a smoother surface for painting. Let each layer dry properly in a ventilated space to avoid mould. If the object is thick, natural drying (1–2 days) is better than direct heat, which can cause cracking.
3D papercraft: templates and models
3D papercraft is all about creating paper objects from ready-to-print templates. Specialist websites (MundoPapercraft, Ninjatoes, Canon Creative Park…) offer hundreds of different models (animals, masks, geometric shapes). To design your own, you can use 3D modelling software (SketchUp, Blender) and then a tool like Pepakura Designer to generate the cut-out template. Unlike origami (simple folding), these models require gluing for assembly. That opens the door to highly detailed creations: some low-poly papercraft characters and animals are surprisingly realistic.
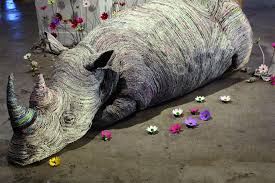
Paper mache hippopotamus sculpture by Chie Hitotsuyama. This Japanese artist uses rolled strips of newspaper to build strikingly realistic volume.
Contemporary artists and inspiration
Many contemporary artists work with paper. Japanese artist Chie Hitotsuyama creates hyper-realistic animals from rolled newspaper, while Canadian artist Calvin Nicholls builds animal reliefs from multiple layers of cut paper. In Europe, artists such as Wabé sculpt colourful paper mache animals, and Joanna Glazer designs poetic masks from cut paper. These modern works show just how versatile paper can be: from realism (animal fur) to geometric stylisation, with endless possibilities in thickness, layering and texture.
DIY projects and décor ideas
Paper mache and papercraft are perfect for all kinds of creations: carnival masks, hanging mobiles, wall trophies, origami-style lamps. For example, a simple balloon and some newspaper can become a decorative animal bust. Online tutorials show you how to make everything from a paper mache tiger to a floral papercraft lantern. Stylised animal heads (deer, unicorn, butterfly) are especially popular for wall décor and are often made as kits using sturdy card. You can also customise everyday objects (boxes, vases) with paper mache for a handmade look.
Creative and eco-friendly benefits
Choosing paper comes with plenty of advantages. First, it’s a renewable material and often recycled: using old paper reduces waste and lowers project costs. ArtMajeur highlights that these sculptures are both “environmentally friendly” and “visually stunning”. Making paper from recycled fibres uses far less energy than producing plastic or metal. On top of that, paper mache objects are very lightweight, making them easy to display without heavy wall fixings. Finally, paper offers unique textures (partial transparency, printed patterns, matte or glossy finishes) that few other materials can match so easily. For example, artists can play with light passing through paper to create beautifully original lamps.
Learning and activities for children
Paper mache is widely used in art education. It allows children to create simple 3D forms (covered balloons), then move on to more advanced projects (characters, models). This kind of activity develops fine motor skills, spatial understanding and patience. As many family craft blogs point out, it’s also a great way for parents and children to spend creative time together. In the classroom, paper mache can be part of projects about recycling or science (for example a globe model or a habitat-themed animal project). For safety, the glues and paints used should always be non-toxic.
Materials calculator
It helps to estimate your materials before you start. For example, covering a spherical object 30 cm in diameter may require around 15–20 sheets of newspaper and about 1 litre of diluted glue. Pattex recommends layering several sheets before tearing them (up to 6 at a time) to save prep time.
Where to learn more
There are plenty of detailed video tutorials online (for example, the English-language StormTheCastle channel offers a full step-by-step visual guide). Blogs also share homemade glue recipes (flour paste, edible paper mache) and practical tips (fold zones, reinforcement). Educational resources (art lessons, school manuals) often include paper mache projects to illustrate recycling. Finally, some museums and contemporary art exhibitions feature paper mache or papercraft works, highlighting the artistic legitimacy of this craft.
FAQ
What paper should you use to get started? Standard black-and-white newspaper is ideal because it sticks well and is easy to find. You can finish the object with acrylic paint or coloured paper for decoration.
How do you avoid cracks? Apply several thin layers rather than one thick one. Let each layer dry fully before adding the next. Adding a coat of acrylic varnish before painting helps stiffen the surface and smooth out small imperfections.
How long does it take to dry? Drying time depends on humidity and the thickness of the object. In general, allow 24 to 48 hours for full drying (in a ventilated room) when using multiple layers. Using a hairdryer from a distance or leaving it to air dry can speed things up slightly.
Is paper mache safe for children? Yes, as long as you use non-toxic glues (standard white glue, homemade paste) and supervise scissor use. It’s a great educational activity from primary school age upwards, helping children develop creativity and motor skills safely.
Can you reuse paper scraps? Absolutely. Old newspapers, flyers and thin cardboard can all be used. The more absorbent the paper, the better it soaks up glue. That makes this hobby great for recycling — and great for your budget too.