| Summary | Details |
|---|---|
| ? Software choice | Choose software suited to your level: Pepakura for beginners. |
| ? Paper type | Consult guides to choose the paper that influences the appearance and strength of the model. |
| Create/modify a 3D model | Use Blender or TinkerCAD to create unique models without any prior knowledge. |
| ? Precise assembly | Reading guides on careful assembly is a rewarding part of the process. |
| ✂️ Conversion and optimization | The “unfolding” of a 3D model into a paper template requires manual adjustments for ideal assembly. |
| Printing and finishing | Choose the right cutting and printing settings for a quality result. |
| ? Supporting guides | Discover guides and tutorials to get started or improve in Papercraft. |
| Origami | A refined and rewarding approach, accessible thanks to beginner guides. |
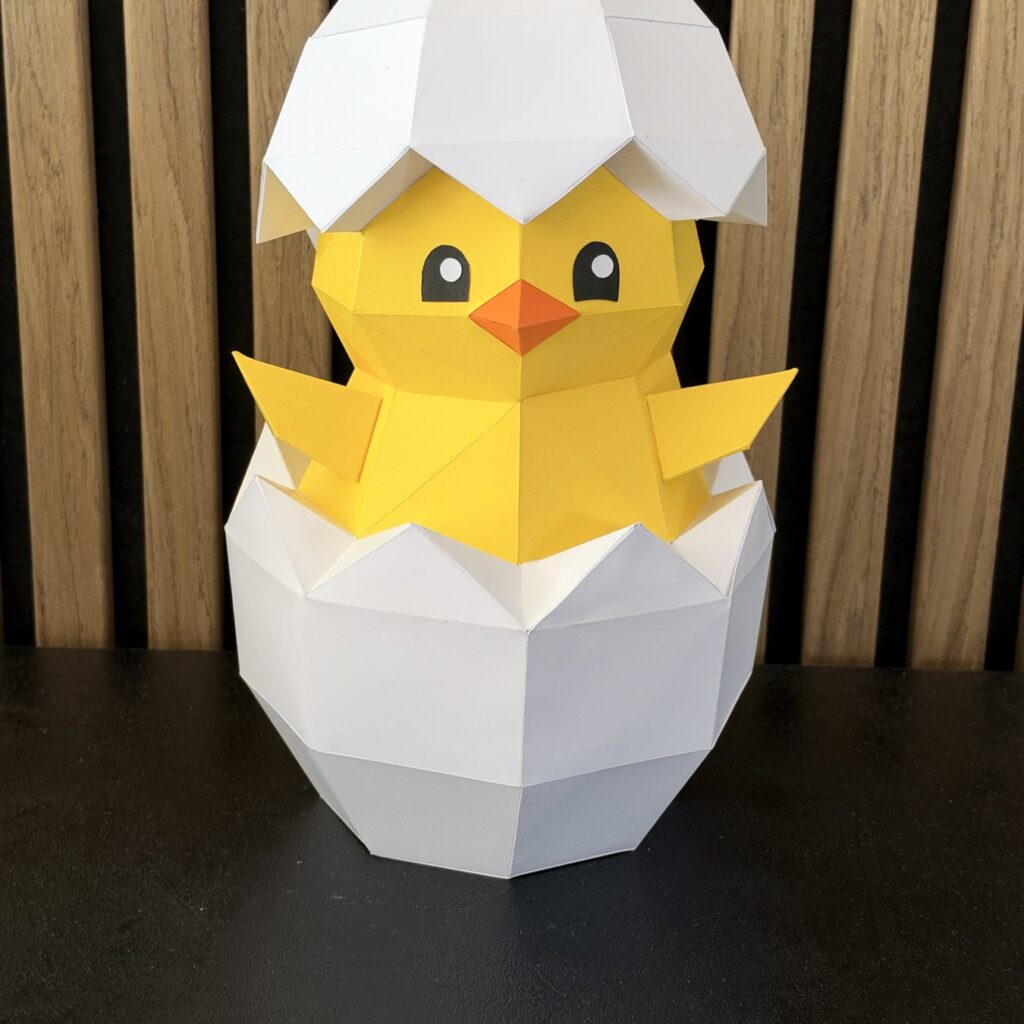
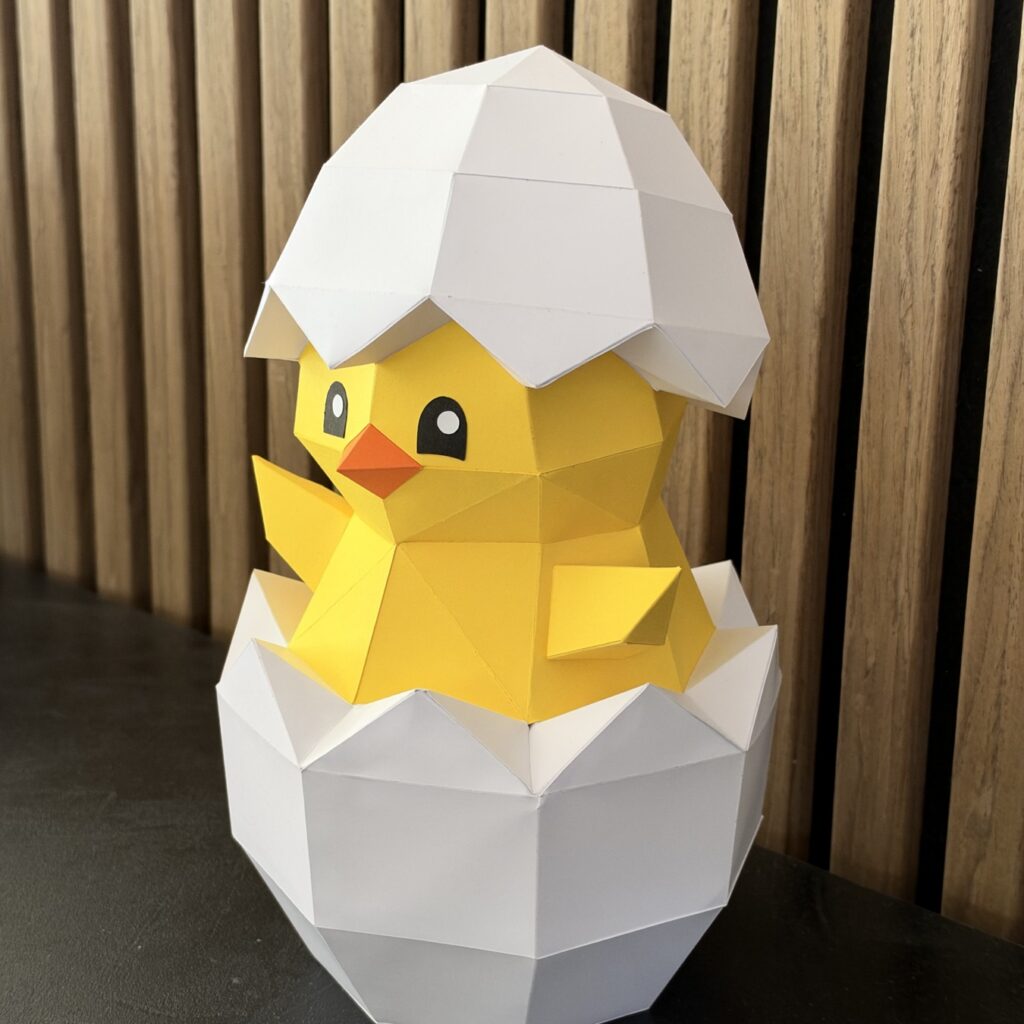
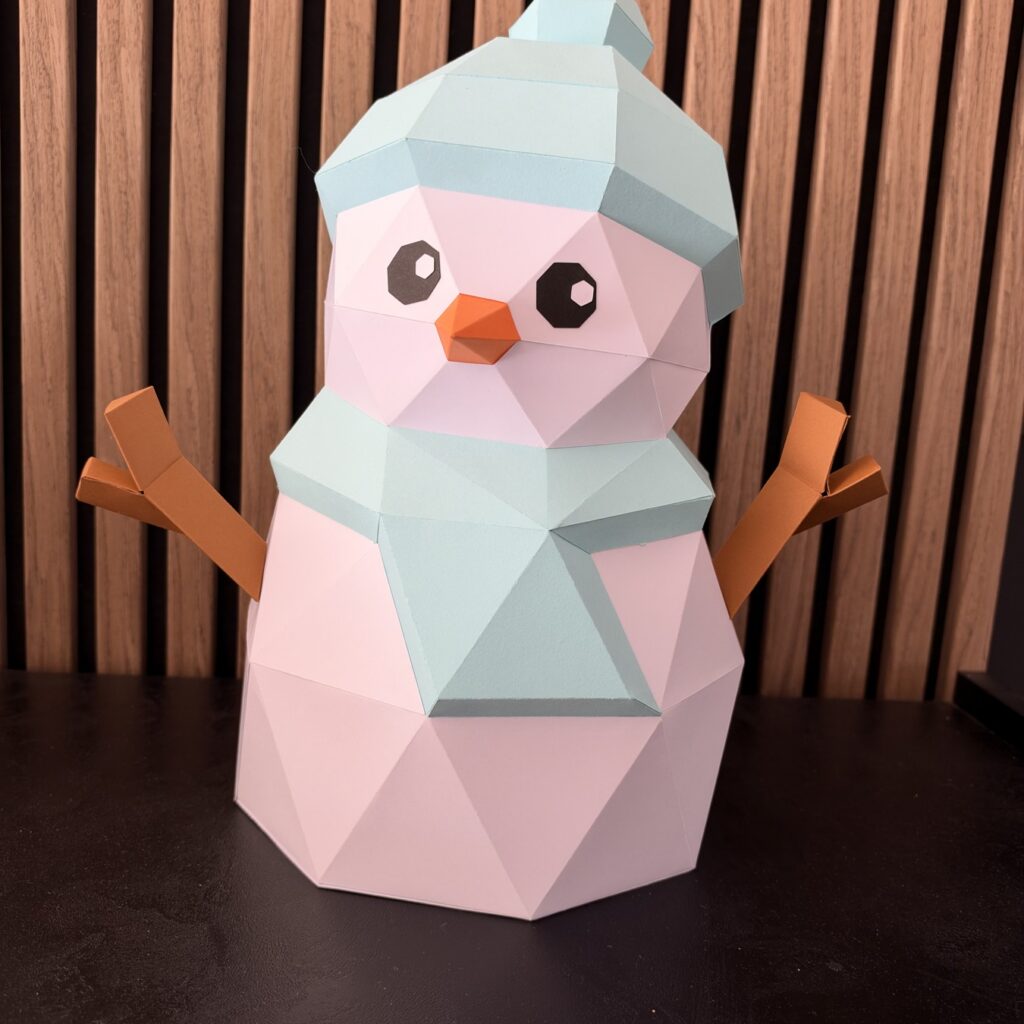
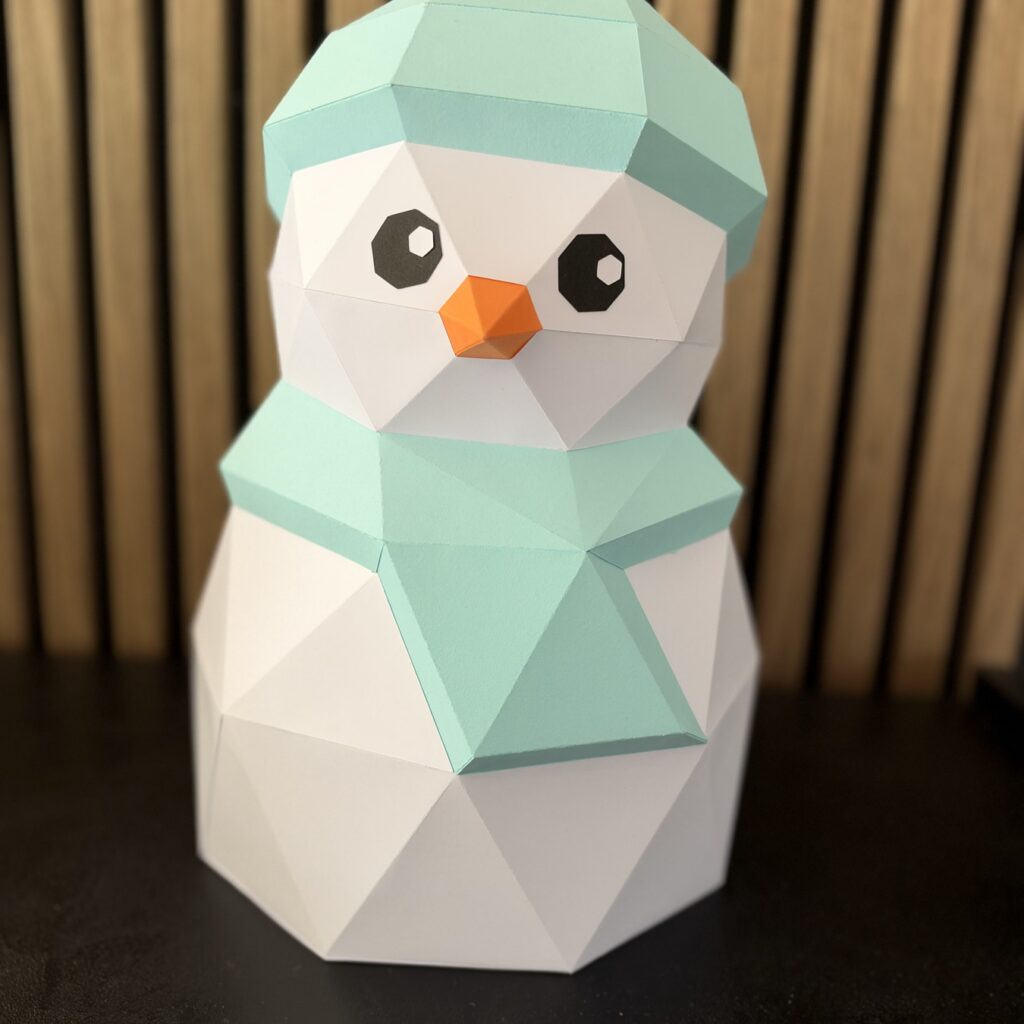
Creating your own 3D Papercraft models is not only an exciting creative activity, but also a way to bring your artistic visions to life in the real world. Thanks to advances in software, this process is more accessible than ever. In this text, we cover the main steps and tips for turning your ideas into magnificent paper creations.
Introduction to creating 3D paper models
Creating 3D Papercraft models begins with choosing the right tools. Modeling software varies widely, from beginner-friendly programs to more advanced tools for experienced designers. Choosing the right software is essential for efficiently turning your digital creations into paper models. For those just starting out, platforms like Pepakura offer an ideal gateway into the world of Papercraft, making it easy to convert 3D models into templates to cut out and assemble.
It is essential to choose the right paper for your project carefully. The quality and type of paper can greatly influence the appearance and strength of your creation. Comprehensive resources are available to help you make this choice, such as the complete guide to the best types of paper for Papercraft.
Create your own template: the basics
Before you start physical construction, it is essential to obtain or create a 3D model. There are several ways to do this. The first option is to download an existing 3D model. Many sites offer a variety of free or paid models suitable for Papercraft. If you want to personalize your project even further, you can also create your own models . Software such as Blender or TinkerCAD can be used to model unique creations, even without any experience in 3D design, thanks to their intuitive tools and many tutorials.
Thecareful assembly of your Papercraft is a crucial step. After precisely cutting out the pieces of your model, the assembly process, although painstaking, is incredibly rewarding. Guides such as the complete Papercraft assembly guide for beginners and advanced makers provide essential tips and techniques to successfully complete this step.

The challenges of 3D design for Papercraft
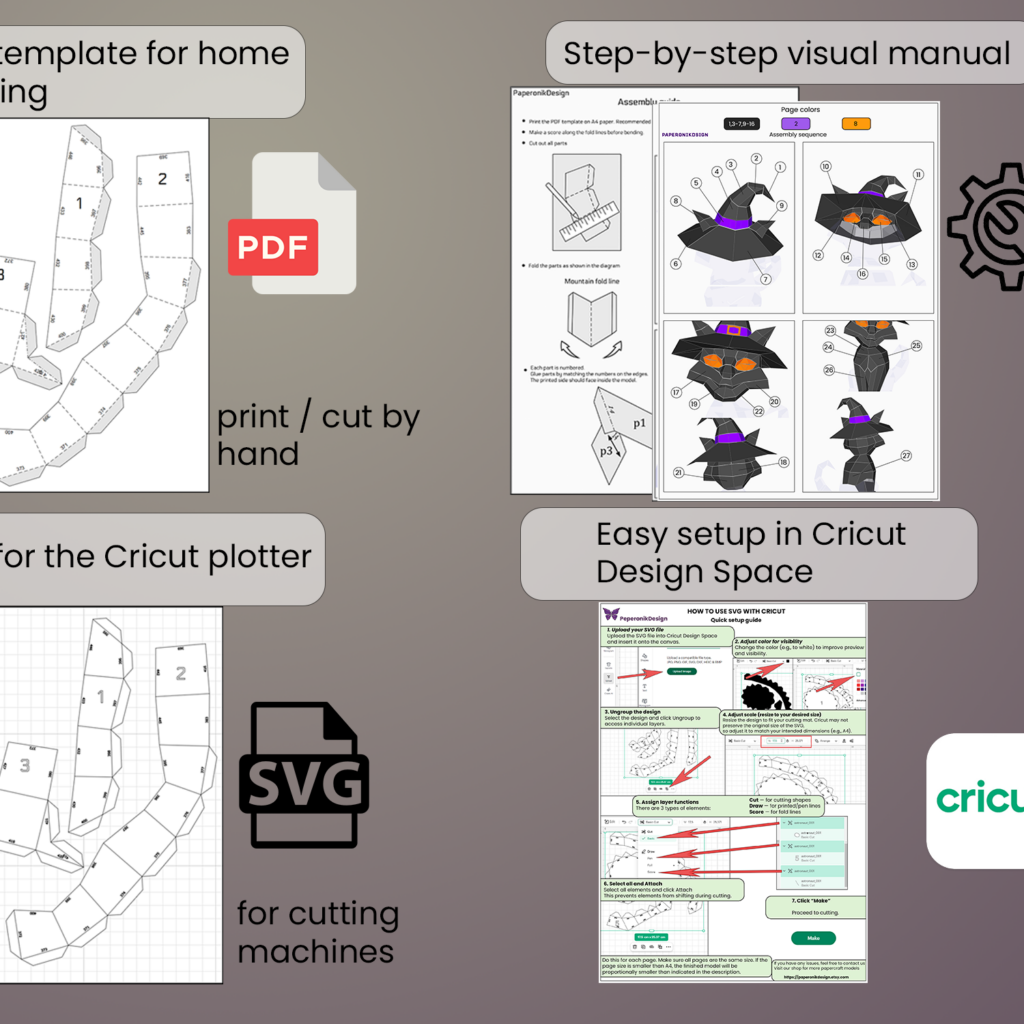
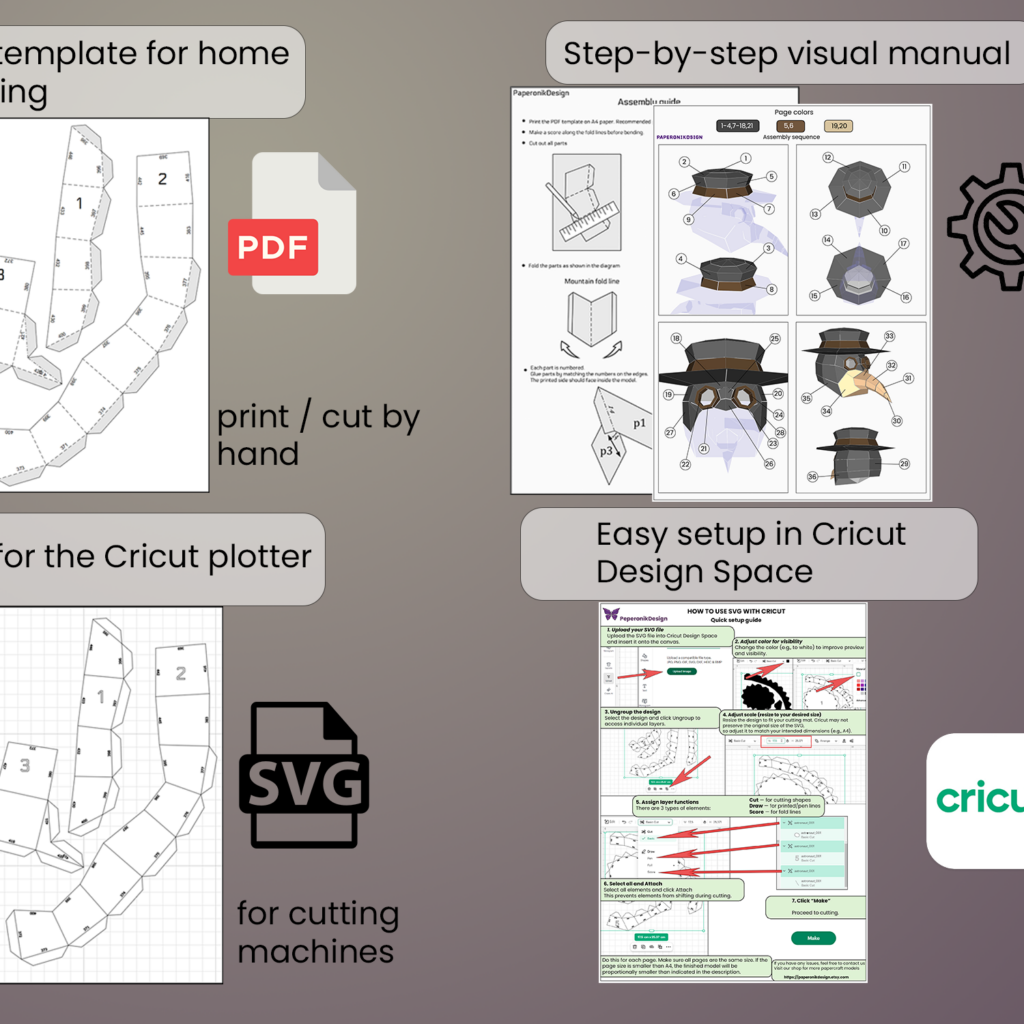
Converting a 3D model into a cutting template for Papercraft is a technical process that requires understanding how three-dimensional shapes translate into flat pieces. This is where the chosen software plays a crucial role, allowing the 3D model to be “unfolded” into a usable template. At this stage, manual adjustments may be needed to ensure the pieces fit together correctly, to minimize cuts and make optimal use of the paper.
The cutting and printing of your design also requires special attention. Choosing the right settings in your cutting software can greatly influence the final result, from paper density settings to specific dimension adjustments for different projects. For those who want to fully immerse themselves in customization, learning the basic principles of 3D modeling opens up a whole new world of creative possibilities, allowing any idea or concept to be transformed into a paper model.
| Step | Description |
|---|---|
| 1. Software choice | Choose 3D modeling software suited to your level and specific needs. |
| 2. Create or download the 3D model | Obtain an existing model or design your own model with the tools of the chosen software. |
| 3. Conversion into a papercraft template | Use specific functions to “unfold” the 3D model into a set of flat pieces to print. |
| 4. Adjustments and optimization | Make manual changes to simplify assembly and maximize paper use. |
| 5. Printing and assembly | Print the pieces to cut out and follow the assembly instructions to create the paper model. |
For those who want to go further, guides like How to do papercraft easily for beginners offer an excellent starting point, presenting the benefits and enjoyment of this activity accessible to everyone.
Feed your creativity with the art of origami
Papercraft is not limited to creating complex and detailed models.Origami, the Japanese art of paper folding, represents a more refined yet equally rewarding facet of the practice. These projects, ranging from simple shapes to intrinsically complex structures, demonstrate the versatility and adaptability of paper as an artistic medium. To begin on this path, learning the basic methods can be very useful, as shown in How to easily make origami: a step-by-step guide for beginners.
Whether you create advanced 3D Papercraft models or devote yourself to the subtle art of origami, the possibilities are endless. The key lies in patience, precision and a constant willingness to learn and adapt. With the right resources and a dose of inspiration, anyone can transform a simple sheet of paper into a three-dimensional work of art.
You may also like: 3D papercraft software to make your own templates.