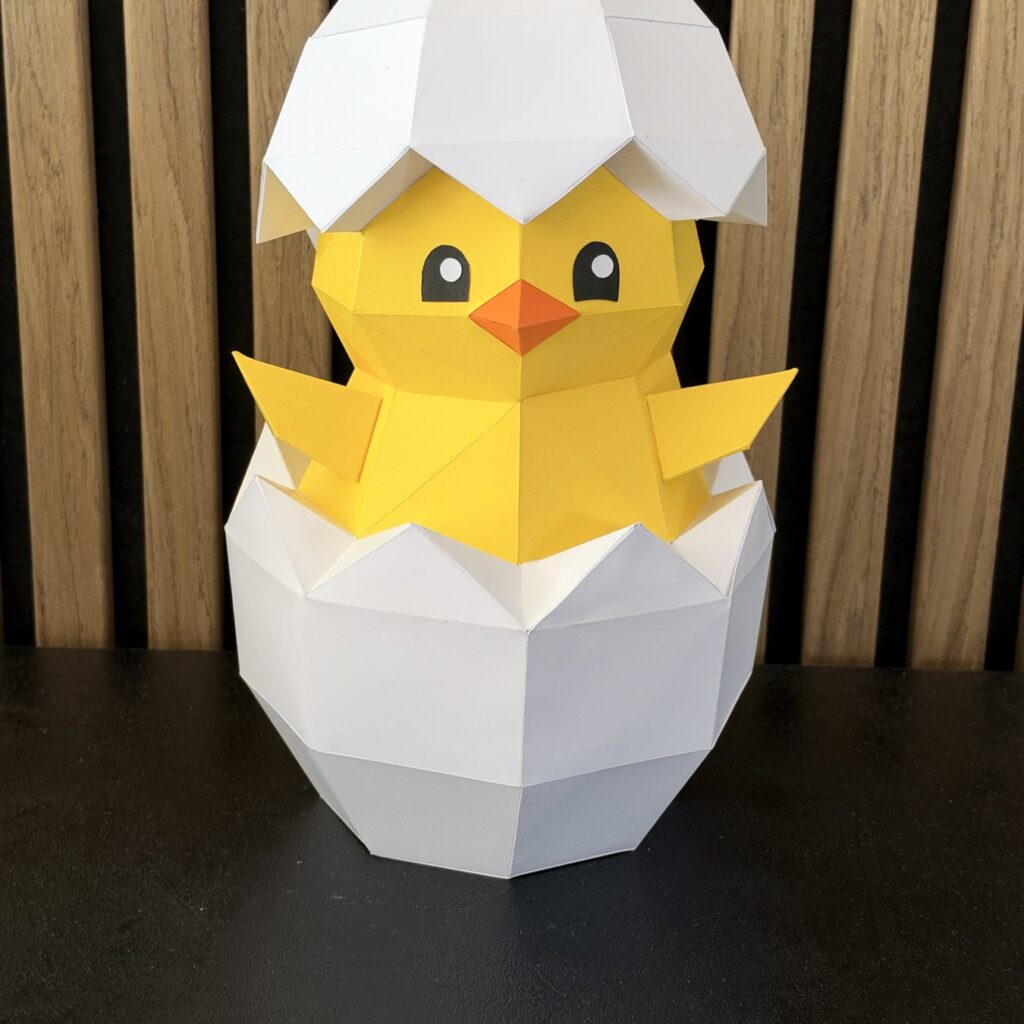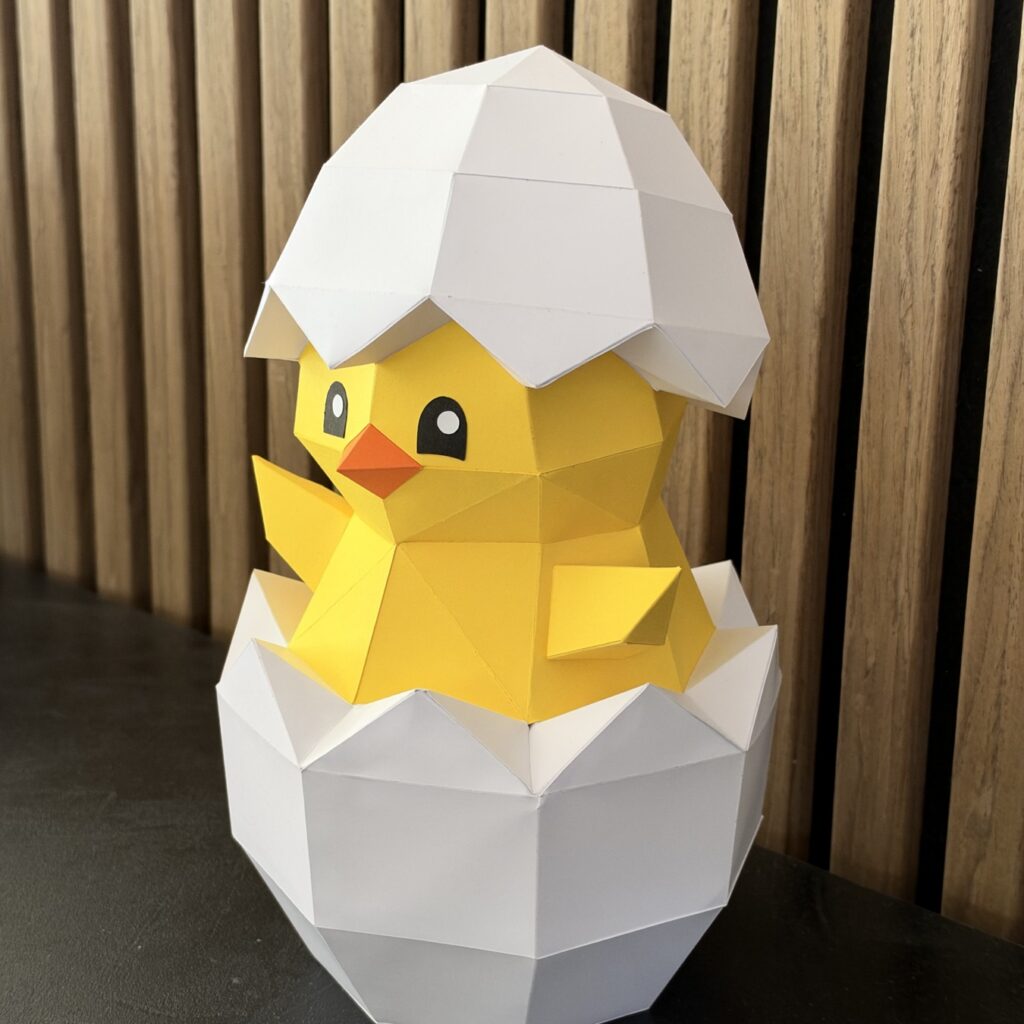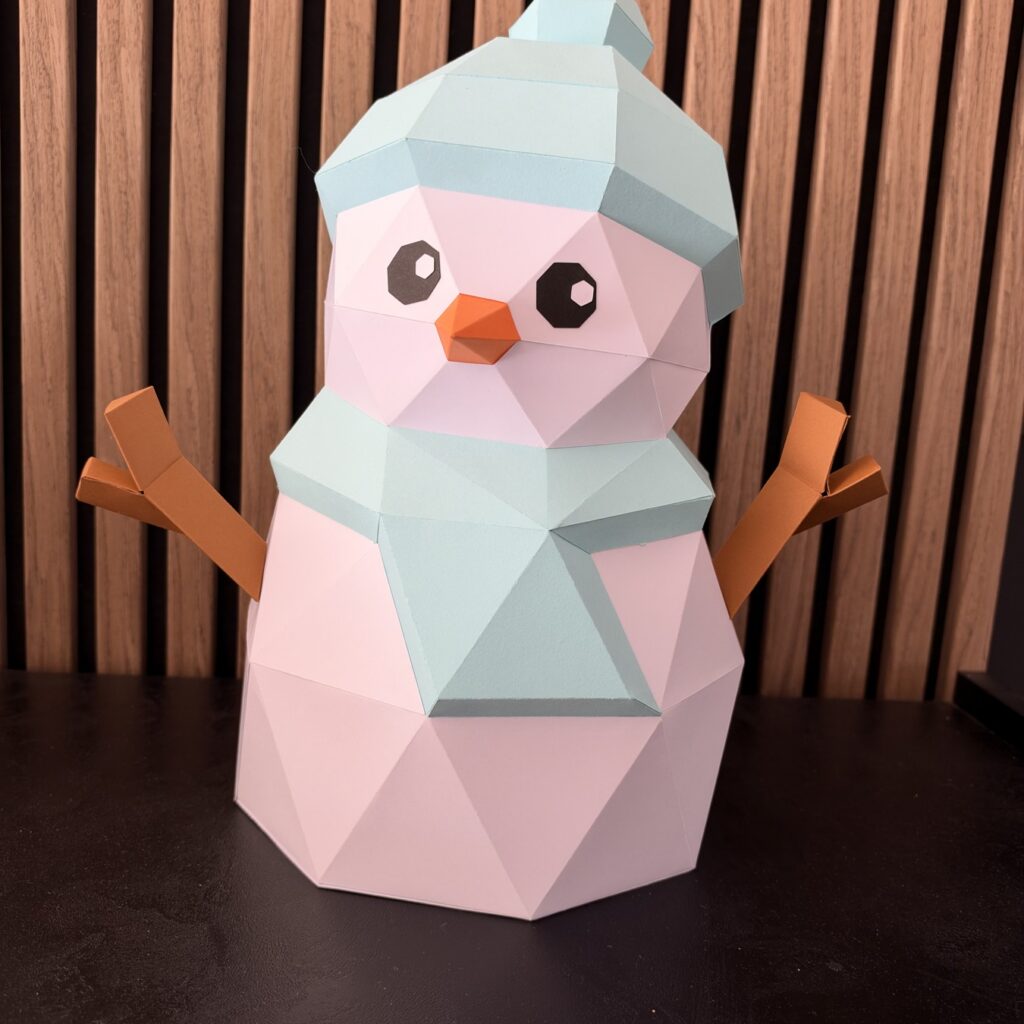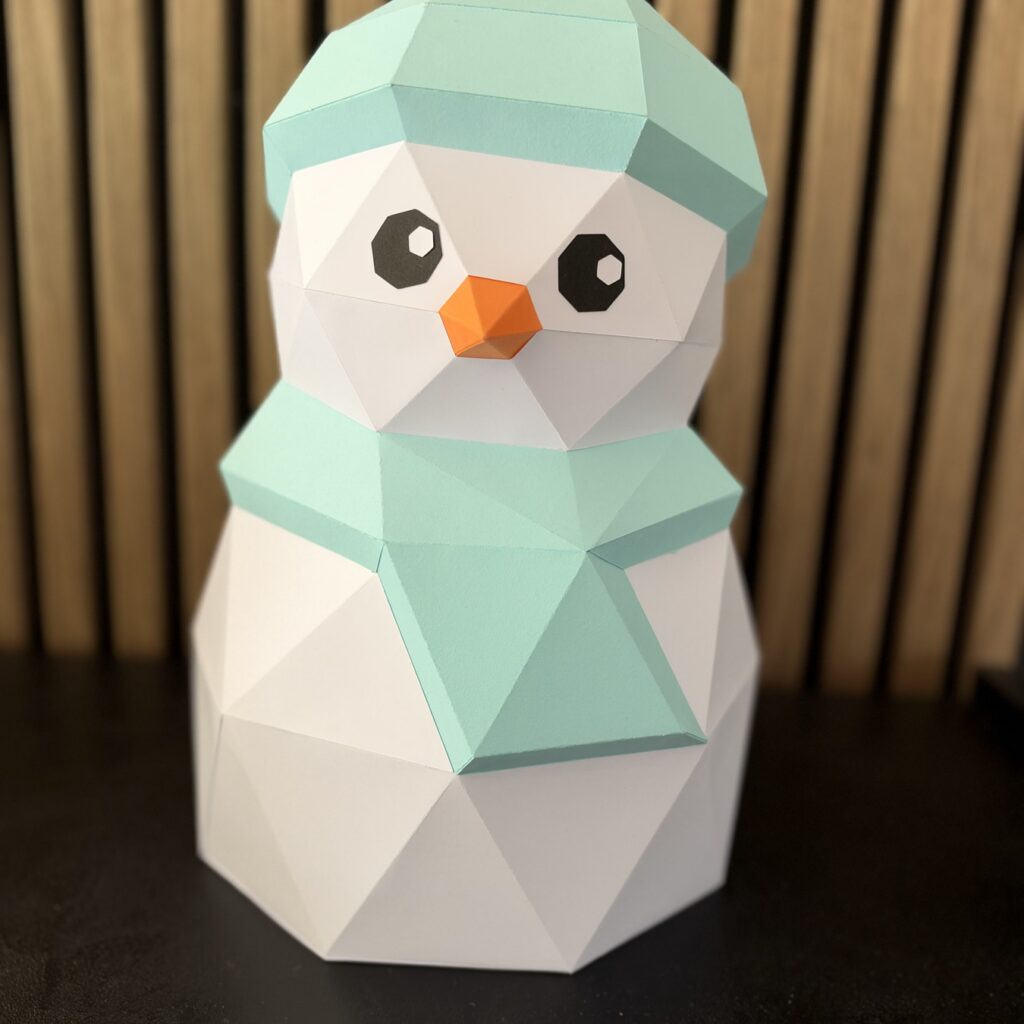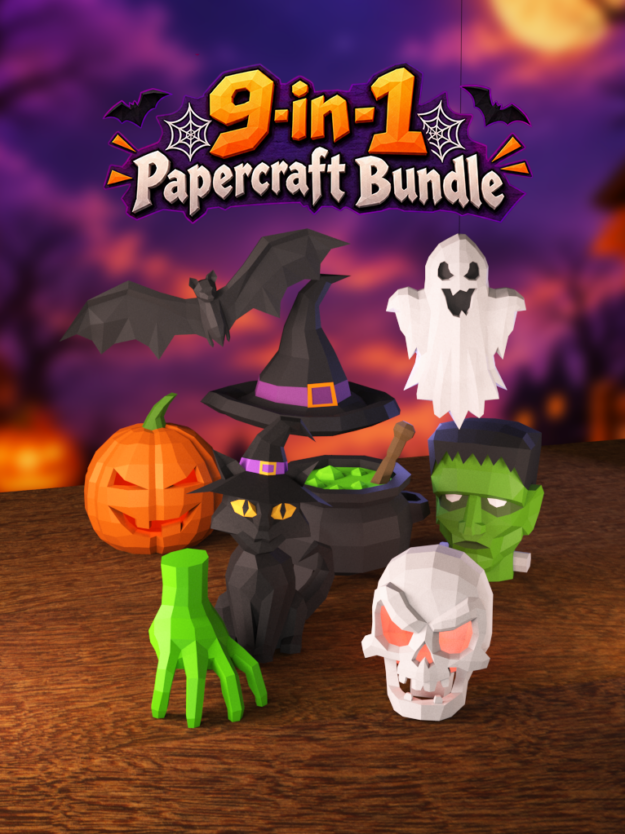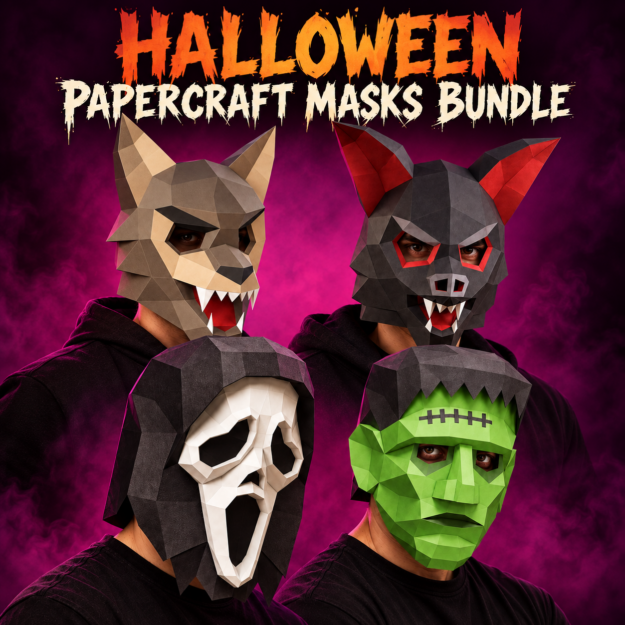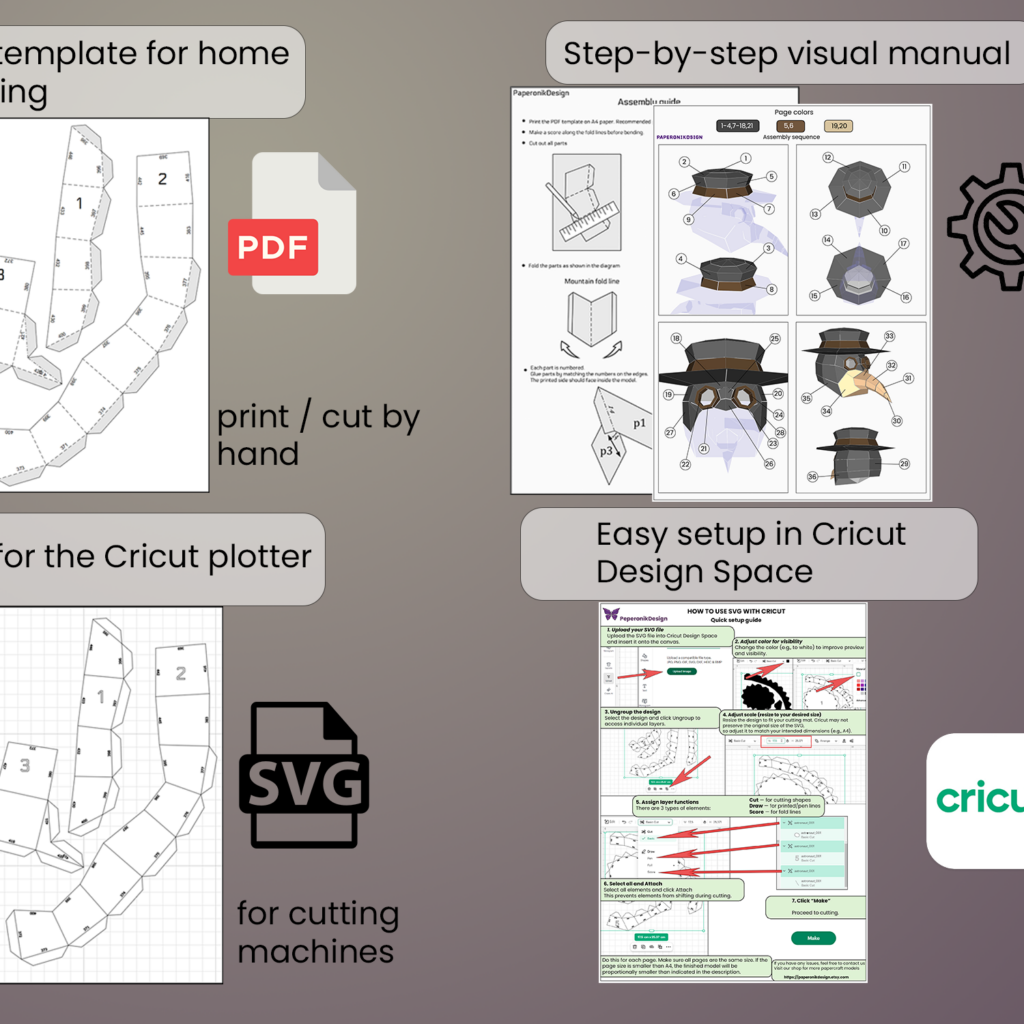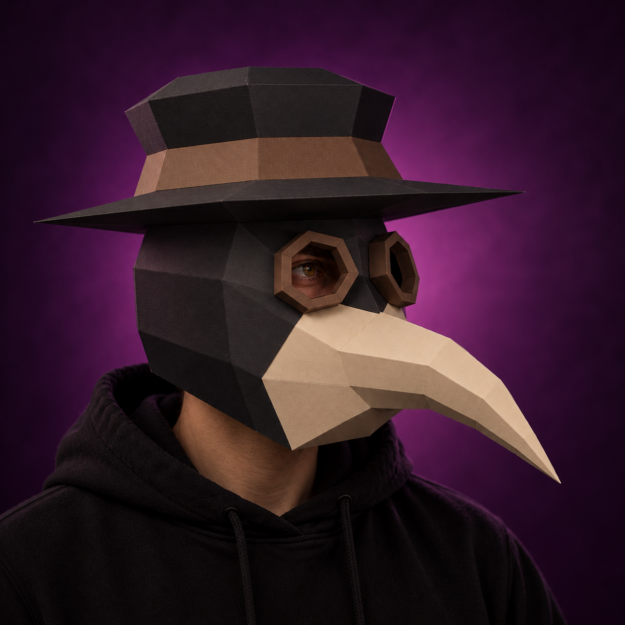
You’ve just discovered papercraft, spotted a model you’d love to make, and one simple question is holding you back: what do you actually need to get started? Good news: papercraft is one of the most accessible creative hobbies out there. No expensive machines, no dedicated workshop, no chemicals. A handful of well-chosen tools, the right paper, and a PDF papercraft template are enough to build your first paper sculpture. The key is choosing the right gear from day one: a cutter that tears the paper or glue that warps the tabs can turn a relaxing session into pure frustration. Here’s the complete papercraft starter kit, tested and approved through years of cutting and folding.
The essential supplies to get started
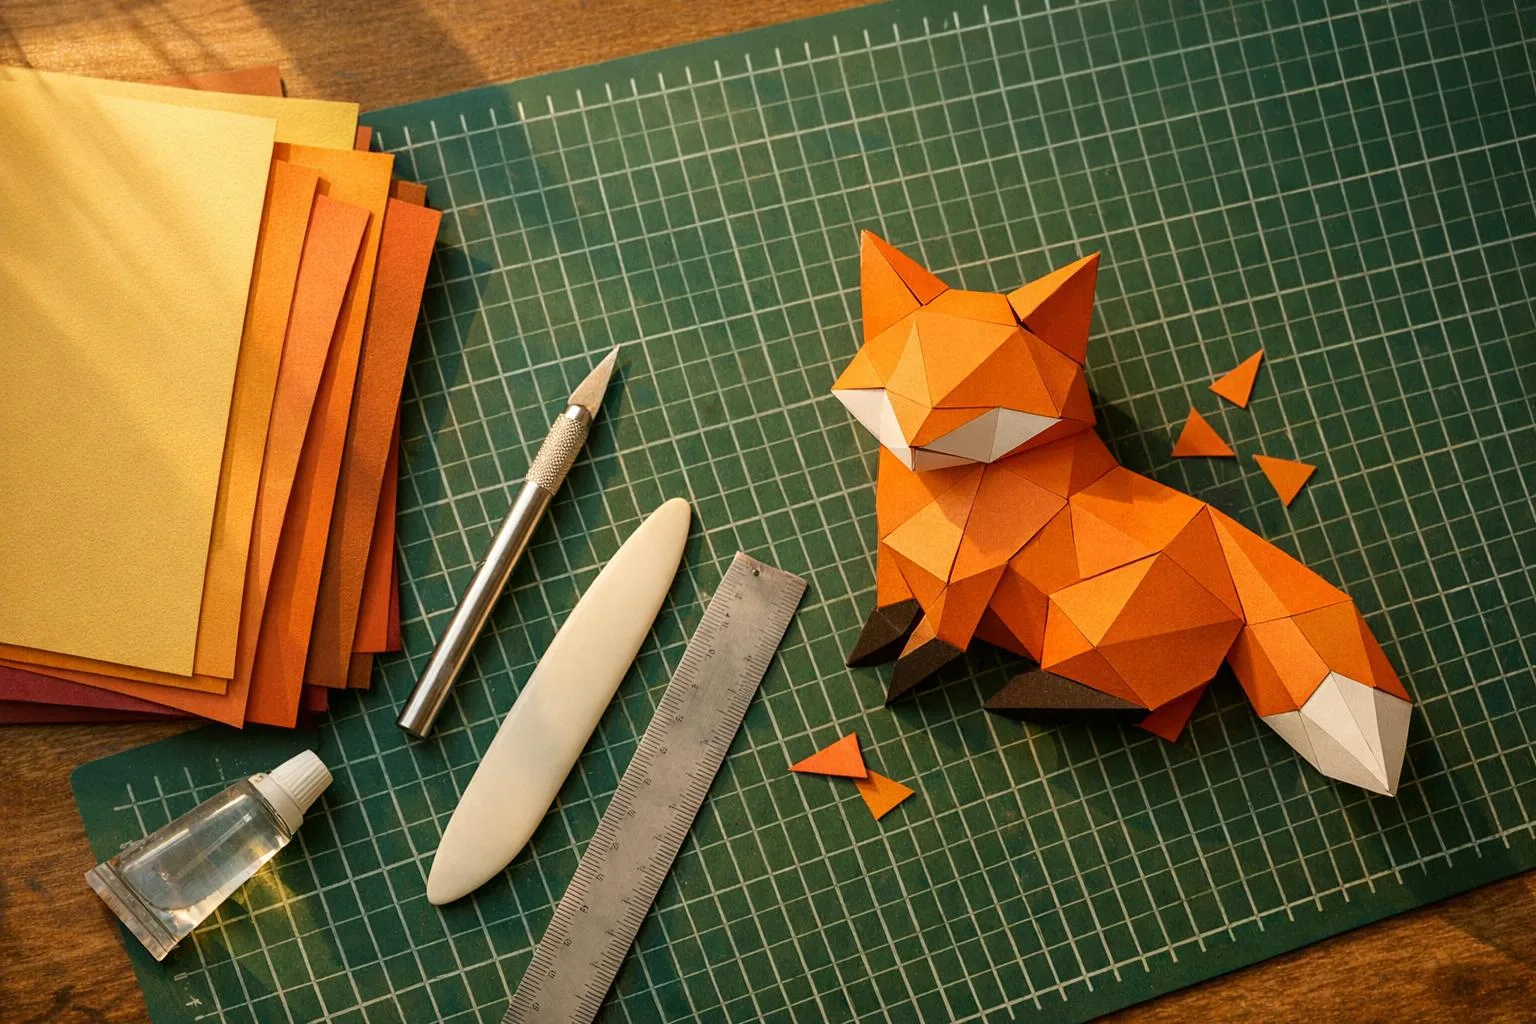
Five tools make up the core papercrafter’s kit. They fit in a pouch, are easy to find, and will serve you well for years.
The precision craft knife: your best friend
Forget the bulky DIY utility knife: for papercraft, you need a precision craft knife, also known as a modelling scalpel. Its fine, pointed blade lets you follow the most delicate outlines, cut sharp inner corners, and trim small glue tabs cleanly. The slim handle feels like a pen, so cutting becomes a natural motion rather than a test of strength.
A set like the GOLDGE precision craft knife set with 2 handles and 42 blades is an excellent place to start: having spare blades on hand saves you from pushing through with a dull one. And that really matters: a blunt blade doesn’t cut paper anymore, it tears it. As soon as you feel resistance or your cut starts looking fuzzy, change the blade. With 200 gsm cardstock, expect to swap blades regularly. That’s the price of crisp, clean cuts.
The cutting mat: your table’s life insurance
A self-healing cutting mat protects your table, of course, but that’s not all it does. Its slightly soft surface gives the blade just enough grip for smoother cuts, while the printed grid helps you line up sheets and check angles. So-called “self-healing” mats close back up after the blade passes through, which means the surface stays smooth for years instead of filling with grooves that throw off future cuts.
For size, A3 is the sweet spot for papercraft: an A4 sheet fits comfortably with enough room to rotate it without slipping off the mat. The ACROPAQ A3 5-layer self-healing cutting mat does the job very well, with a grid on both sides.
Glue: the choice that changes everything
This is where beginners get it wrong most often. The ideal papercraft glue needs to tick three boxes: it must grab quickly enough that you’re not holding every tab in place for two minutes, it mustn’t soak the paper, and it must dry perfectly clear.
The go-to option for papercrafters is Tombow PT-MTC Multi Talents dual-tip liquid glue: the fine tip lays down a precise line on tiny tabs, the broad tip covers larger areas, and it dries transparent. A cheaper but highly effective alternative is UHU All Purpose Extra Gel, whose gel texture doesn’t run and won’t warp the paper. Both work beautifully; Tombow gives you more precision on detailed models, while UHU gel is a little more forgiving when you’re working fast.
What to avoid: standard runny white glue, which soaks the tabs and makes the faces ripple, and adhesive tape, which always ends up showing.
The bone folder: the secret to sharp folds
This is the tool nobody knows before they start, and nobody wants to be without once they’ve tried it. A bone folder, traditionally made from bone, does two jobs: it scores fold lines before folding and it presses folds flat to create crisp, sharp edges. And in 3D papercraft, everything depends on accurate folds: one soft edge and the whole geometry of the model starts to drift.
In practice, you place a ruler along the fold line, run the point of the folder along it with firm pressure, and the paper folds exactly where it should, without cracking or wandering off line. The Folia 23004 bone folder is an affordable classic that will last a lifetime. If needed, a compass point or an empty ballpoint pen can work in a pinch for scoring, but the comfort and control are nowhere near the same.
The metal ruler: the guide behind every clean cut
Last essential: a 30 cm metal ruler. Metal is non-negotiable. A craft knife will bite into a plastic school ruler and eventually slip toward your fingers. A stainless steel ruler like the Maped 30 cm stainless steel ruler gives you a perfect cutting edge for every straight cut and doubles as a guide for scoring with a bone folder. Its flat profile holds the paper down nicely, and the engraved markings won’t rub off.
Paper: the real secret to beautiful papercraft
You can have the best tools in the world, but if your paper isn’t right, the result will disappoint. The golden rule of papercraft: forget standard 80 gsm printer paper. It’s too thin, it warps under glue, tears at the folds, and won’t hold the shape of a 3D model.
Papercraft works best with cardstock, usually between 160 and 220 gsm depending on the model:
- 160 gsm: the all-rounder. Stiff enough to hold its shape, flexible enough to fold small parts neatly and handle curves. It’s the ideal weight for beginners and the one we recommend for most of our models.
- 200 to 220 gsm: best for large structural parts, oversized wall trophies, or freestanding models that need to support their own weight. More demanding to fold cleanly, so scoring with a bone folder becomes essential, but the strength is excellent.
Just make sure your printer can handle those paper weights: most recent inkjet printers feed 160 gsm without trouble, often through the manual tray; for 200 gsm and above, check the printer specifications first.
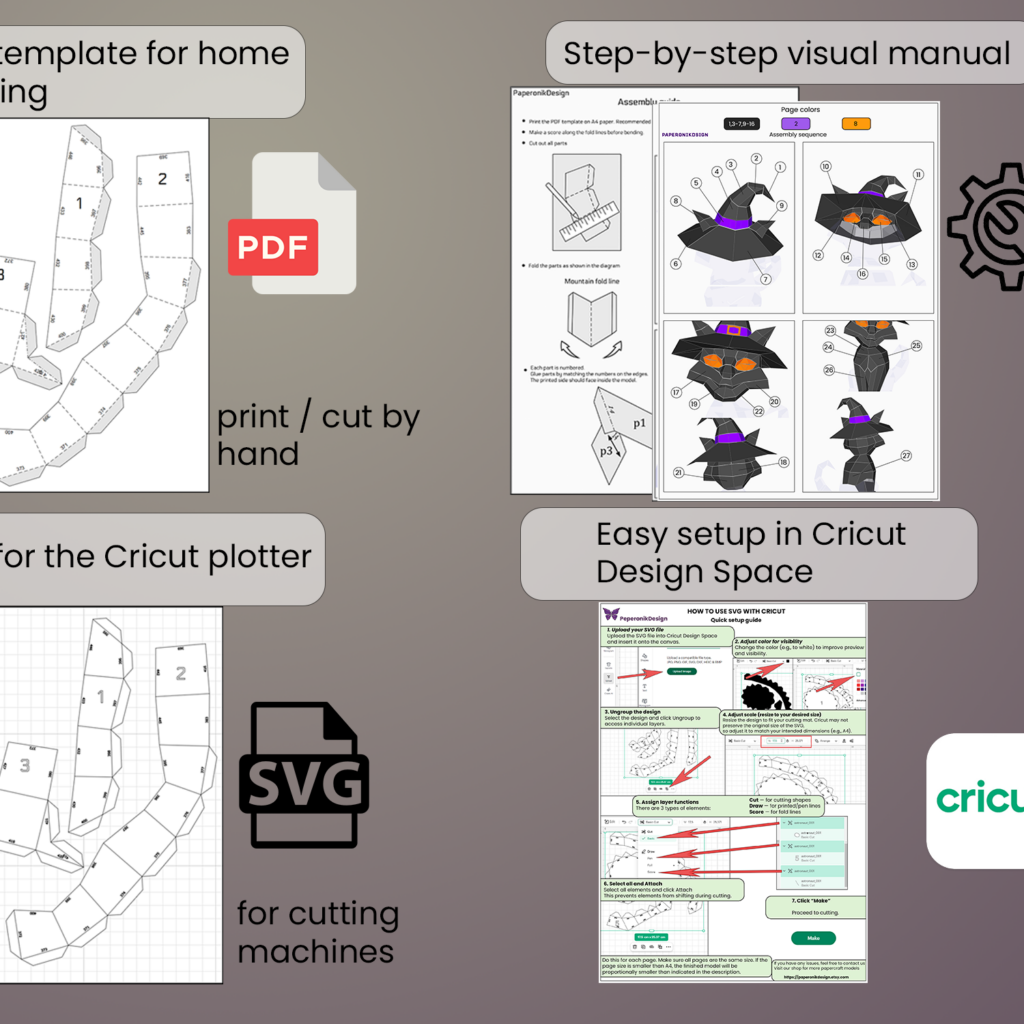
Then there’s colour. There are two schools of thought: print the model on white paper, with the colours already printed on the faces, or print the cut lines onto through-coloured cardstock, which gives your sculptures rich, even colour with no ink coverage and no white edges showing. And if you don’t have a printer or your printer can’t handle heavier paper, there’s a third option: the kit of pre-printed coloured sheets with your model, ready to cut as soon as it arrives.
Beginner mistakes to avoid
A few classic pitfalls make beginners give up on a hobby they would otherwise love. Better to know them before you start:
- Printing on 80 gsm paper: the number one mistake. The model warps, tears, and collapses. Cardstock isn’t optional, it’s the foundation.
- Cutting everything with scissors: scissors are fine for large outer outlines, but inner cut-outs and long straight edges call for a craft knife and metal ruler. The difference in finish is obvious on the final model.
- Folding without scoring: trying to fold 200 gsm paper freehand gives you uneven edges that crack. Thirty seconds of scoring with a bone folder completely changes the result.
- Using too much glue: a thin line is enough. Excess glue seeps out, leaves shiny marks, and soaks the paper. With gel glue or a fine tip, getting the amount right becomes easy.
- Ignoring the numbering: model parts are designed to be assembled in a specific order. Build out of sequence and you’ll end up trying to glue an unreachable tab deep inside a closed volume.
- Keeping a worn blade too long: when the cut starts dragging, you push harder, and when you push harder, you either tear the paper or cut yourself. Spare blades cost next to nothing, so change them without hesitation.
- Starting too ambitious: picking an 80-piece wall trophy as your first project is a great way to get discouraged. Start with a small, simple model. The satisfaction of finishing your first build beats any tutorial.
What budget do you need to start properly?
This is one of papercraft’s biggest advantages: a complete beginner setup is very affordable. Based on the list above at the time of writing, expect to pay around 12 € for a precision knife set, around 17 € for an A3 cutting mat, around 6 € for gel glue, around 8 € for a bone folder, and around 6 € for a steel ruler. That’s a full tool kit for under 50 €, and almost all of it is built to last for years. Only the blades and glue need replacing.
Add some cardstock, whose cost depends on the model and the number of sheets you need, plus a model to build. If you want to try the hobby with zero pressure, you can start with a free papercraft download to print at home: the perfect way to see whether you enjoy the cutting and assembly before committing to a bigger project.
One practical tip: resist the temptation of cheap “all-in-one” kits that promise a knife, mat, ruler, clips and more for next to nothing. The blade quality and mat quality are often disappointing, and those are exactly the two things that shape how enjoyable cutting feels. Five decent tools will always beat fifteen gimmicks.
FAQ: your papercraft tools questions answered
Can you start papercraft using only scissors?
For a simple model with large parts, yes, a pair of fine precision scissors can be enough. But as soon as the design includes inner cut-outs or long straight edges, a precision knife and metal ruler become essential for a clean finish. Given how affordable a knife set is, you may as well equip yourself properly from the start.
What paper weight should you choose for a first model?
160 gsm is the best choice for beginners: stiff without being brittle, forgiving with small folding mistakes, and compatible with most printers. Save 200 to 220 gsm for larger structural pieces once you’ve got the hang of it.
Does a glue stick work for papercraft?
No, or not well. Glue sticks don’t have enough bonding strength to hold tabs under tension, and the joins eventually come apart. Go for gel glue or a fast-grabbing liquid glue that dries clear instead.
Do you need a printer to get started?
It’s more convenient, but not essential. You can have your PDF printed on cardstock by a local print shop, or choose a kit of pre-printed sheets with the model included, delivered ready to cut. What matters is the paper weight, not the machine printing it.
How much time should you allow for a first papercraft project?
It depends entirely on the size of the model: allow a few hours for a small standing animal, and several evenings for a large wall trophy. This is a hobby meant to be savoured. Most enthusiasts cut one evening, assemble the next, and that calm rhythm is exactly what they love about it.
Ready to build your first model?
A precision knife, an A3 cutting mat, good glue, a bone folder, a metal ruler, and 160 gsm cardstock: that’s it. That’s all that stands between your dining table and your first paper sculpture workshop. The tools are a one-time buy, they barely wear out, and every finished project will make you a little more demanding and a little prouder. Now all that’s left is to pick your first build: browse our downloadable PDF papercraft models and find the one that’ll soon take pride of place on your shelf.