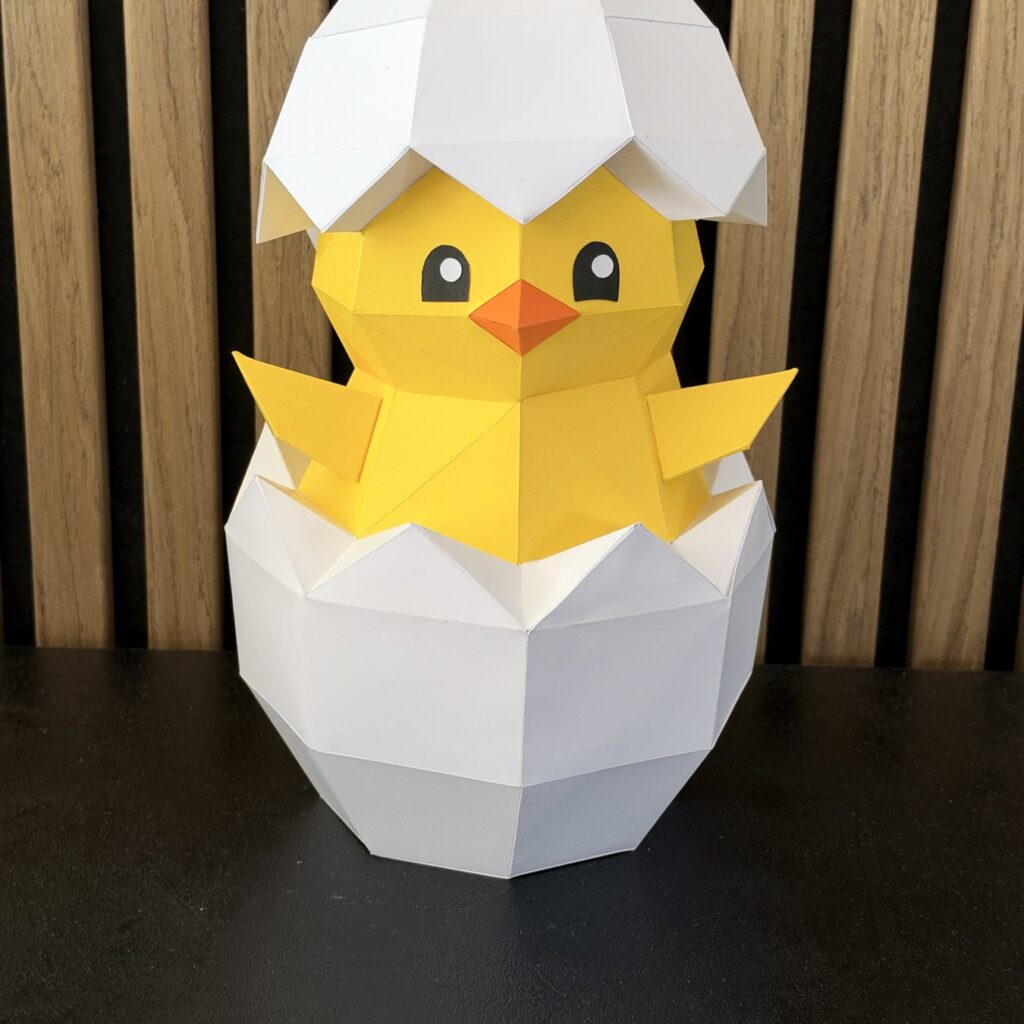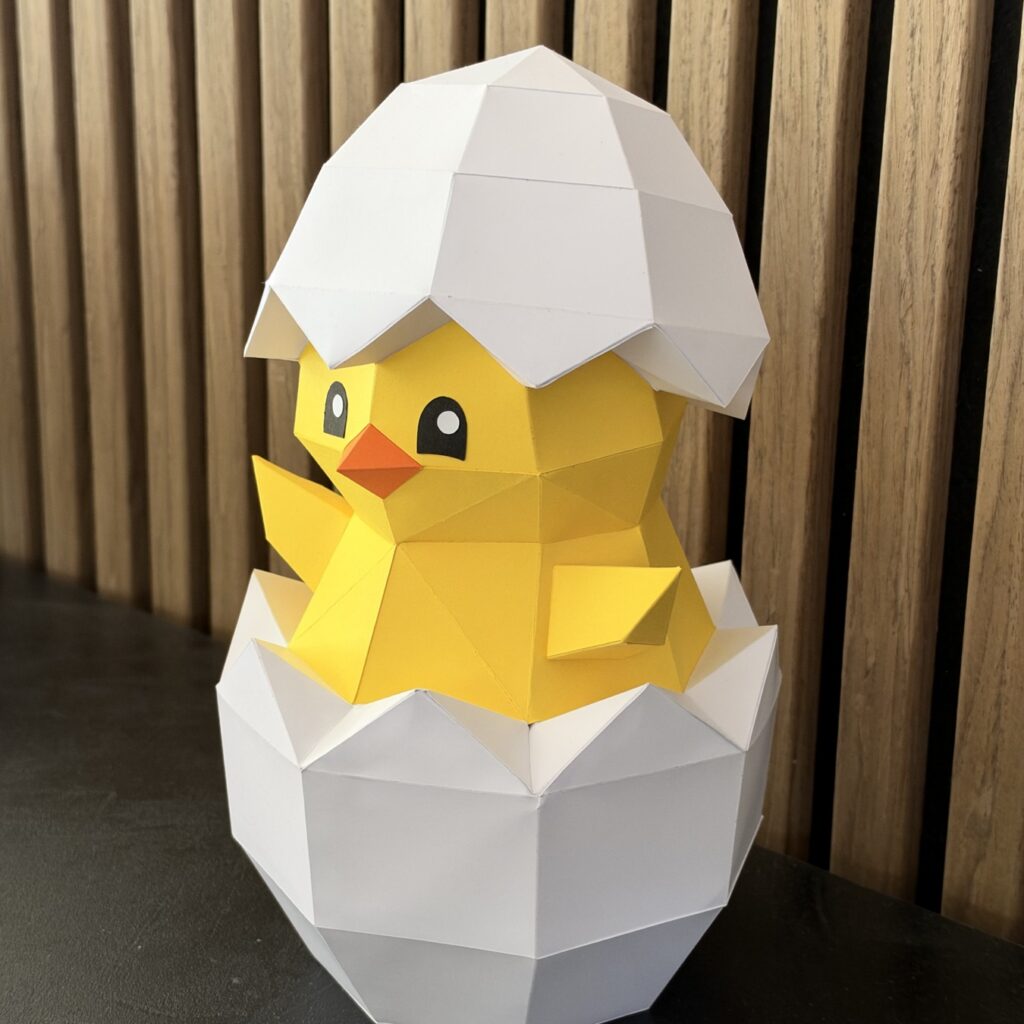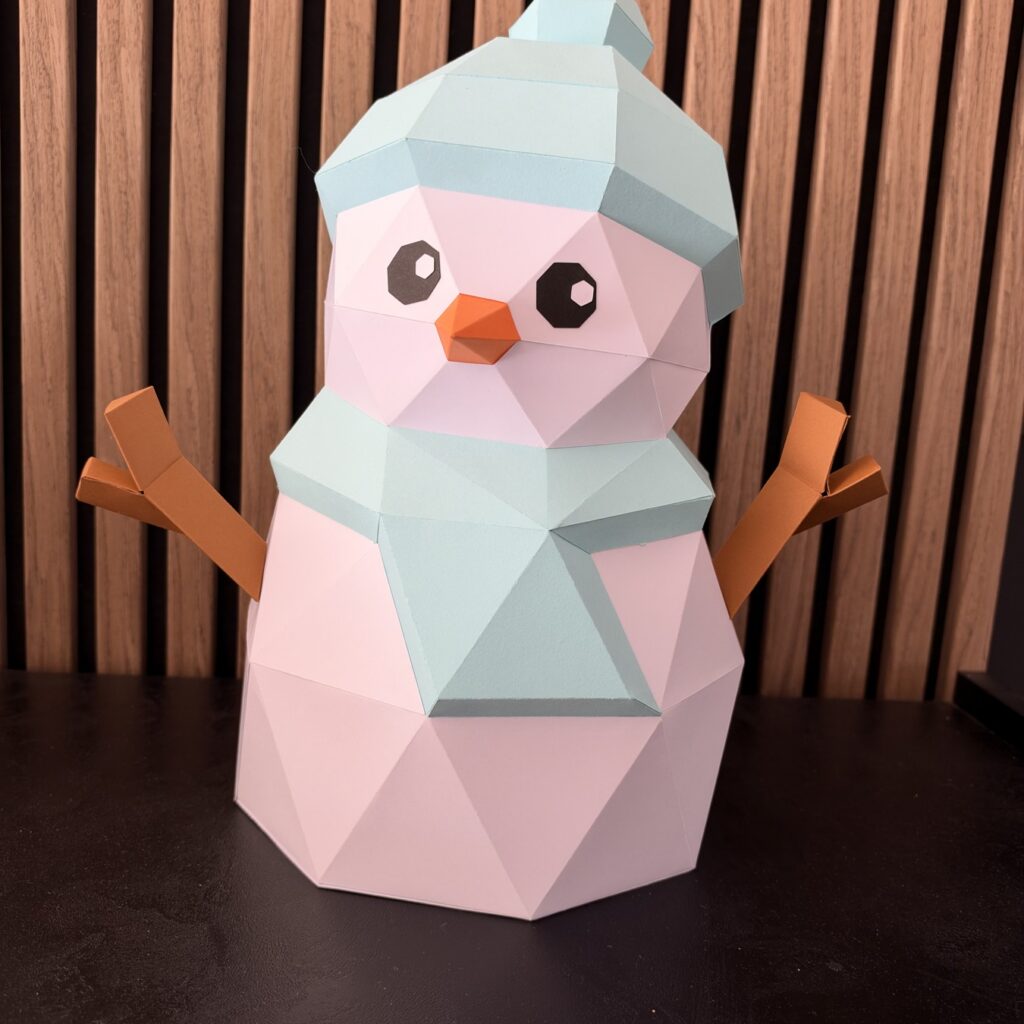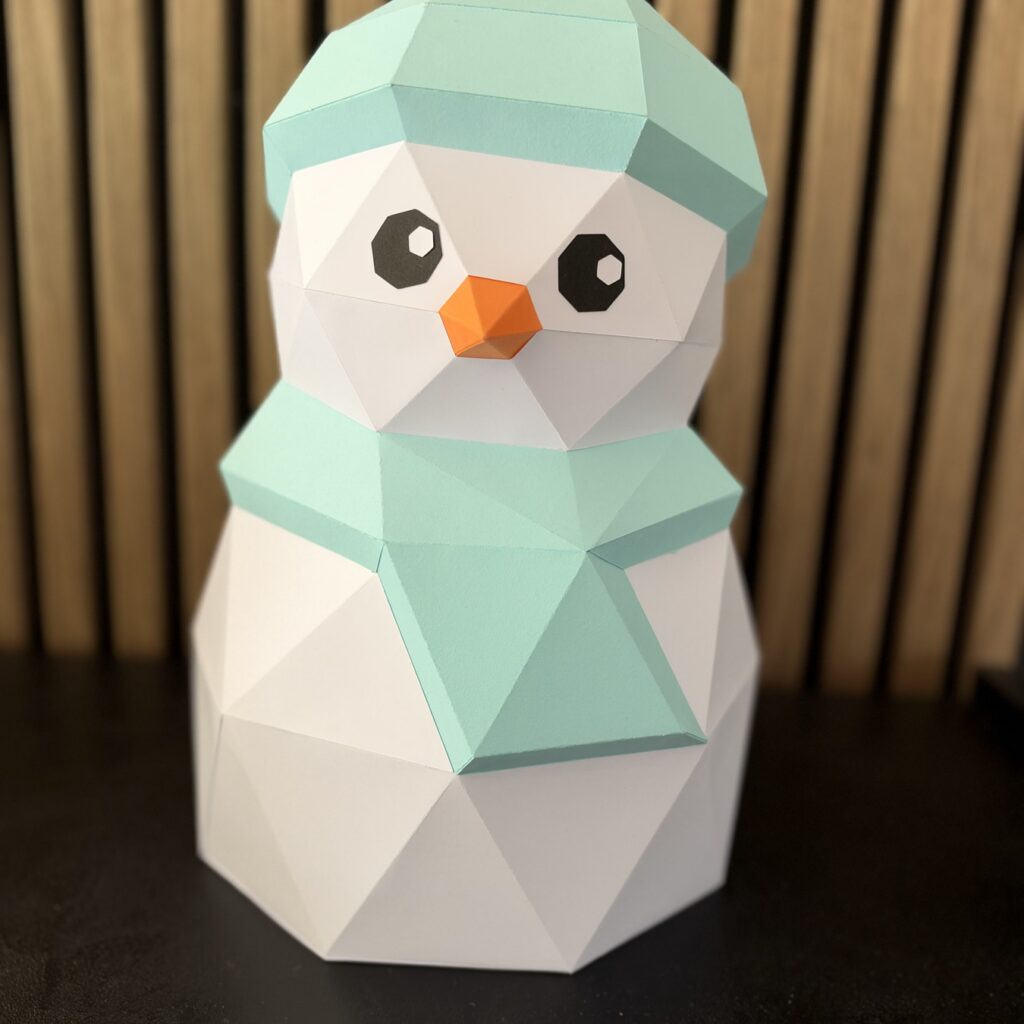
DIY, or Do It Yourself, is a choice that appeals to more and more people who enjoy making or repairing objects without turning to industrial solutions. The advantage is that this approach is open to everyone thanks to tutorials, ready to use kits and simplified technologies such as 3D printing. If you are a beginner, here are 4 simple project ideas you can carry out to bring your creative passion to life.
Print a simple object in 3D
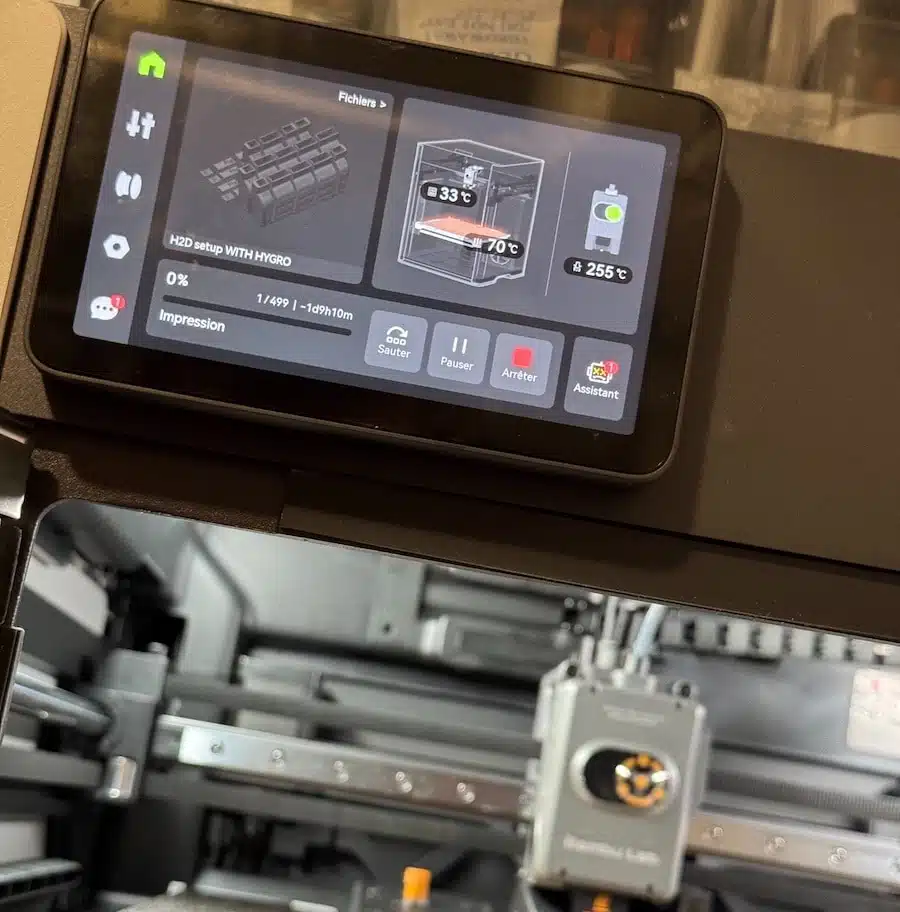
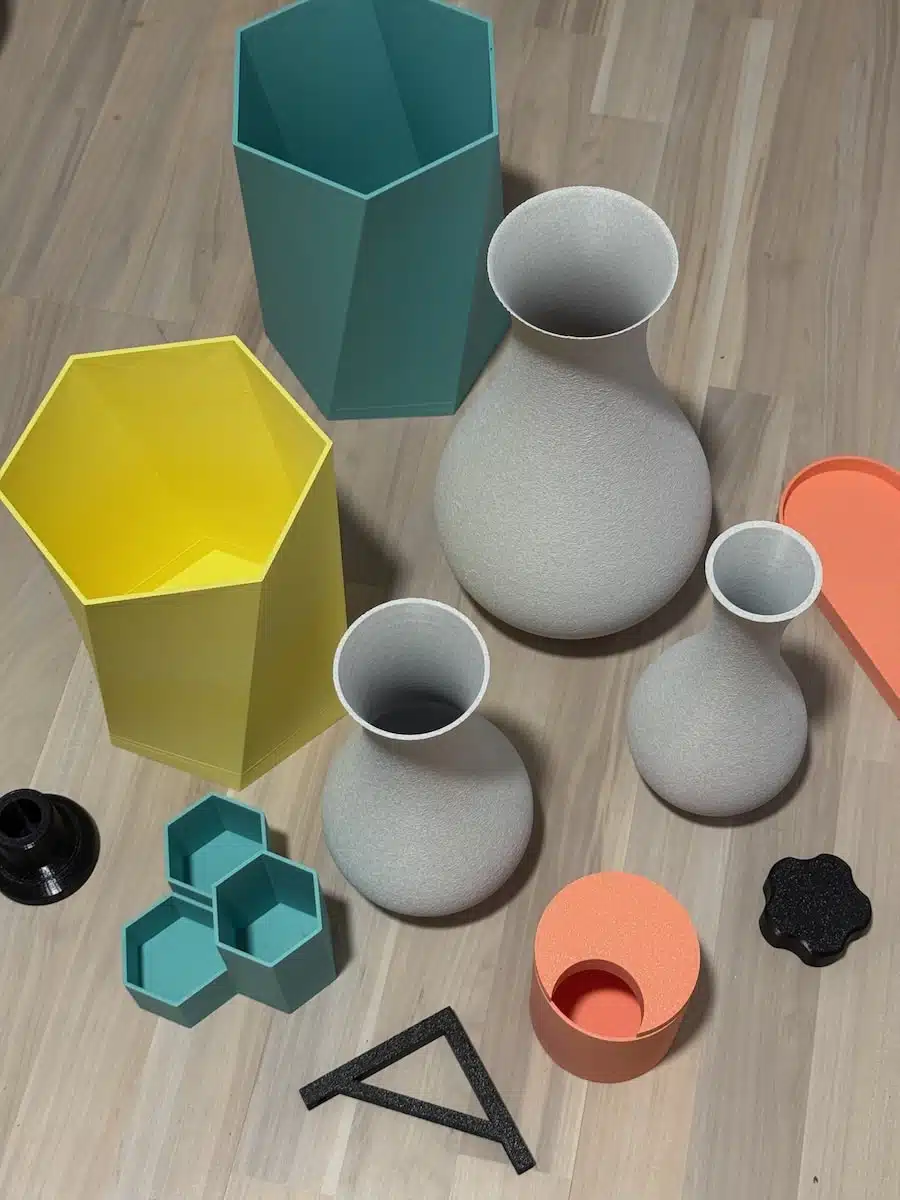
Making a 3D print is an excellent way into the technological side of DIY for anyone with access to a 3D printer. Basic objects such as personalised keyrings, a phone stand or a mini cable organiser are perfect examples to start with.
There are models you can download for free on dedicated platforms and print in a few hours. To make a success of the experience, you can visit the site exantrix.com to see the different steps to follow. This project lets you get to know the 3D printing ecosystem. You discover the types of material used and notions such as 3D modelling and printing settings like infill, layer height and temperature.
Making a 3D print gives you considerable creative freedom. You can adjust the shape of the object or add other elements while building the digital model. This rewarding project guides you in turning a digital idea into a concrete, useful object.
Design a personalised photo frame
Another idea to get started with DIY is to make a personalised photo frame. It is an excellent way to begin handling varied materials. To do it, you can use wood, cardboard or 3D printed ornaments if you know how to use a 3D printer.
With a saw, you cut the material to the size you want to give your photo frame. Then you assemble the different parts to form the frame. As exantrix recommends, you can decorate the frame with fabric, rope or paint.
Depending on your taste, the personalisation can take a minimalist turn or extend to abundant ornamentation. Making this kind of object is a way of expressing your creativity. Better still, it carries a real emotion if the framed photo matters to you.
Personalise a tote bag with textile paint
Personalising textiles is a project that calls for little technique while delivering a unique result. To turn this DIY idea into reality, all you need is a cotton tote bag, textile paint and brushes or stencils. To begin with, apply the paint to the tote bag. You can choose to paint simple shapes, write an inspiring message or create a repeating pattern. The advantage is that whatever type of design you make, the result will look good.
After painting, a pass with an iron or the use of a hairdryer sets the colours properly. Thanks to this project, you turn an everyday object into a personal accessory. The task can be done in a workshop with friends or on your own. It is an excellent way to let your artistic talent speak without any pressure.
Make a wooden plant stand
Making a wooden plant stand needs only a few tools, which makes it an ideal project for starting out in DIY. You just need a few boards, a tape measure, sandpaper and a screw to hand. After cutting the boards to the right size, assemble them, then sand the whole thing to make the surface smooth. The final result can be left raw to keep the natural style, or you can decorate it to your taste.
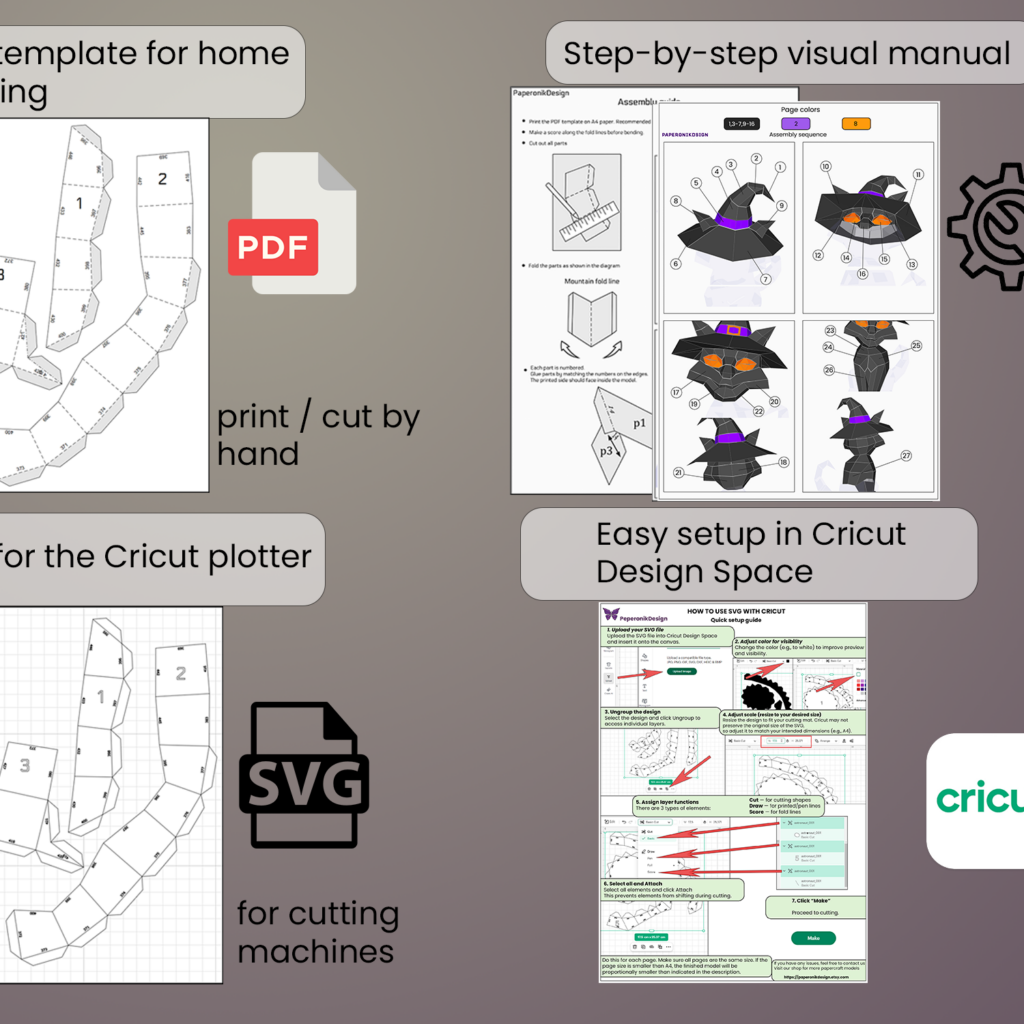
Want to build something today? Have a look at our free papercraft to print, or start with our downloadable PDF papercraft kit.