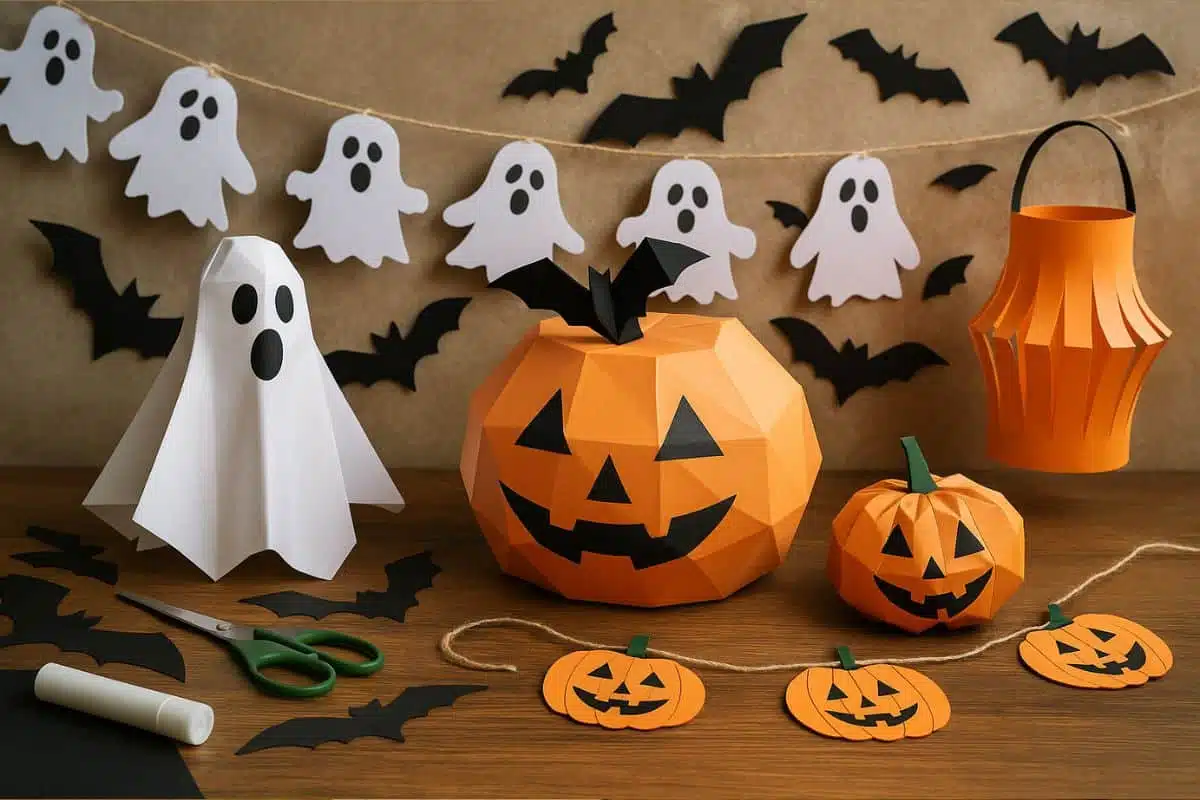
Skip the store-bought Halloween decor and start making your own paper DIYs! Whether you’re just getting started with crafts or you’re an origami pro, creating your own paper Halloween decorations is fun, budget-friendly, and eco-conscious. On the menu: ghost garlands, spooky lanterns, bat silhouettes, and even jaw-dropping 3D papercraft models. Follow the guide and turn a few sheets of paper into one-of-a-kind Halloween decor.
Why choose paper DIY for Halloween?
Making your own decorations comes with plenty of perks:
- Original and fully customizable - When you make your own decor, you choose the design, colors, and size. No one else will have exactly the same setup as you! No more copy-paste interiors straight out of a big-box store.
- Low-cost fun - Paper costs next to nothing. A few sheets of cardstock, a pair of scissors, and a glue stick are all you need to create something amazing. Old newspapers and packaging cardboard can even get a second life.
- Creative and social - It’s the perfect activity to share with family or friends. Getting kids involved in making paper ghosts or funny little monsters means great memories too.
- Eco-friendly by nature - Unlike disposable plastic decorations, paper decorations are biodegradable and recyclable. You can reuse them next year or compost them when you’re done with them.
Did you know? Halloween is now widely celebrated across Europe and beyond, especially among young adults. But you don’t need to spend a fortune: with a bit of effort and a few simple supplies, your home can be ready to give your guests chills. ???? And honestly, saying “I made that myself!” feels pretty great.
The must-have supplies for your paper Halloween decorations
Before you begin, take stock of the materials you’ll need. Good news: nothing complicated here. Here’s the basic checklist for the perfect paper-decor maker:
- Thick paper - cardstock sheets like Canson-style paper (white, black, orange, kraft, etc.), construction paper, and even crepe paper for certain effects (for example: floating ghosts).
- Cutting tools - sharp scissors (round-tip scissors for kids), a precision craft knife for fine details, and a cutting mat to protect the table.
- Glue - a glue stick for flat assembly, white liquid glue or a hot glue gun (used carefully) for building 3D shapes.
- Pencils and markers - for sketching designs and drawing creepy faces (eyes, mouths) on your creations. A white pen works great on black paper too (for example: bat eyes).
- String or nylon thread - essential for hanging elements (garlands, mobiles, ceiling bats…) or creating “floating” effects. Clear fishing line is perfect for an optical illusion.
- Decorative extras - self-adhesive googly eyes, glitter, acrylic paint, ribbons, and more. These little touches add personality to your creations (picture a glittery paper pumpkin or a ghost with giant wobbly eyes).
With just these few supplies, you’re ready to go. And of course, think recycled: empty toilet paper rolls, egg cartons, newspapers, and used cardboard all make excellent free raw materials. For example, a simple cereal box cut open gives you perfect cardboard for sturdy silhouettes (black cats, gravestones, and more).
Tip: if you’re planning large paper decorations for outdoor use (such as window silhouettes or garden signs), don’t hesitate to laminate them or coat them with decoupage glue to make them sturdier and more moisture-resistant. That way, you can reuse them next year too!
Paper Halloween decoration ideas (easy & spooky)
1. Ghost, pumpkin, and bat garlands
A timeless classic, the paper Halloween garland is easy to make and looks amazing on a wall or in front of a window. A few ideas:
- Ghost garland - Fold a strip of white paper accordion-style. Draw the outline of a little ghost (????) with its hands touching the folded edges. Cut it out carefully (without cutting through the hands entirely), then unfold it: magic, a whole row of ghosts holding hands! Add eyes and a mouth with a black marker… Boo!
- Bat garland - Same technique, but with black paper. You can also cut out individual bats and tie them to alternating orange and black string for a “flying swarm” effect. Add tiny red eyes (with marker or glitter) for a piercing nighttime stare.
- 3D pumpkin garland - For something more elaborate, make mini 3D paper pumpkins. Cut 8 identical circles or pumpkin shapes from orange paper. Fold each one in half and glue them back-to-back to form a 3D pumpkin. Make several and hang them on a string. You’ll get an adorable garland of plump little pumpkins ????! (You can glue a small green paper leaf to the top of each one.)
Average time: 15 to 30 minutes per garland. Materials: White/black/orange paper, scissors, glue, string.
Bonus: These garlands are light and easy to hang with a bit of tape or a thumbtack. To keep them in good shape from year to year, store them flat in a cardboard folder so they won’t tangle.
2. Spooky window silhouettes
Give the neighbors a scare by decorating your windows and glass doors with black paper silhouettes! Once night falls and the lights are on inside, these shapes appear like dramatic shadow figures that can be seen from outside.
- Bats and spiders: Cut bats in different sizes from black paper and stick them onto the panes as if they were flying through the window. Add some fake cobwebs made of cotton and a few hanging paper spiders to complete the scene.
- Monsters and ghosts: Print or draw skulls, ghosts, witches, and more on black paper. Stick them to the glass (a little reusable putty is enough). From outside, it will look like a mysterious guest is staring through the window! You can even create full characters: for example, a life-size monster silhouette behind the curtain for a true haunted-house vibe.
Tip: If you don’t have black paper, simply paint white paper black (with poster paint or acrylic) or use cardboard from a box instead (the brown side works surprisingly well at night too). Stick your cutouts on the inside of the window so they stay protected from rain.
Why not… swap some bulbs near your windows for colored ones (red or green) to create an even creepier glow. Your paper silhouettes will look even better in eerie green or blood-red light… ????
3. Lanterns, tealight holders, and bewitched candles
Nothing creates Halloween atmosphere quite like lighting effects. Paper can help here too:
- Paper pumpkin lantern - Take a sheet of orange paper. Draw a jack-o’-lantern face on it (triangle eyes, V-shaped nose, jagged mouth) and cut out the shapes. Roll the sheet into a cylinder and glue it closed. Place an LED candle or a mini string light inside… and there you have it: a pumpkin lantern that won’t blow away in the wind! You can do the same in black with bat motifs or in white with ghosts.
- “Mummy” tealight holder - Reuse an empty glass jar. Wrap it with strips of toilet paper or gauze (like bandages), securing them with a dab of glue. Slip a tealight inside. Add two white cardstock circles to the front + two small black circles in the middle to make mummy eyes. A whole army of tiny mummified candle holders on the table instantly sets the mood!
- “Bloody” candles (okay, not paper, but such an easy DIY we had to include it) - Take two candles, one white and one red. Light the red candle and let the wax drip over the white one. The red wax hardens into streaks that look like blood. Put them in black holders or vintage candlesticks for a chic horror effect.
Important: always use LED candles or electric tealights inside paper decorations or near paper! Fire risk is real. Paper burns fast, so flame-free lighting is the safest option ???? (or keep real flames well away and never leave them unattended).
4. Haunted frames, wall art, and mirrors
To complete your haunted interior, don’t forget the walls: they can hide a few paper surprises too.
- “Possessed eyes” frames: If you have framed portraits or posters behind glass, have fun sticking paper eyes over the faces (or use googly eye stickers). Suddenly your innocent-looking pictures will seem possessed - or like they’re watching your guests from the corner of their eye. (Use removable putty so you don’t damage the original image.)
- Evil mirror: On a mirror, write a creepy message with dark lipstick (“BOO!”, “REDRUM”… get creative ????) and add a black paper silhouette peeking over the edge (for example: a monster hand or a ghost). Guaranteed spooky photo moment for anyone who looks into it.
- Paper cut-out framed art: Make your own Halloween artwork. For example, use a craft knife to cut a haunted-house scene into a black sheet of paper. Glue it onto a white background and place it in a frame. The contrast makes it look like an illustration, when it’s actually paper cutting - super elegant for a living room display.
It’s the little details that make all the difference. A few monster eyes here, a paper spiderweb there… your guests will keep discovering creepy surprises hidden around your home.
3D papercraft: bold Halloween decorations with real volume
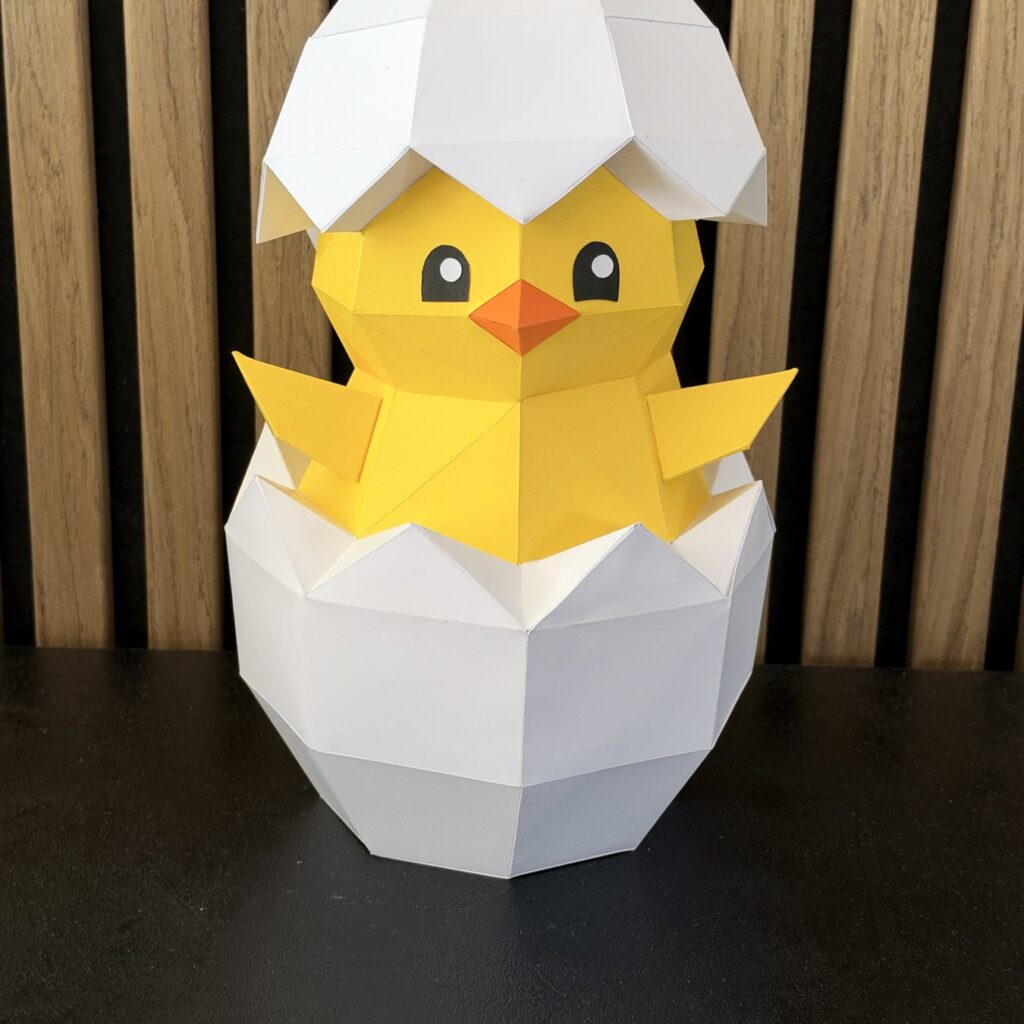
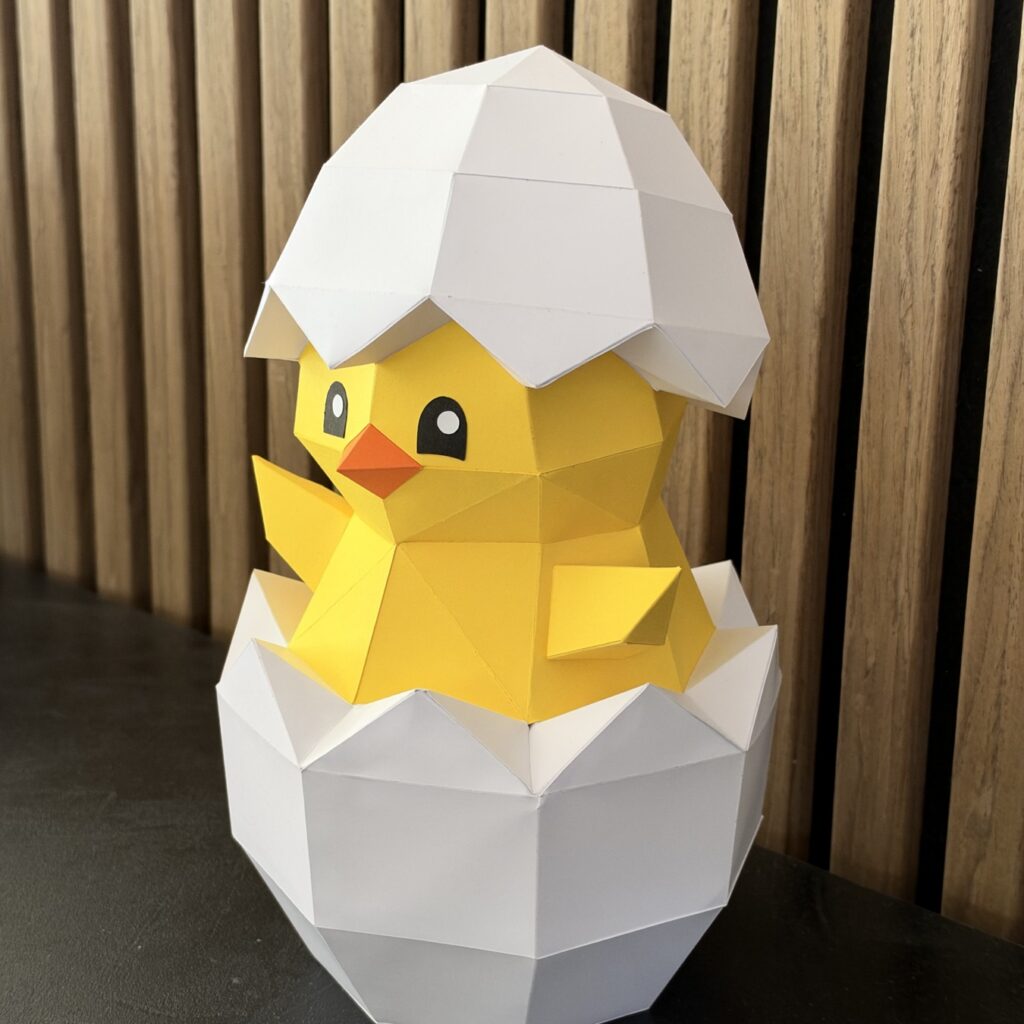
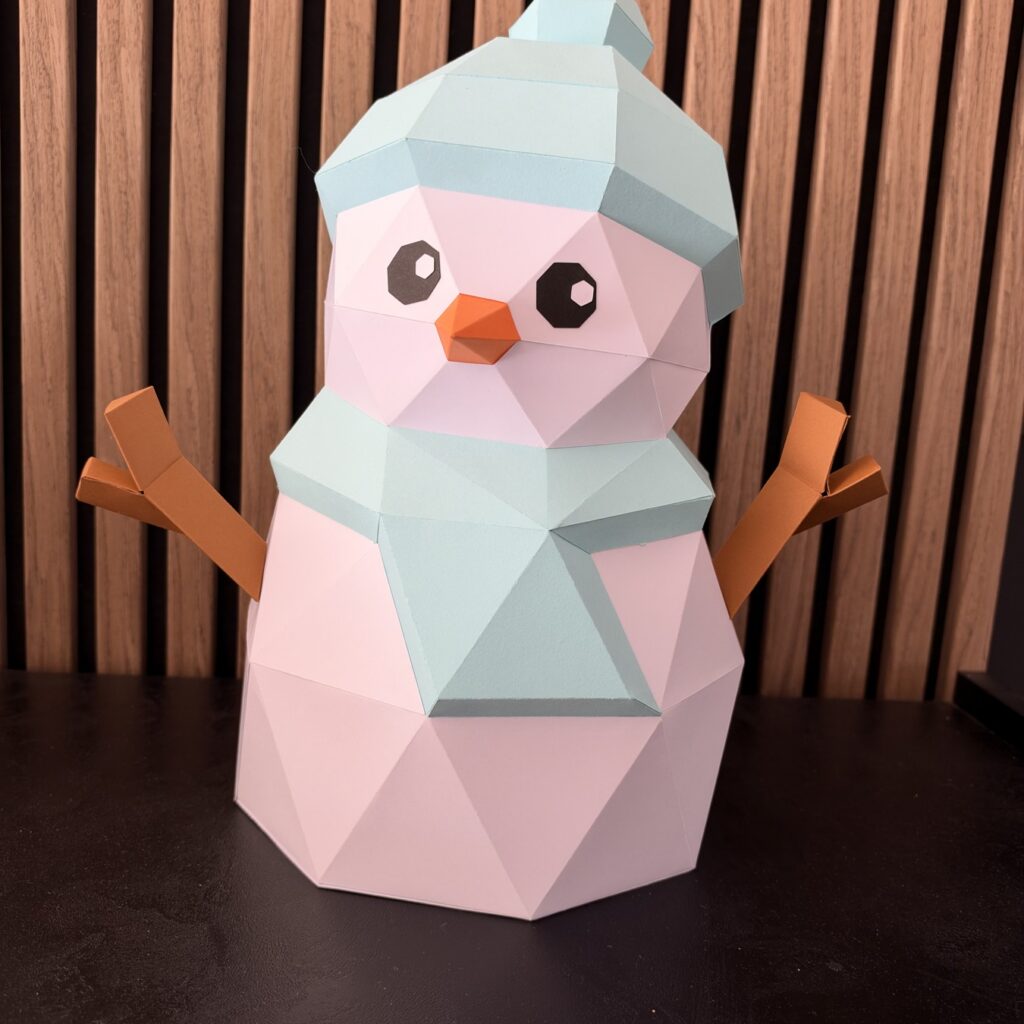
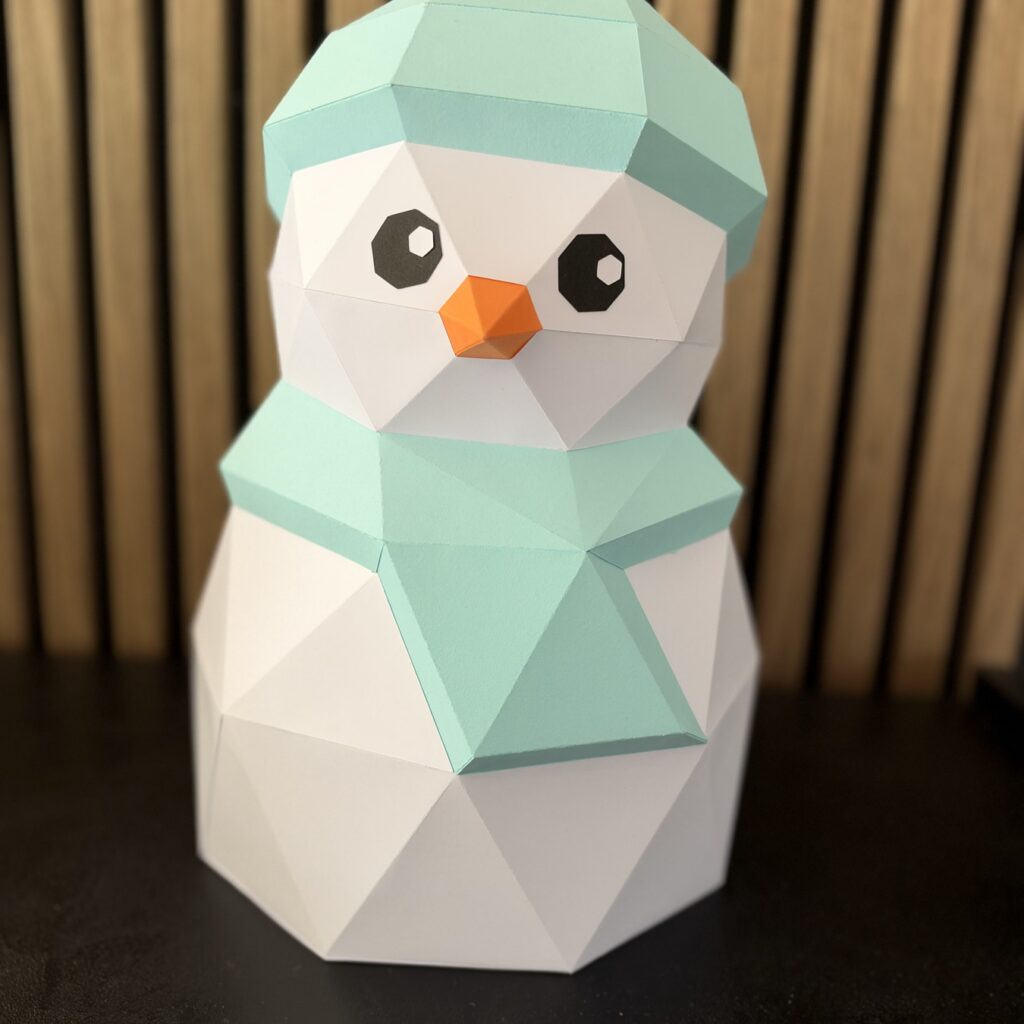
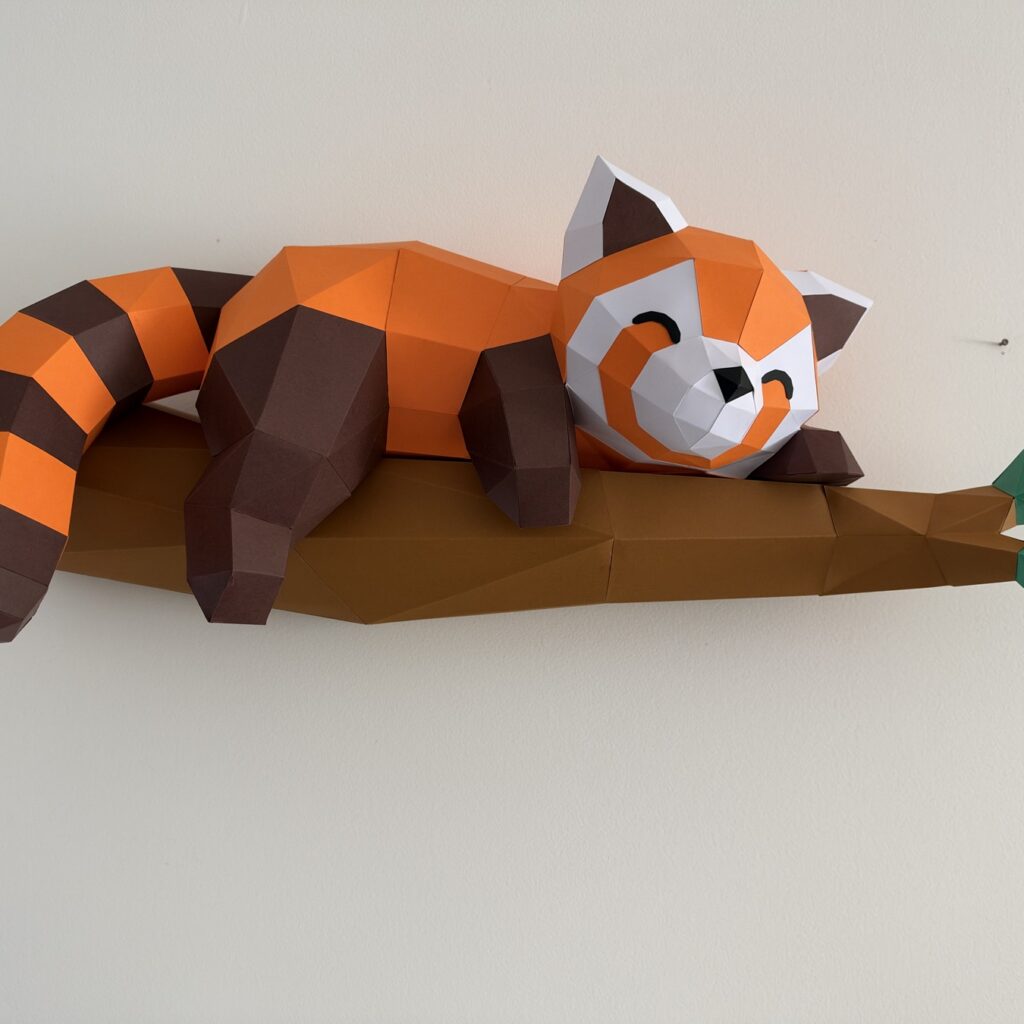
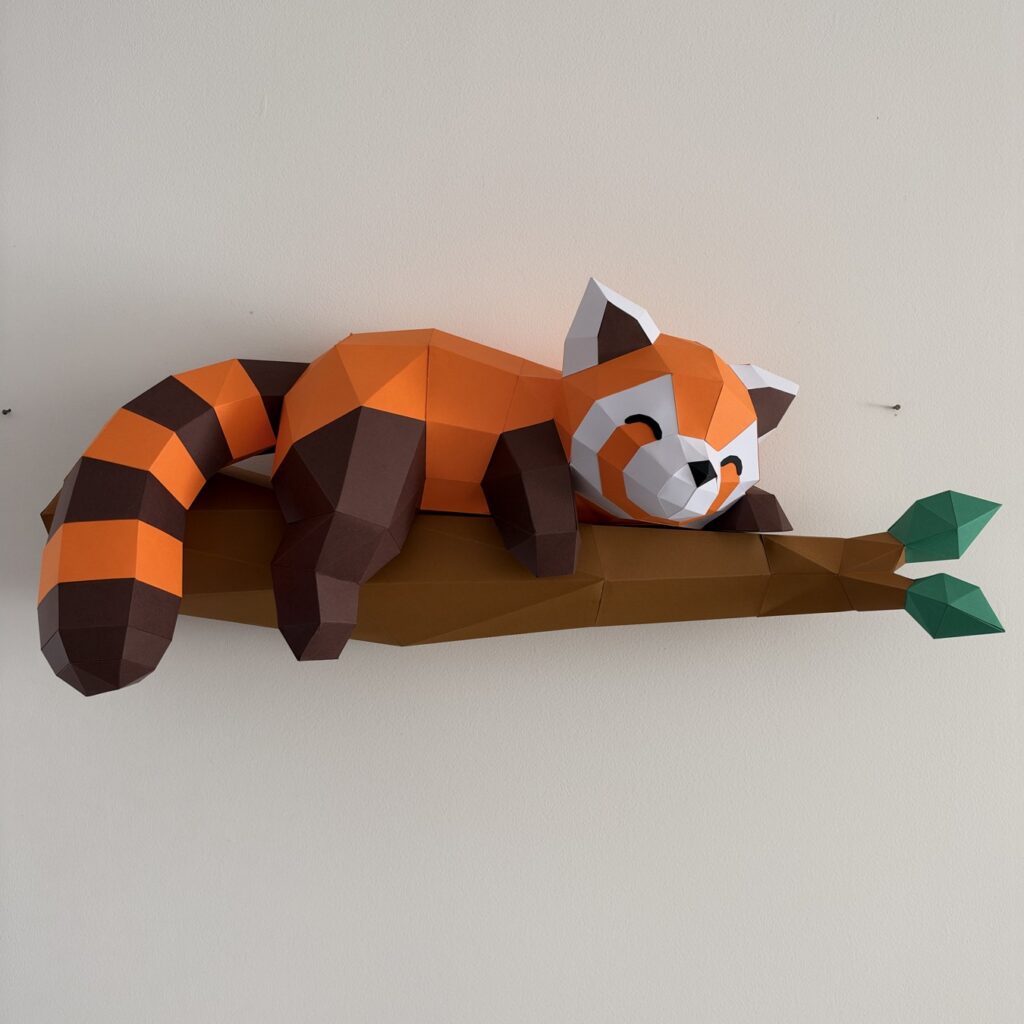
Want to go beyond classic cutouts? Try 3D papercraft! This technique, inspired by origami and model-making, involves assembling paper pieces to create a three-dimensional object. It’s perfect for Halloween and lets you make true statement pieces for your decor:
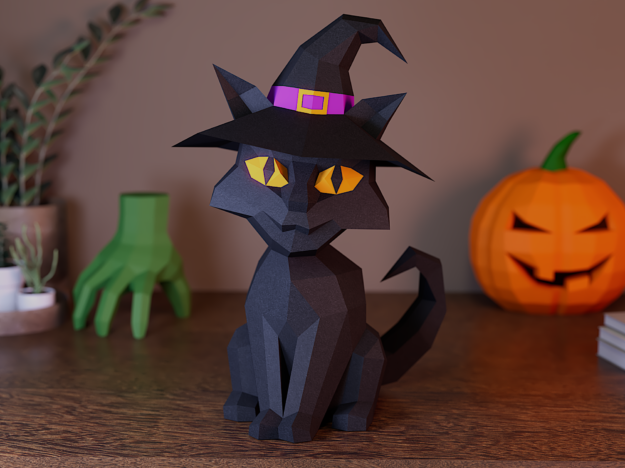
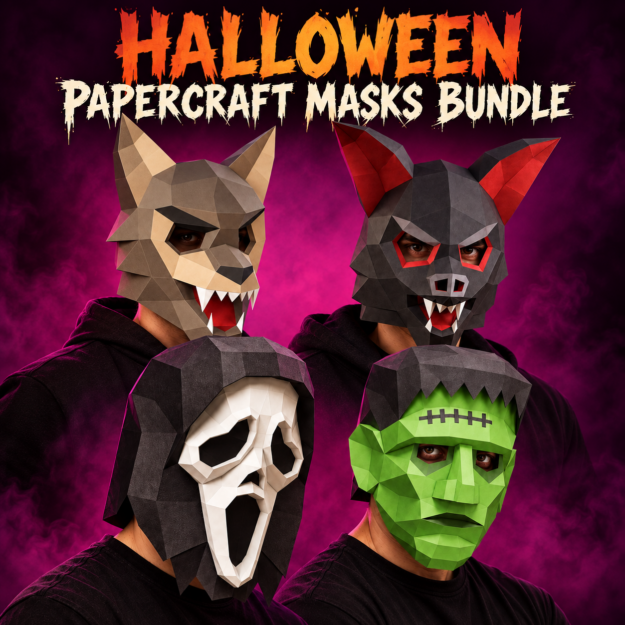
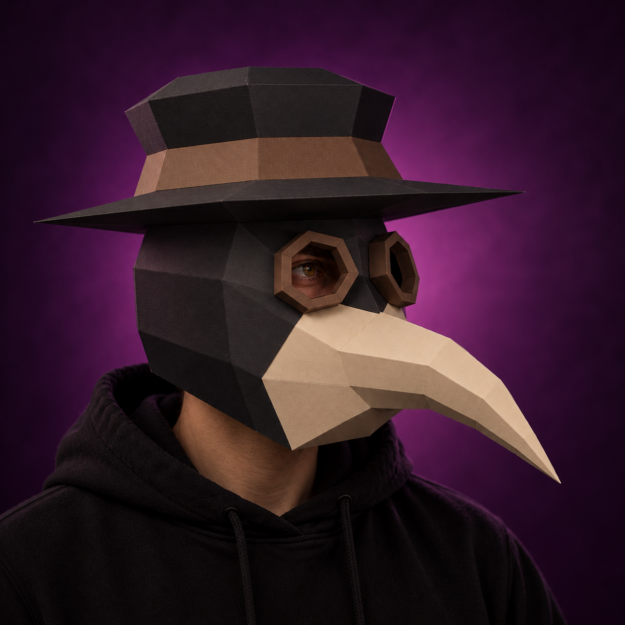
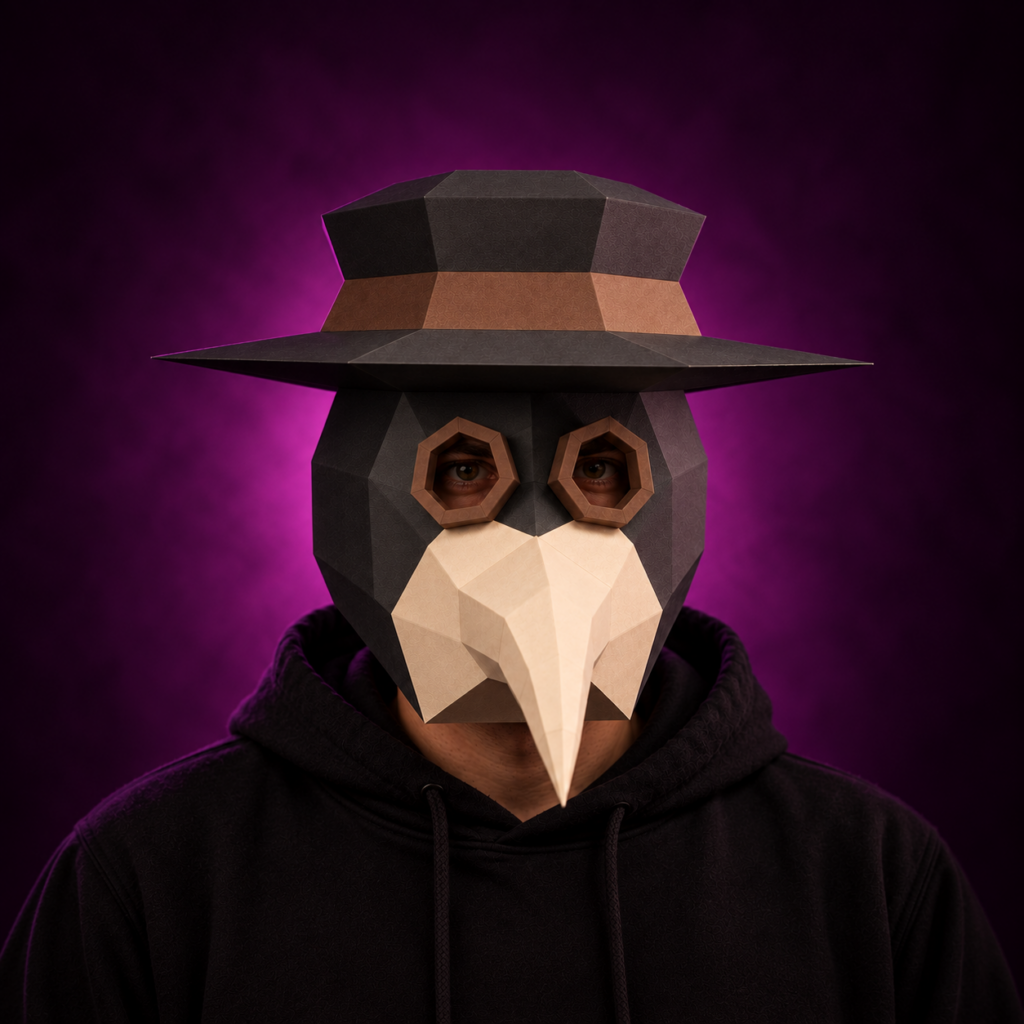
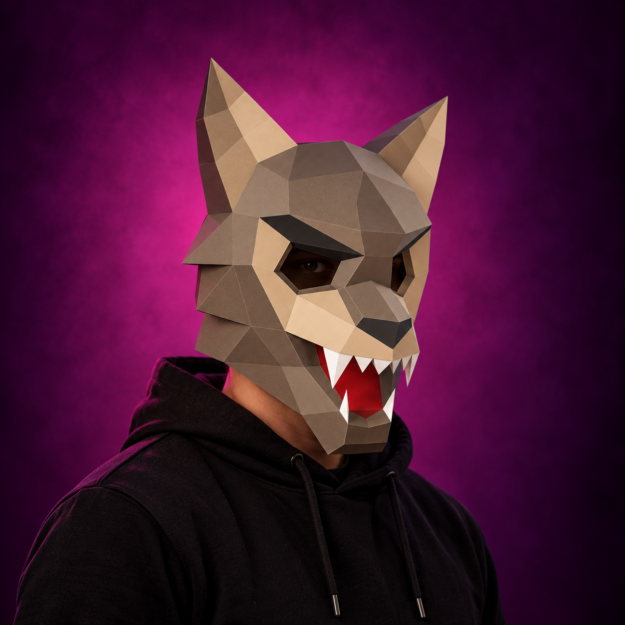
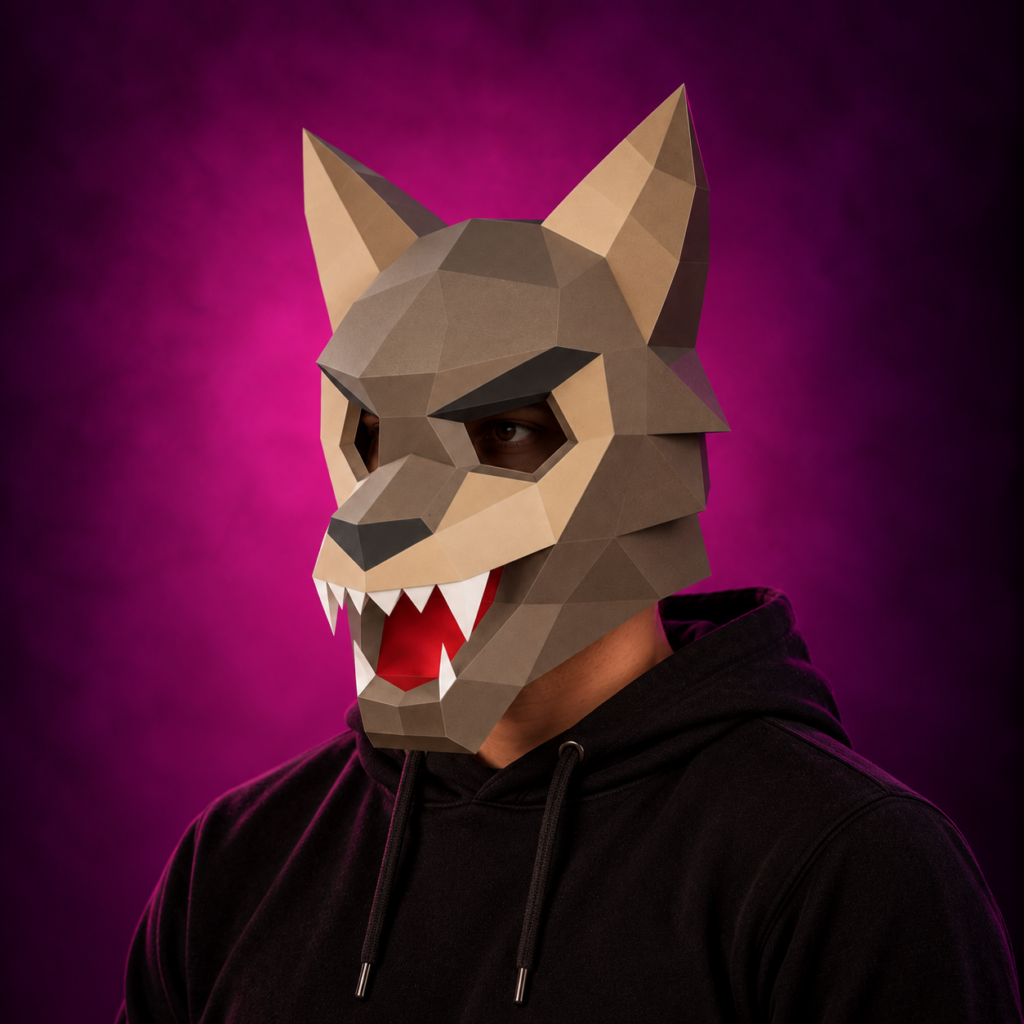
- 3D paper masks - Become a spooky character by making a 3D origami-style mask. There are templates for a horned skull mask, a mystical black cat mask, a grimacing pumpkin mask, and more. Once assembled and worn - or hung on the wall - these polygonal masks make a huge impact. They’re ideal as decor and can also double as photobooth props or a costume piece for the evening.
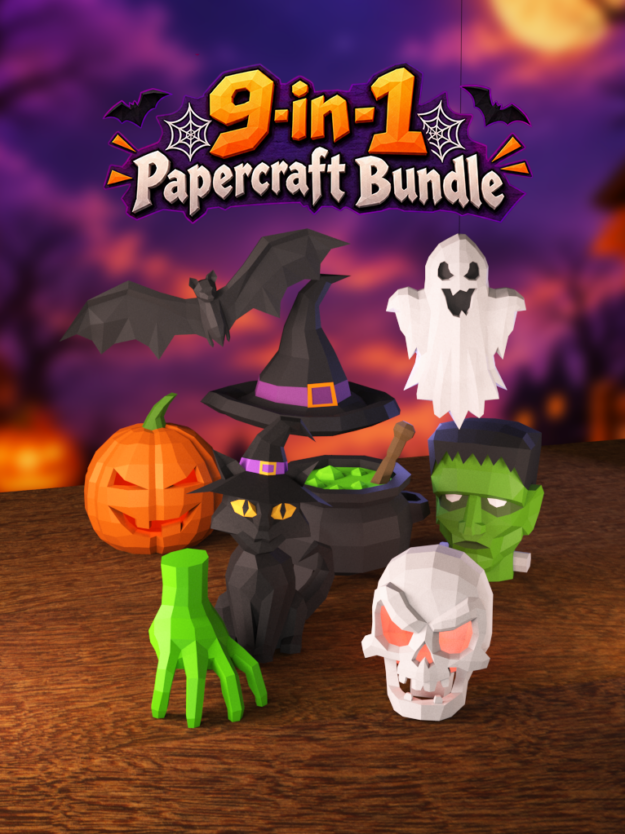
- Decorative sculptures - Pumpkin, ghost, witch, even a dead tree… anything is possible in papercraft. For example, our 3D Pumpkin & Bat kit lets you create two pumpkins (26 cm tall) and one giant hanging bat using nothing but paper and glue. Place them on the mantelpiece or entry table and enjoy the instant wow effect.
- XXL wall decor - Imagine a giant dragon head or a paper polygon raven trophy taking center stage on your wall. A large papercraft piece instantly becomes the highlight of your Halloween setup. You could also make several 3D bats and attach them to a wall as a raised colony. It looks like they’re escaping the room!
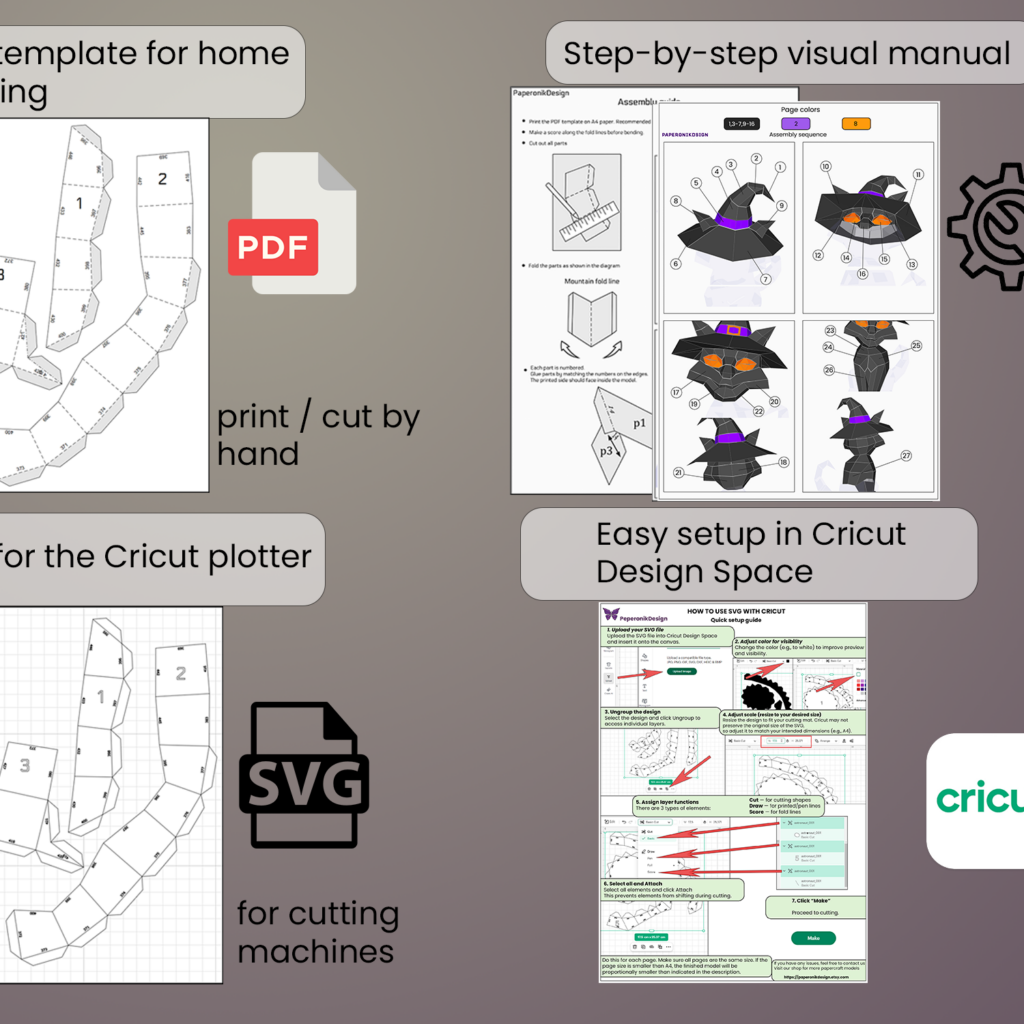
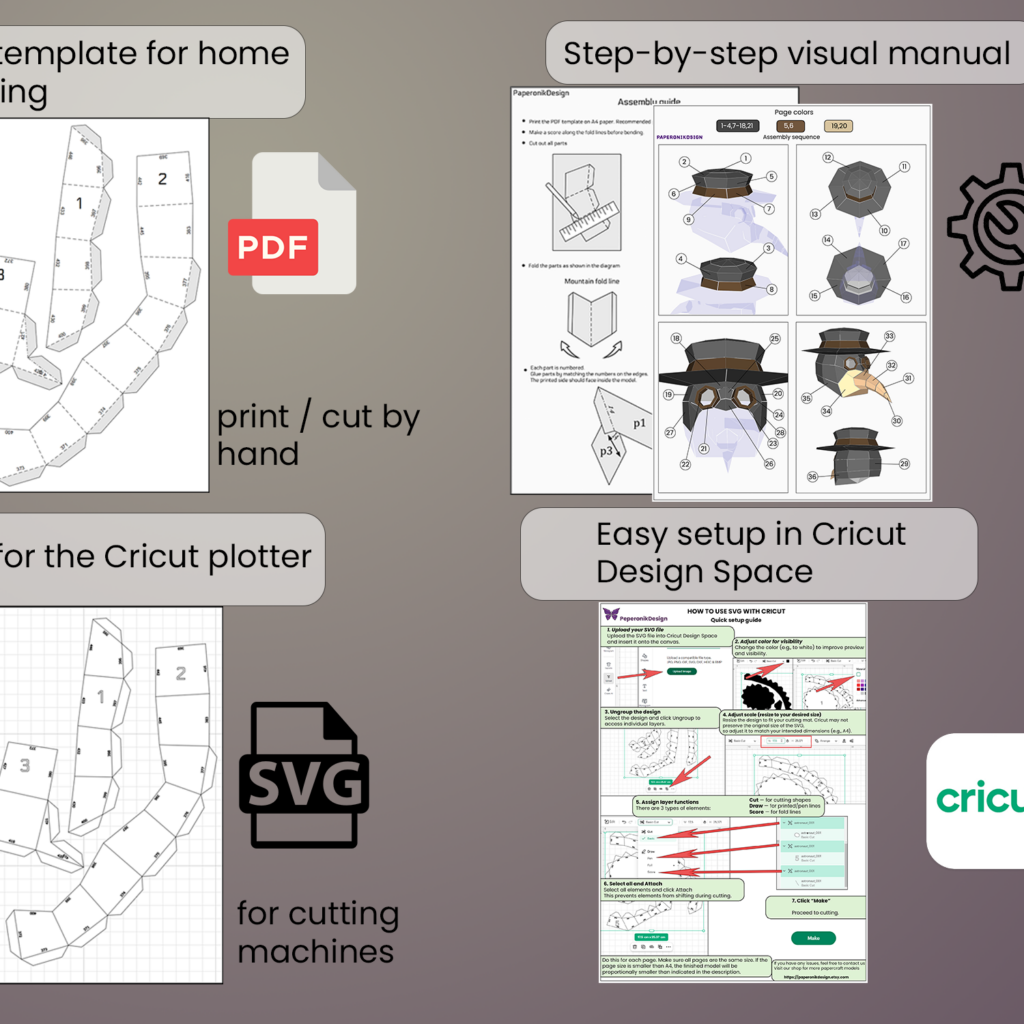
How does it work? 3D papercraft uses numbered templates. You cut out the pieces, fold along the marked lines, then glue tabs with matching numbers together. Bit by bit, the 3D shape comes to life. No expensive tools needed: thick paper (often included or printable), glue, and a little patience… and suddenly you’re a paper sculptor. ⏳
Who is it for? Anyone can give it a try - you just need to pick a model that matches your level. Kits and templates usually include a difficulty rating. Start with a small model (for example, a 15 cm ghost, easy level) to get the hang of it, then move on to bigger challenges (a large skull with an articulated jaw? Go for it!).
Good to know: Our Halloween Papercraft kits include everything you need, including pre-cut paper sheets or PDF files to print at home. You’ll find original models like the 3D origami witch’s broom or the haunted paper tree. Take a look if you want to level up your decor! ????
Paper Halloween crafts for kids (safe and fun!)
Halloween is a celebration kids absolutely love - candy, little scares, costumes… so why not let them help with the decorations too? Here are a few paper Halloween craft ideas for younger children:
- Easy tissue ghosts - Take a tissue or a piece of lightweight fabric. Place a cotton ball in the center (for the head) and tie it with string to shape a ghost. Kids can draw on two eyes with a marker. Then hang these little ghosts everywhere - on the chandelier, door handles, wherever you like. It’s super simple, but 3-4-year-olds love it.
- Monster plates - Give each child a paper plate (or a cardboard circle). They paint it in any color they want, then glue on eyes, cut out teeth, pointy ears, and other paper details… and invent their own monster. Add two holes and an elastic band, and it becomes a mask too!
- Finger puppets - On cardboard, draw little Halloween characters (witch, zombie, Frankenstein…) about 8-10 cm tall. Make two holes where the legs are. The child colors the character, then slips two fingers through the holes: now those are the monster’s legs! Instant Halloween puppet, ready for showtime. Guaranteed laughs when kids make Frankenstein “walk” by wiggling their fingers.
Tips for parents: Younger children (ages 3-6) will need help with cutting. Pre-cut some shapes so they can assemble and glue them themselves. Use glue sticks whenever possible (less mess), and lead by example by making a decoration alongside them. Most importantly, let their imagination take over: the goal isn’t perfection - it’s hearing them proudly say, “I made that!” ????.
Safety: Go over the basic rules: no running with scissors, no glue in the mouth, and so on. Put a plastic tablecloth on the table to protect it from creative chaos. And of course, keep candles and sharp tools out of reach. With these precautions, your DIY session will be pure shared fun.
Eco-friendly Halloween: paper decor with a recycled twist
Halloween yes - but not at the cost of filling your bin with plastic on November 1st! Here’s how to make your paper decorations even greener:
- Recycled paper - Use old newspapers, magazines, or damaged books for your cutouts. For example, pages from old books can become aged-looking garlands with a haunted-manor feel. Newspaper can also be used for tealight holders (the printed text creates beautiful shadow effects) or papier-mâché witch hats.
- 100% natural decor - Take a walk in the woods or the park with the kids and collect pinecones, pretty autumn leaves, twigs… Back home, paint the leaves white and add black eyes: now you’ve got an army of ghost leaves to scatter across the table or stick on the wall (big impact for almost no cost!). Tie a few twigs together with string and you’ve got a mini witch’s broom bundle to hang on your Halloween tree (yes, that’s a thing ????).
- Everyday upcycling - An old white sheet: instead of buying synthetic spiderweb decor, tear an old sheet into ragged strips and stretch them into corners - the effect is just as creepy. Empty jam jars: turn them into “witch jars” with colored water and paper cutouts inside (brains, eyes…) - seal them and display them on a curiosity-cabinet shelf. A delivery box: cut fake wooden planks out of it and tape them across your door or window for a “barricaded house in the middle of a zombie apocalypse” look. Brown cardboard works brilliantly once cut into plank shapes, and it’s 100% reclaimed.
When you create your decor from what you already have, you’re not only doing something good for the planet - you’re also giving your Halloween a more rustic, authentic feel. And honestly, nothing is creepier than the atmosphere of an old abandoned house… and reclaimed materials do that better than shiny new plastic ever could! ????
Eco challenge: try buying zero new decorations this year. Use only paper, natural materials, or reclaimed items. You’ll see just how far you can go. And why not let your guests know in advance so they can each bring a little handmade paper creation too? A party where everything - from the decor to the costumes - is handmade or upcycled feels like the true spirit of Halloween: creativity, resourcefulness, and sharing.
Frequently asked questions (FAQ) - Paper Halloween decorations
How can I make a quick paper Halloween decoration if I’m terrible at crafts?
No stress: start with the ultra-simple classics. For example, cut bat silhouettes from black paper and stick them to the walls - done in 10 minutes, and the effect is instant. Another quick win: print a “monster eyes” design you find online, cut it out, and tape it to your front door - your door becomes a monster in seconds. And finally, the tissue ghost garland idea above is basically foolproof, even if you’re not the crafty type.
What kind of paper should I use for long-lasting Halloween decorations?
Choose paper with a bit of weight so it holds its shape well: cardstock (around 160 gsm or more) or kraft paper, for example. Foam board or thin card is excellent for silhouettes you want to display or hang, because they won’t warp easily. If your decorations are going outdoors, think about laminating them or using coated paper (otherwise rain will become their sworn enemy). And if you want to pack them away and reuse them next year, thicker paper will hold up much better than standard printer paper.
Is 3D papercraft difficult?
It can look intimidating at first, but if you choose a model that matches your level, it’s absolutely doable. Start with a small, simple model (there are beginner kits where the pieces are already cut, so all you have to do is fold and glue). Follow the numbers carefully and take your time. A lot of people find the process relaxing - almost like doing a puzzle. And don’t forget: the final result is worth it. A beautiful paper sculpture on your shelf is something to be proud of. If you get stuck, video tutorials exist for most popular models.
Where can I find templates or patterns for my paper decorations?
Pretty much everywhere! On our site, we also offer a few free papercraft templates. Beyond that, lots of DIY bloggers share printable files (try searching for “printable Halloween” or “free Halloween template”). Pinterest is a goldmine for ready-to-print bat, ghost, and other Halloween designs. For 3D papercraft, specialist shops (like ours ????) sell downloadable PDF kits or full boxed sets. And of course, don’t hesitate to draw your own shapes - it’s even more satisfying when you decorate with your own designs.
Grab your scissors! ????
As you can see, all the magic of Halloween can start with just a few sheets of paper. Whether it’s a humble garland made with the kids on a Wednesday afternoon or a sophisticated origami sculpture assembled late at night by a passionate maker, every paper decoration you create adds an unmistakably personal touch to your Halloween. So this year, take on the DIY challenge: dig through your drawers for paper, print out templates or sketch your own designs, and turn your home into a true handmade haunted hideout.
And if you make any of our ideas or our 3D Halloween Papercraft kits, share your photos with us on social media (Instagram @Papercraft3D)! We love seeing what you create and showcasing the creativity of our community. ????????
Happy Halloween crafting - wow your guests with your paper decor, and most of all, have fun!