Want to create 3D objects from nothing more than paper? This clear, generously illustrated guide walks you through it step by step: what papercraft 3D actually is, the tools you need, the key stages, easy model ideas, classroom uses, pro tips, and plenty of inspiration for beginner adults, kids, and teachers alike.
Papercraft 3D: what is it exactly?
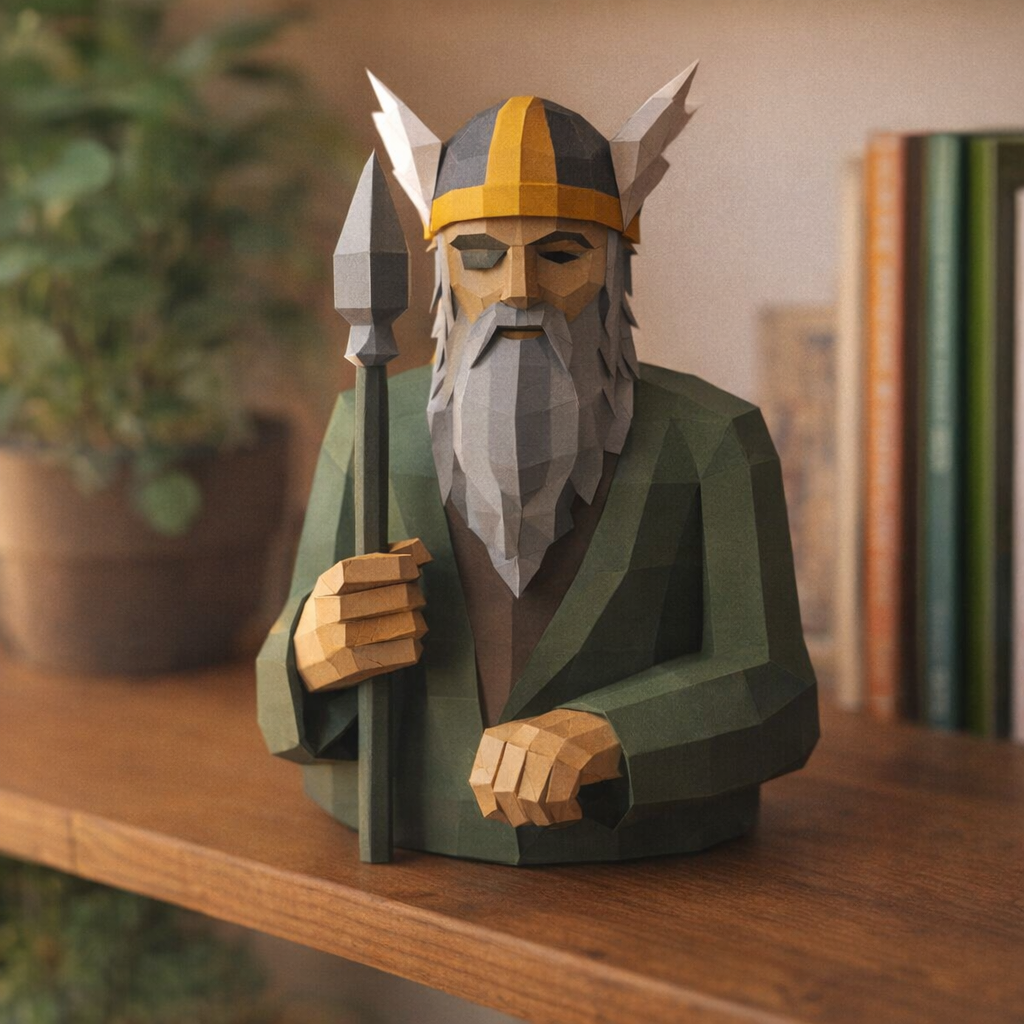
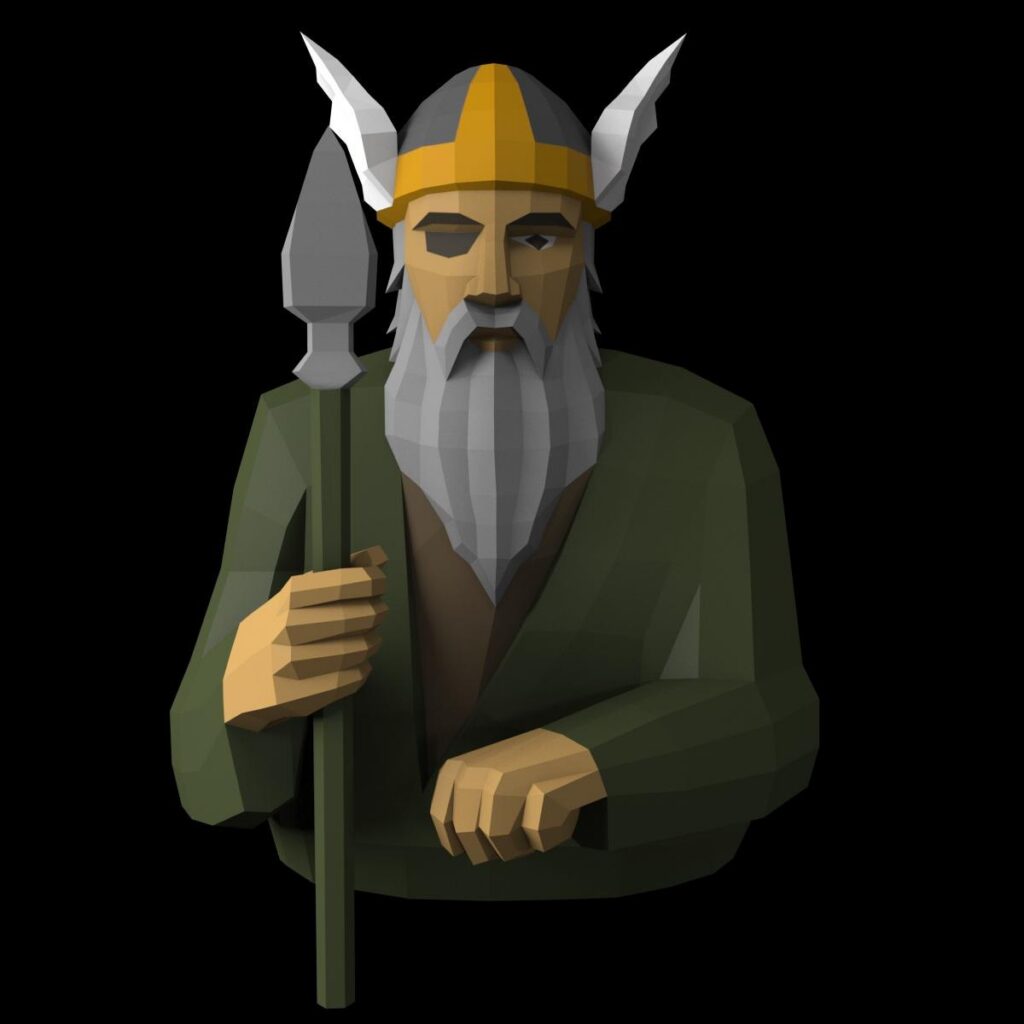
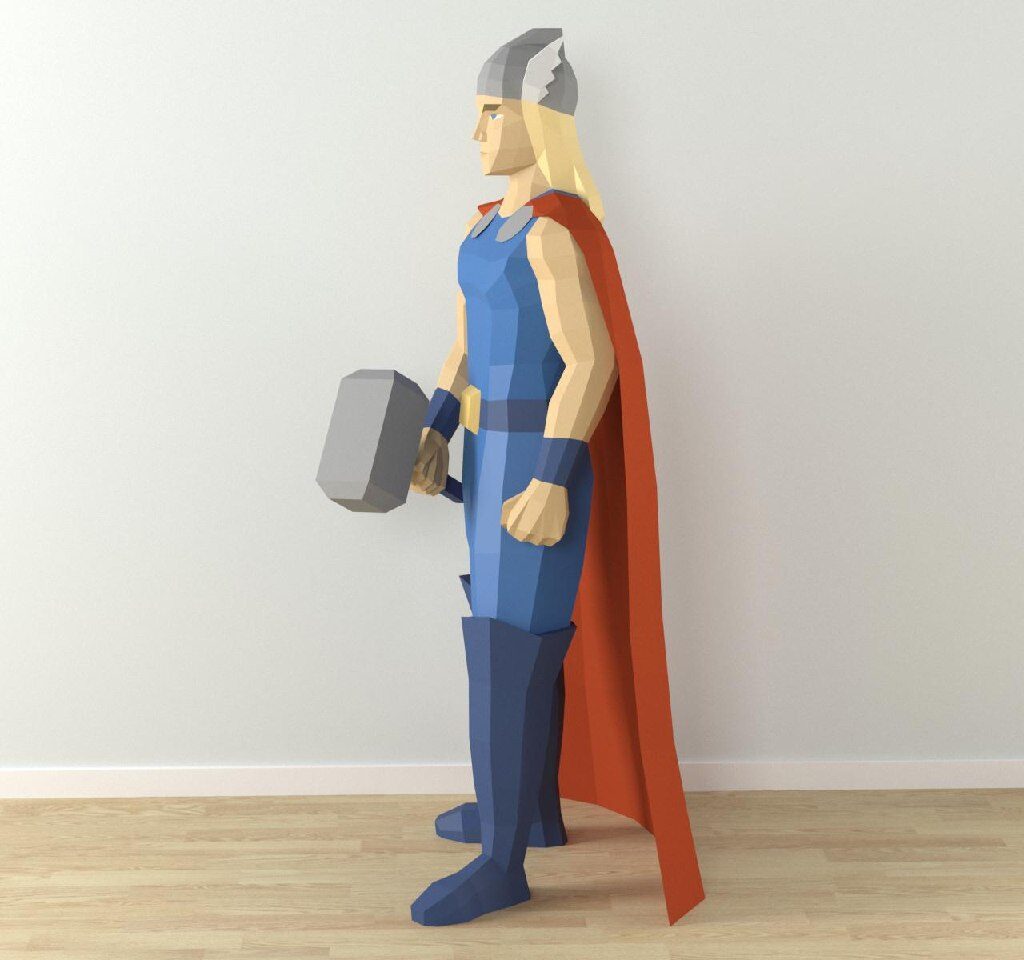
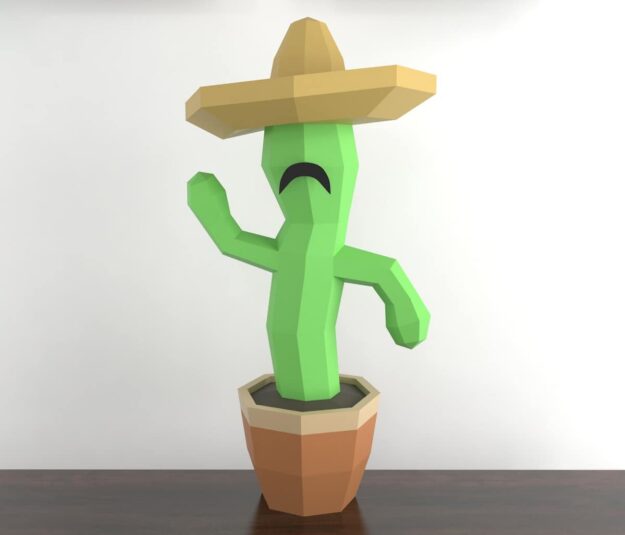
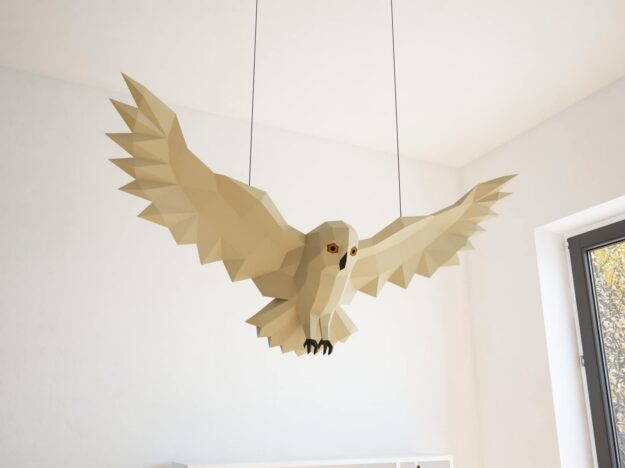
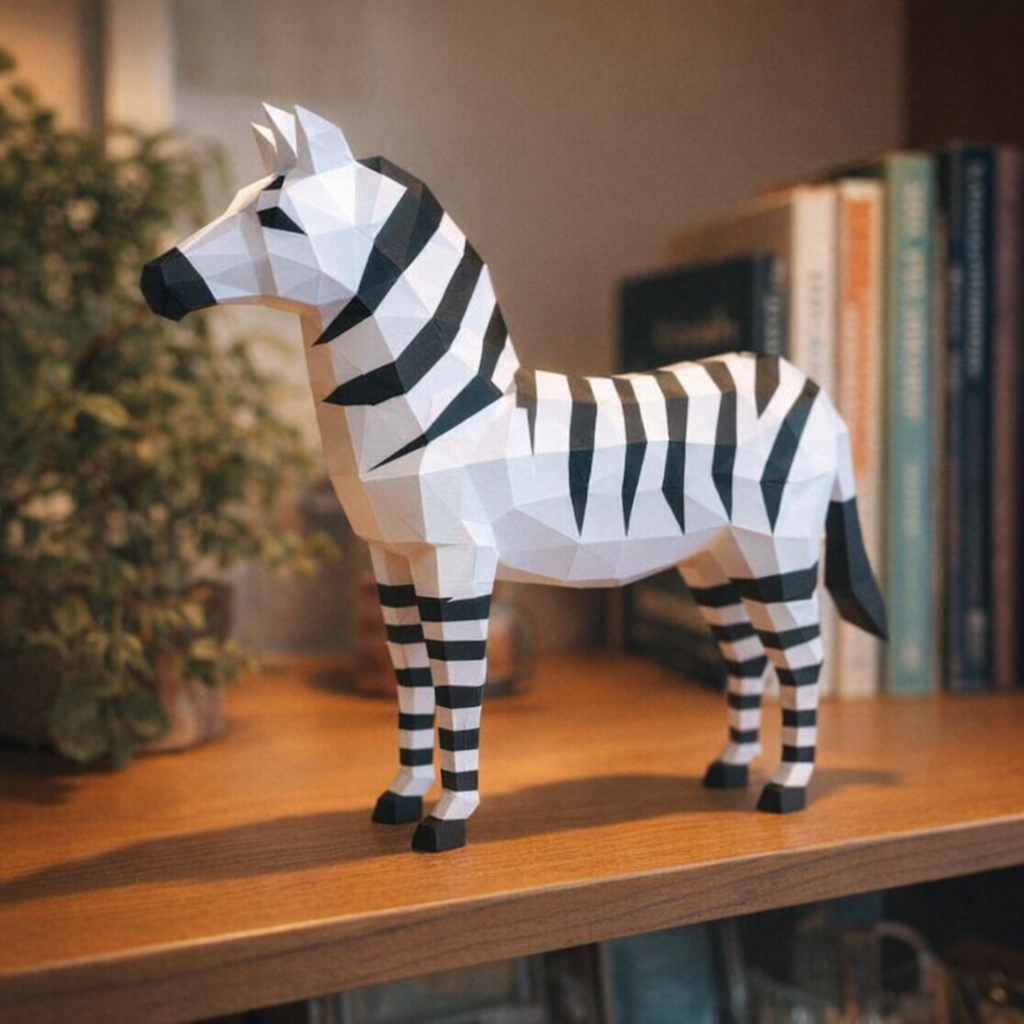
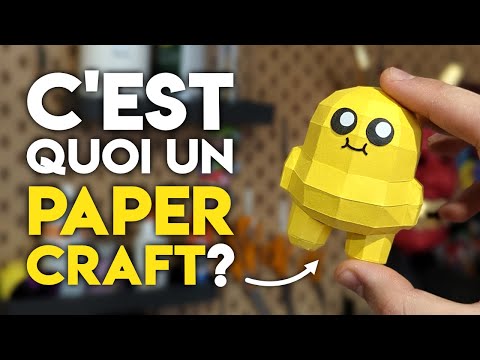
3D papercraft (also called “3D origami” or sometimes “paper model”) is all about assembling multiple paper or lightweight cardstock pieces—printed, cut out, and folded—to build a three-dimensional object: geometric animals, masks, wall trophies, miniature buildings, and more. Unlike traditional origami (one sheet of paper, no cutting, no glue), papercraft uses tabbed templates and adhesive. It’s an accessible craft that blends precision, patience, and creative freedom.
Why do people love it? Because paper is affordable, lightweight, easy to source, and a well-chosen project can deliver a seriously impressive result for very little money: a few sheets, a bit of glue… and you’ve got a stylish decorative piece. Visually, the “low-poly” look—those clean geometric facets—fits perfectly into modern interiors. (Sources: Papercraft-3D guides)
Essential materials and tools
- Paper: for beginners, aim for around 160–200 gsm (cardstock or drawing paper). It’s rigid enough to hold its shape, yet flexible enough to fold cleanly.
- Glue: use a gel glue that won’t warp the paper (fast grab, but still gives you time to adjust), or a thin PVA glue applied with a brush.
- Cutting tools: fine scissors + a precision craft knife, cutting mat, and a metal ruler.
- Folding tools: a bone folder, the back of a butter knife, or an empty pen to score fold lines before folding.
- Printing: an A4 printer (with fully dry ink), set to 100% scale to keep the template accurate.
- Organisation: clips, small boxes for numbered parts, and a cloth to wipe away excess glue.
If you want to go further, you can also unfold a 3D model using software like Pepakura Designer (great for getting started), Blender, or TinkerCAD (for modelling), then generate an optimized printable template with tabs and numbering. (Papercraft-3D guide)
Step-by-step: how to nail your first paper sculpture
- Pick the right model. Start simple (5–10 A4 pages). Avoid tiny parts and go for clear, readable shapes like a stylised animal head, a mask, or a geometric plant pot cover. Our assembly guide breaks down what to look for: level, number of pages, and glue surface area.
- Print at the correct size. Use 160–200 gsm paper, with no scaling. Let the ink dry before cutting. Sort your sheets by number.
- Cut neatly. Follow the outlines carefully, keep the blade upright, and replace it as soon as it starts dragging. Keep a few small helper tabs if needed.
- Score the folds. Before folding, score the lines gently with a bone folder along a ruler. “Mountain” and “valley” folds are usually marked differently—follow them carefully for a crisp final shape.
- Assemble methodically. Work sub-assembly by sub-assembly, from the inside out. Apply only a small amount of glue, pinch for 10–20 seconds, then remove any excess.
- Finishing touches. Final glue cleanup, ultra-light sanding on edges if needed, matte acrylic paint, varnish, or simple decoration with markers or paint pens.
Pro tip: pre-fold every piece in a section before gluing, and always double-check the tab numbers (A-1 to A-1, etc.). Smooth assembly is mostly about solid prep. (Papercraft-3D guide)
Video: Getting started with papercraft (must-know basics)
A clear overview of the fundamentals to help you start strong.
Easy beginner models (for adults & kids)
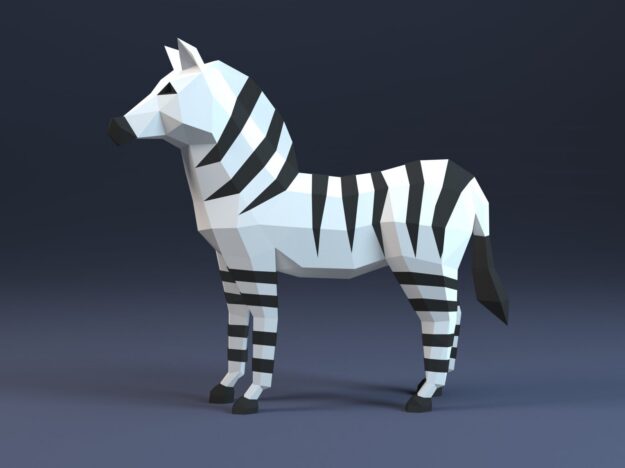
Geometric animals
A classic first project: a low-poly deer, fox, or rabbit head. Clear silhouettes, not too many pieces, and strong decorative impact. Display them as wall trophies or tabletop figures.
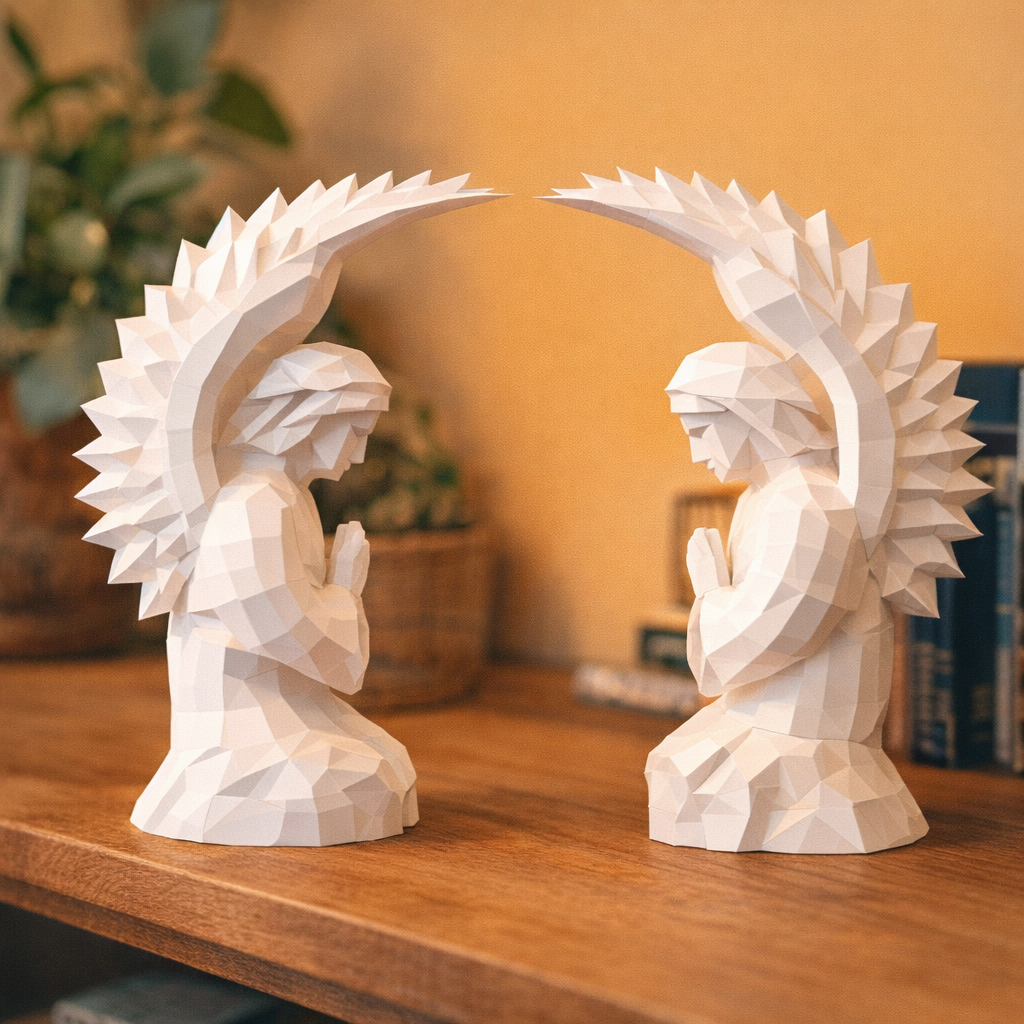
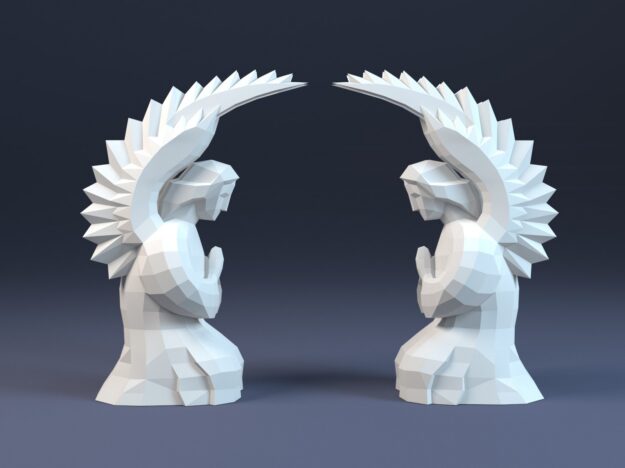
Masks and wall decor
Lion masks, polygon masks, rosettes, faceted wall art—perfect for a child’s bedroom, a classroom, or a living room.
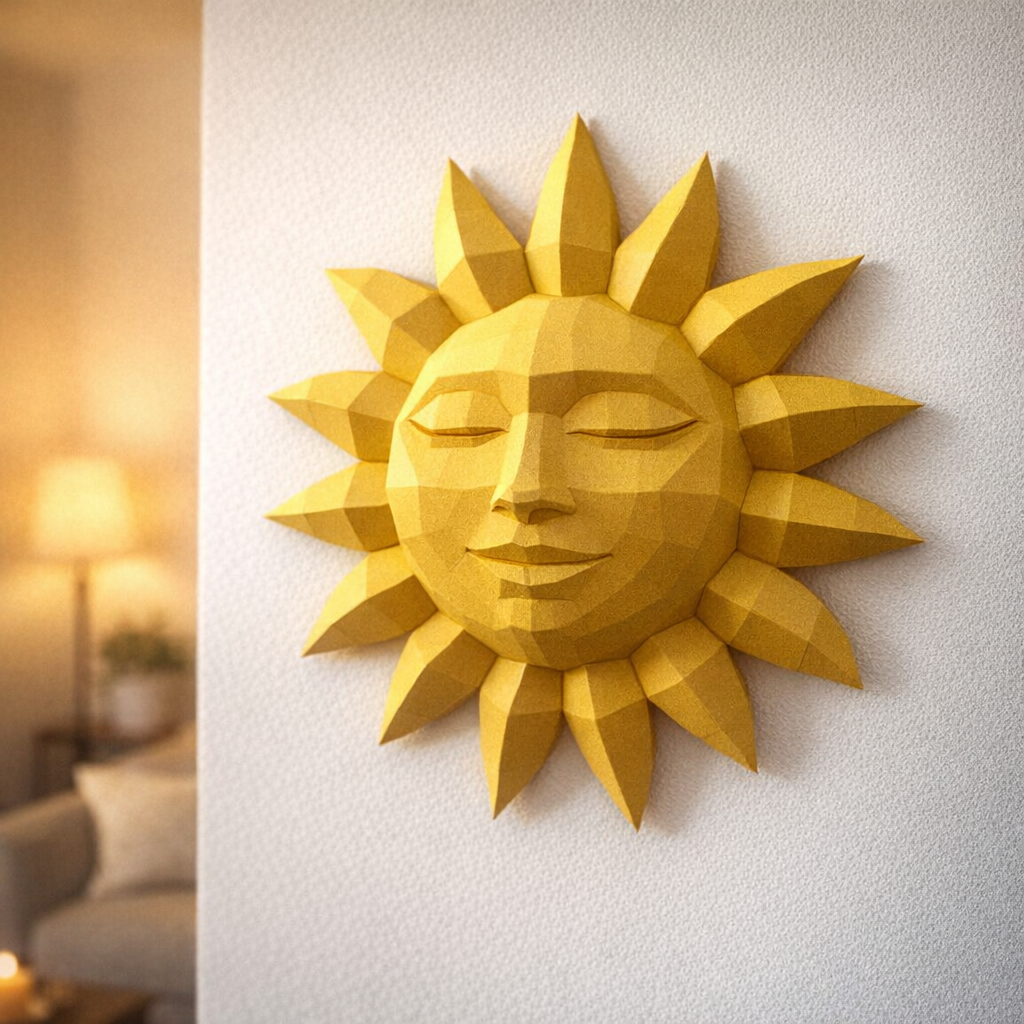
Flowers & decorative objects
Geometric flowers, plant pot covers, tealight holders, garlands: quick projects that let you practise cutting, folding, and gluing without getting overwhelmed.
Video: A 3D origami flower (easy and popular idea)

Perfect for getting familiar with the logic behind 3D assembly.
Want to level up from there—characters, architecture, or video game-inspired designs? Take inspiration from what’s trending in the community (Reddit, YouTube) and build complexity gradually.
Educational uses in the classroom (for teachers)
3D papercraft is a fantastic teaching tool: it helps develop fine motor skills, focus, spatial awareness, geometry skills (2D to 3D), problem-solving (step order, symmetry), teamwork (pair work), and perseverance. It’s also great for differentiated learning: you can scale the difficulty (number of pieces, fold precision) and assign roles (cutting, gluing, checking). (Educational approaches: Pass-Education)
- Early primary: simple shapes, masks, flowers, animals. Goals: fine motor skills and spatial vocabulary (front/back, mountain/valley fold).
- Upper primary to middle school: polyhedra, low-poly heads, mini architecture; ideal for linking maths and art (angles, edges, solid nets).
- Cross-curricular projects: collaborative wall murals, event decorations, or an exhibition on “everyday objects made from paper”.
Why adults love it: creativity, relaxation, and decor
For beginner adults, papercraft is a calming hands-on activity that helps you focus, rewards patience, and delivers a real sense of progress: you can literally watch the object come to life as each facet is glued into place. With a very modest budget (paper + glue), the finished result can easily rival store-bought decor. (Papercraft-3D guides)
Style-wise, low-poly shapes work beautifully in Scandinavian or contemporary interiors. Play with colour—dyed paper, kraft, deep black, metallic finishes—and you can fine-tune the mood of a room with ease.
Video: “What is papercraft?” (DIY basics & mindset)
A great motivational overview before you dive in.
Pro tips: paper, gluing, and staying organised
- Paper: 160–200 gsm is ideal for beginners; above that, folds get stiffer. Print at 100% with no “fit to page”.
- Scoring folds: a fold scored first becomes a sharp edge later. Use a metal ruler and a bone folder—or an old pen with no ink.
- Glue: less is more. Apply a thin layer, press for 10–20 seconds, and clean up excess straight away to avoid shiny marks.
- Assembly order: build in modules, then connect the modules together. It helps you avoid hard-to-reach areas where tabs are difficult to press.
- Finishing: to hide a visible edge, use a marker that matches the paper colour. A matte varnish can also unify the surface.
- Next step: once you’re comfortable, move on to textured designs (printed patterns), specialty papers (metallic, kraft), or even 3D modelling followed by unfolding in Pepakura.
Quick FAQ
What paper should you choose to get started?
A 160–200 gsm cardstock or drawing paper is the sweet spot between rigidity and easy folding. Avoid paper that’s too thin (< 120 gsm), which tends to warp, and paper that’s too thick (> 250 gsm), which is hard to fold cleanly.
Do you need a special printer?
No. A standard home printer is enough, as long as it can handle slightly heavier paper. Just let the ink dry before handling.
Is it suitable for children?
Yes, with supervision: choose simple shapes, avoid craft knives (use round-tip scissors instead), keep sessions short, and work in pairs. (School approaches: Pass-Education)
Can you create your own models?
Yes: build the shape in 3D first (TinkerCAD/Blender), then unfold it into a printable template (Pepakura). Our 2024 software guide explains the full process.
Resources and inspiration
- Assembly guide (beginners → experts): steps, tools, and practical tips.
- Create your own models (software, templates): from 3D design to paper build.
- Papercrafts & 3D origami for children – 2024 guide: practical ideas for classroom use.
- YouTube videos (beginners): Getting started with papercraft | 3D origami flower | What is papercraft?.