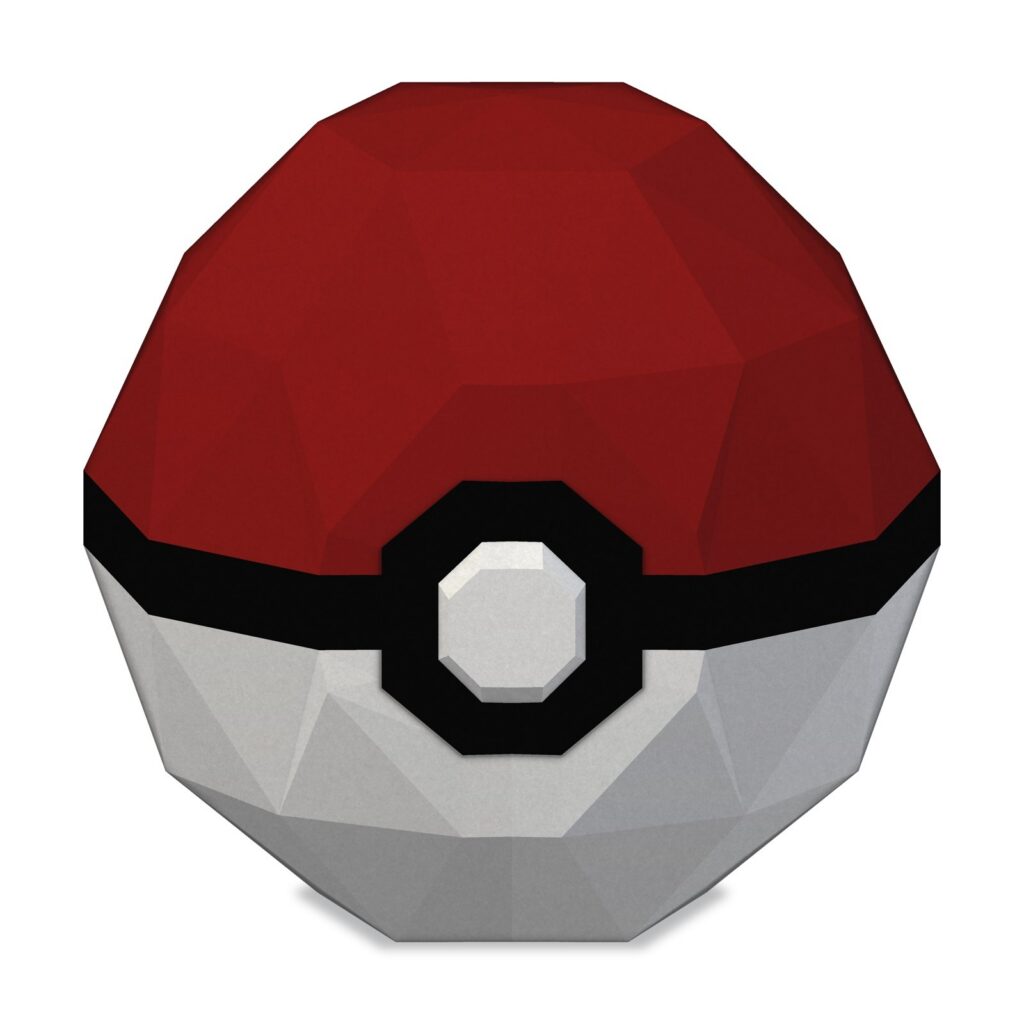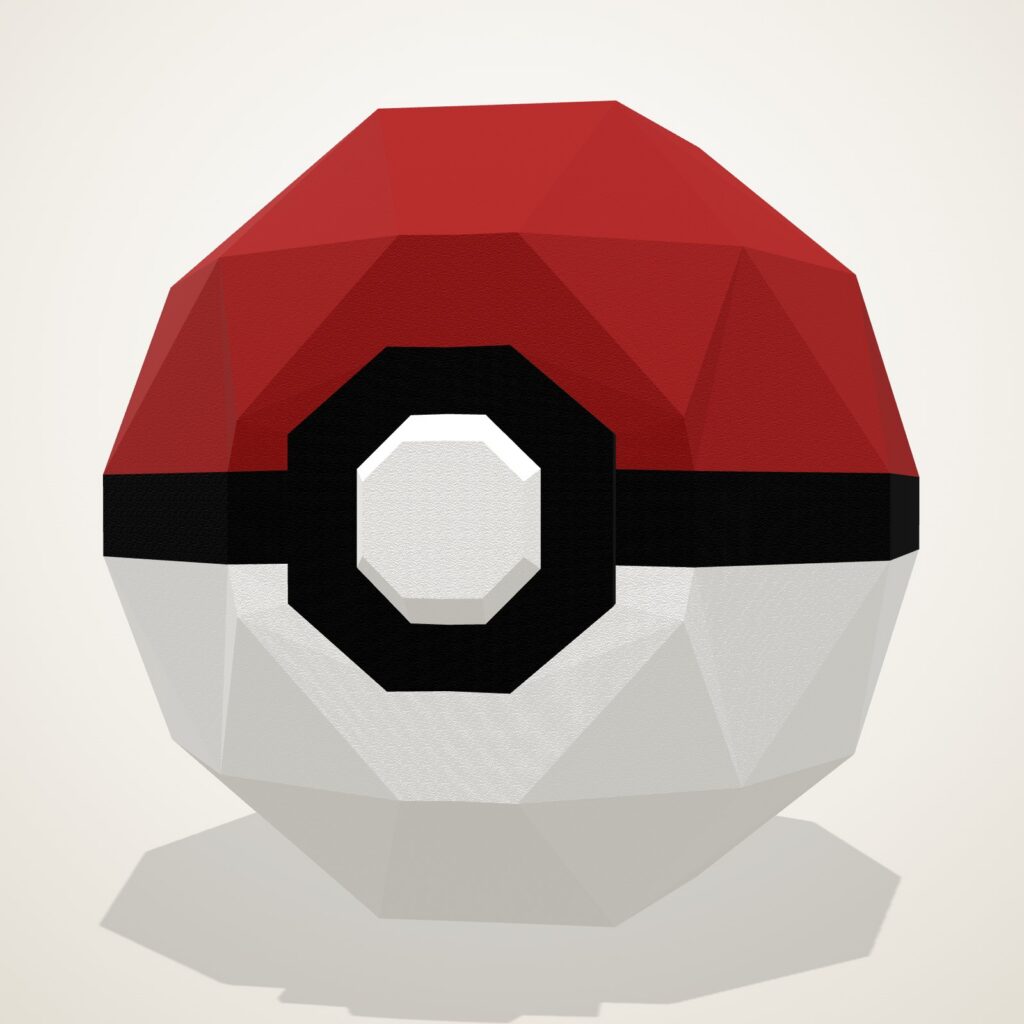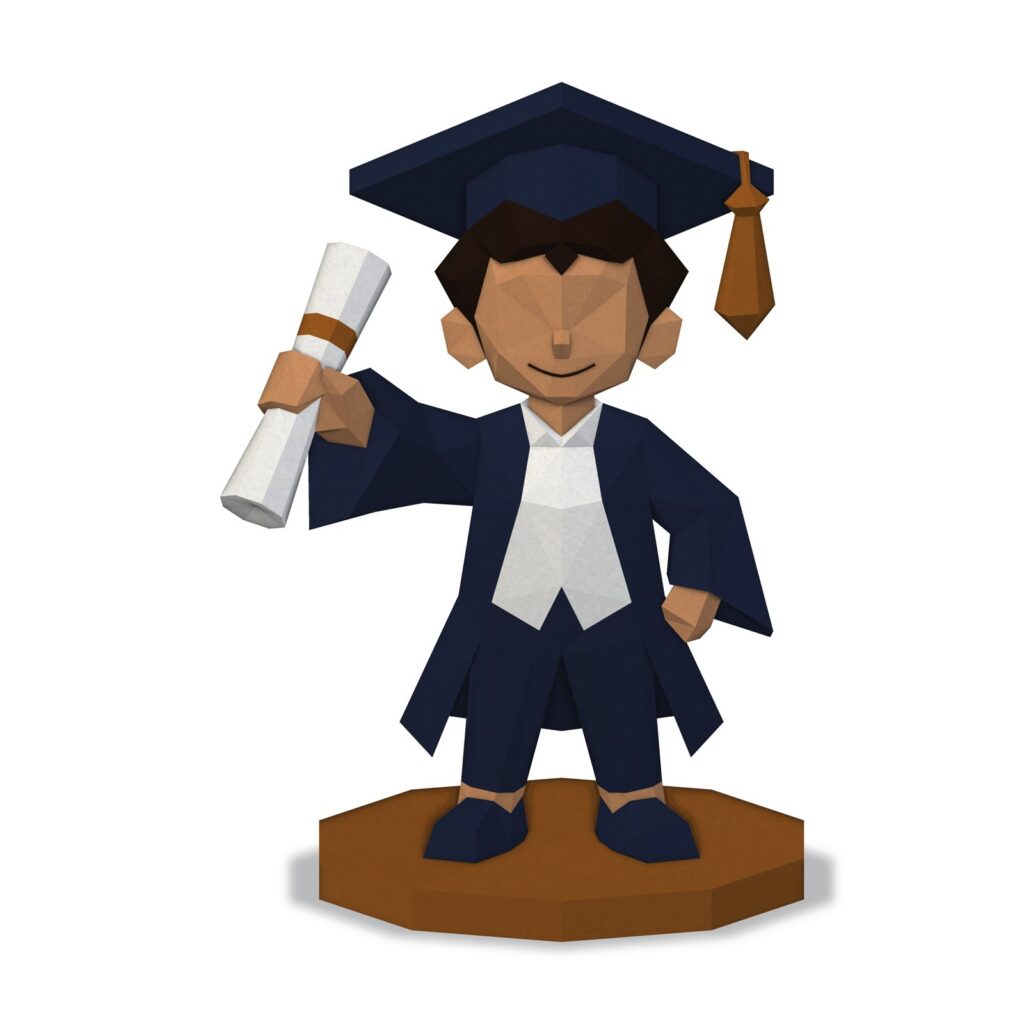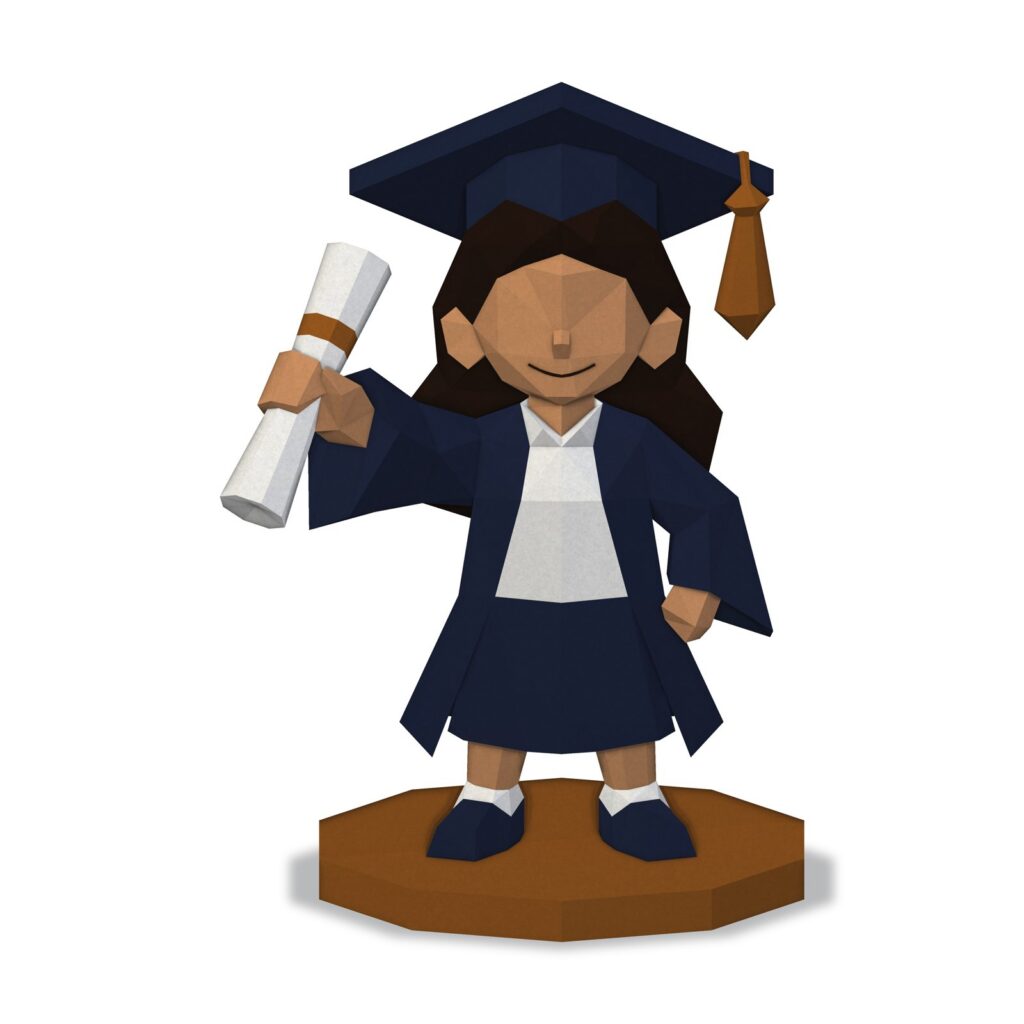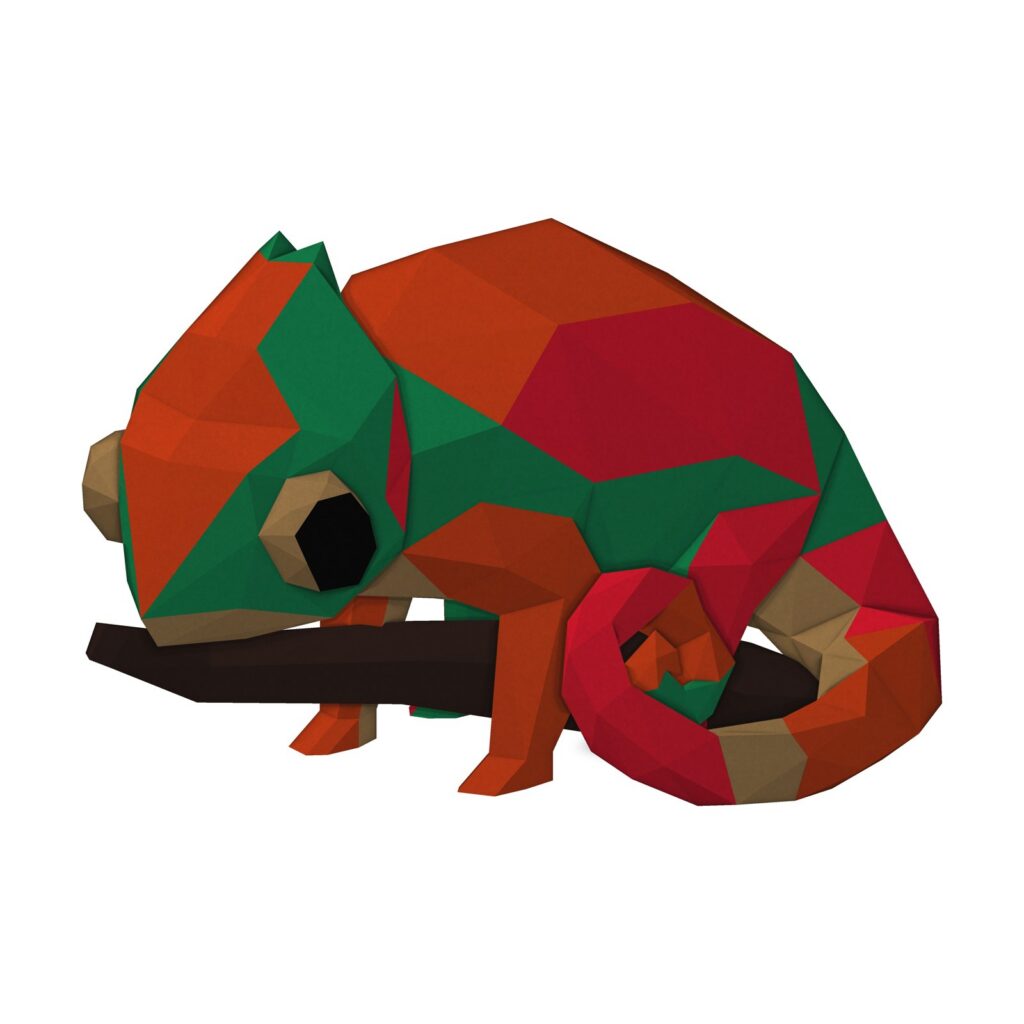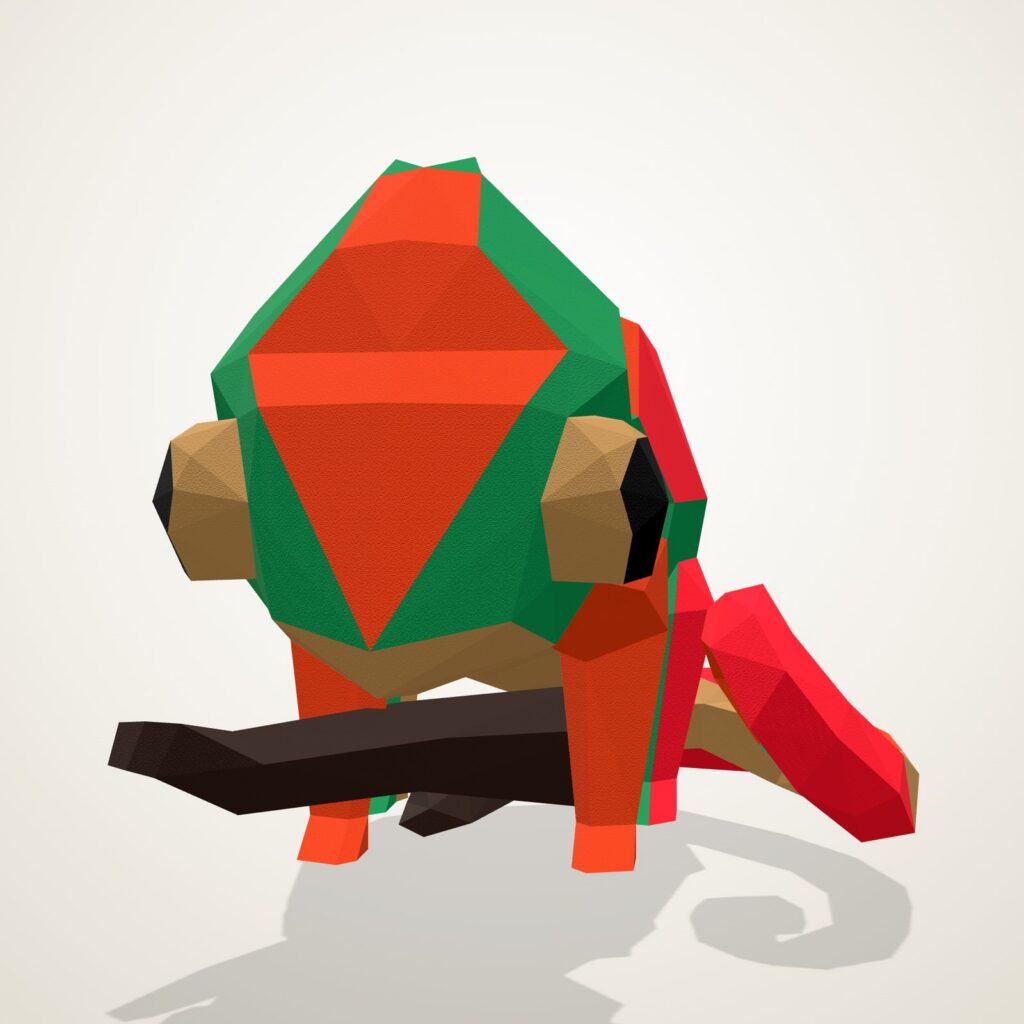
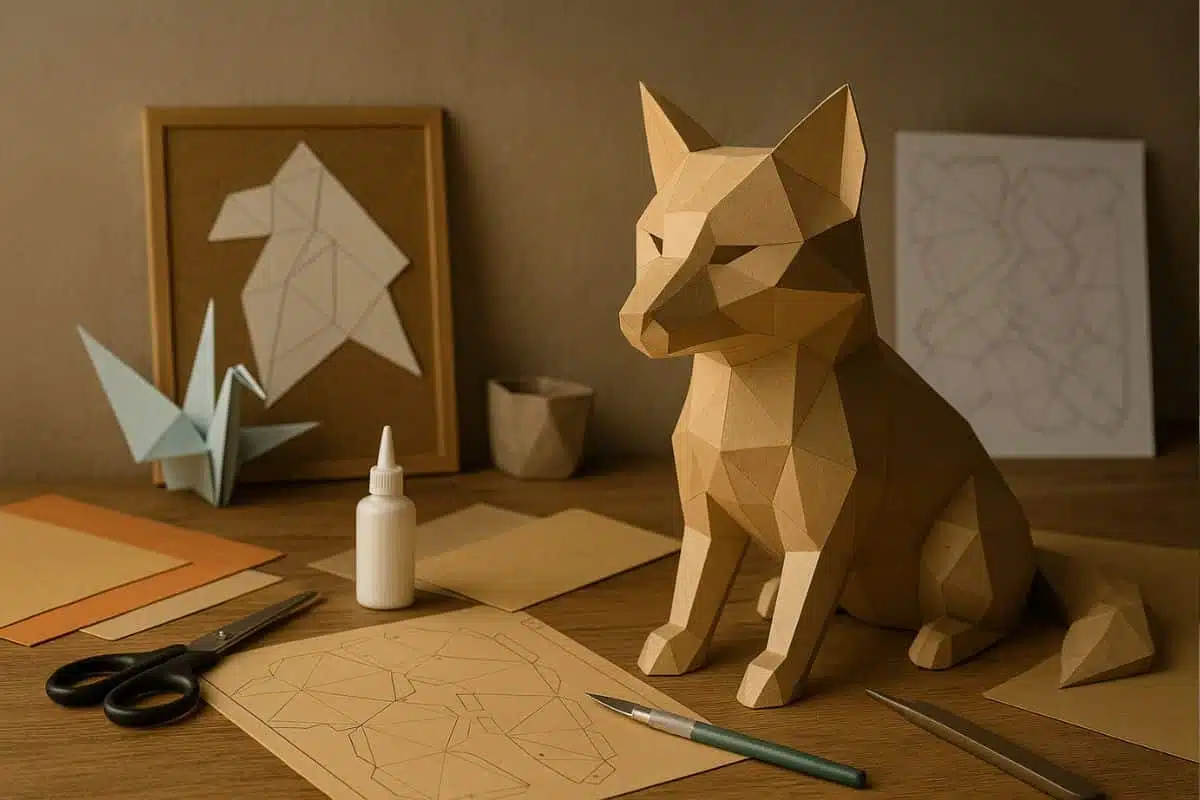
Summary. Paper art, which includes creative practices such as origami and 3D papercraft, is enjoying a real surge in popularity. It involves transforming simple sheets of paper into three-dimensional creations through folding, cutting, and gluing. Accessible to everyone, 3D papercraft makes it possible to create original paper sculptures (animal trophies, designer objects, wall décor, etc.) that bring a unique DIY touch to interior decoration. Beyond the aesthetic result, this hands-on activity offers many benefits: it helps develop patience and focus, reduces stress, stimulates creativity, and provides immense personal satisfaction with every finished project. In this article, we explore the history of this paper art, the differences between origami and papercraft, the tools and tips for getting started, and inspiring ideas for bringing paper art into your everyday life.
What is 3D papercraft? A new form of paper art
3D papercraft is a contemporary form of paper art that involves assembling pieces of cardstock to create three-dimensional objects or sculptures. In practical terms, it starts with a 3D model (an animal, a character, an object) whose surfaces have been “unfolded” flat to generate a printable template. Each piece of the template, once cut out, is folded and then glued to the others using numbered tabs, allowing the original volume to be rebuilt. In the end, a simple sheet of paper is transformed into a sturdy, decorative 3D figure.
Papercraft stands out for its modular approach: unlike traditional origami (one sheet, folds only), it uses multiple pieces of paper, with cutting and gluing as part of the process. You could compare it to “paper LEGO” or a 3D puzzle made from lightweight cardstock. This technique makes it possible to create large-scale pieces (even life-size sculptures!) or highly detailed models that would be impossible to achieve with pure origami.
“Papercraft is like a three-dimensional puzzle. The paper is cardstock (thicker than origami paper), and the technique involves cutting, folding, and gluing.” - Éric Vigier, papercraft designer
In practice, for each 3D papercraft model, you’ll have a template (often provided as a PDF) to print. This template includes the shapes to cut out as well as guides (mountain or valley fold lines, matching numbers, etc.). Once printed on sufficiently thick paper, you simply cut out each piece carefully (with scissors or a craft knife), score the folds where indicated, and then assemble the model by gluing each numbered tab to the back of the piece with the matching number. With a bit of patience and a methodical approach, the result can be truly impressive.
Although modern in its current form, this art belongs to the wider family of paper art. Paper is used as the main material to create 2D or 3D objects across many disciplines: origami (folding), kirigami (cut-paper designs), quilling (rolled paper motifs), papier-mâché, and more. 3D papercraft is one of its most modern and “architectural” expressions. Today, the term papercraft is often associated with these faceted paper sculptures, highly popular for home décor and creative hobbies.
How does it work? (From a flat sheet to a 3D sculpture)
The magic of papercraft lies in turning a virtual 3D model into a 2D template that can be cut and folded. To design a new model, creators use 3D software and then specialized programs (for example, Pepakura Designer) to “unfold” the model. Imagine a polyhedron or an animal head modeled in 3D: the software generates a kind of flat pattern, with all the faces laid out like the pieces of a model kit, and adds tabs for gluing. The end user simply has to print this pattern.
Basic materials: to get started, you’ll need sheets of cardstock (recommended weight between 160 gsm and 250 gsm depending on the desired size), a good pair of scissors or a precision craft knife, glue (PVA white glue or gel glue such as cyanoacrylate, depending on your preference), and optionally a ruler plus a tool for scoring folds (bone folder, empty pen, etc.). With these few tools, you have everything you need to start bringing your first paper creations to life.
In short, 3D papercraft is a bit like “sewing paper without thread or needle”: cut paper pieces are assembled by gluing until a volume takes shape. It’s a hobby that is both technical (you need to be precise) and highly rewarding, because watching the sculpture come together in your hands is incredibly satisfying.
Origami vs papercraft: what’s the difference between folding and 3D assembly?
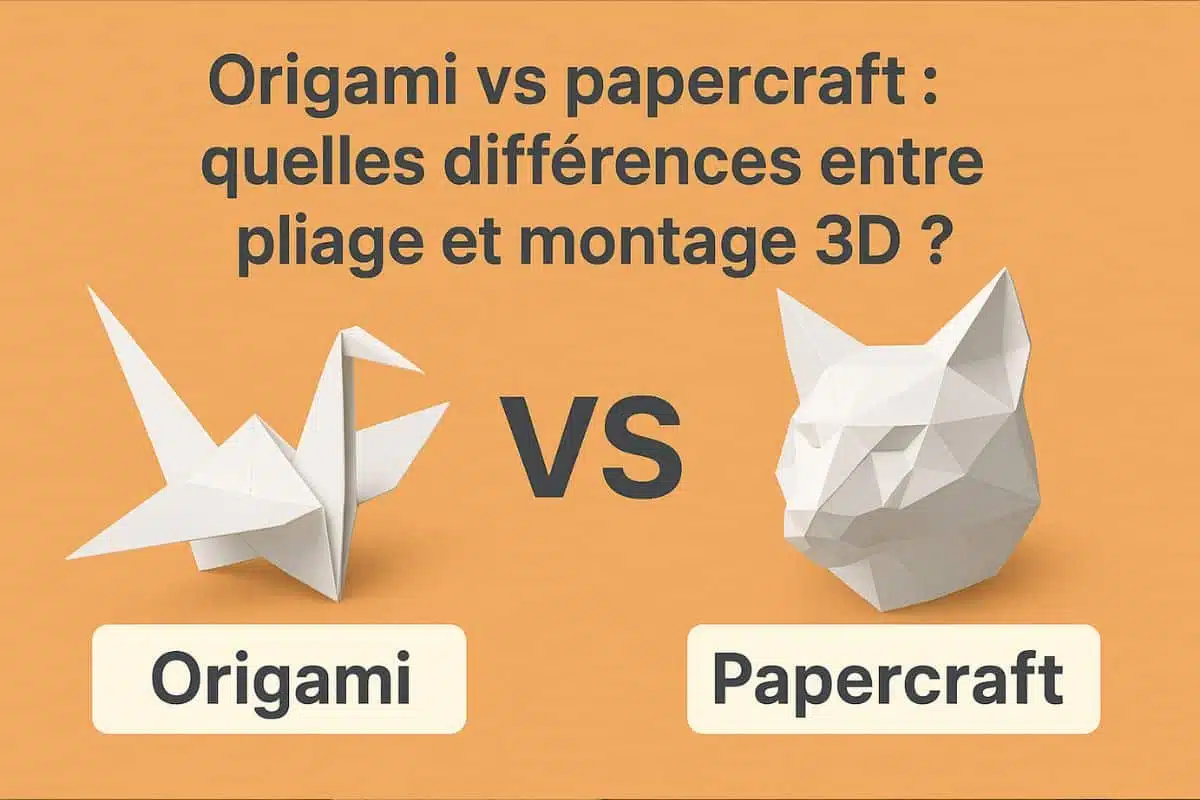
When discovering 3D papercraft, it’s natural to associate it with origami, the ancient art of paper folding. Both are indeed paper arts, but they differ greatly in both technique and philosophy:
| Criteria | Origami (traditional folding) | 3D Papercraft (assembly) |
|---|---|---|
| Material | 1 single sheet (often square) | Several pieces of cardstock |
| Allowed techniques | Folding only (no cutting, no glue) | Folding + cutting + gluing |
| Tools | None (sometimes a bone folder) | Scissors/craft knife, glue, etc. required |
| Typical result | Small stylized figure (crane, flower, etc.) | Large geometric sculpture (mask, trophy…) |
| Difficulty | Precision in folding (patience) No room for cutting mistakes | Longer process (cutting + assembly) Requires method and precision |
Traditional origami, born in Japan, is based on a principle of purity: one sheet, folds, and nothing else. No scissors, no glue - just a figure (often representational) created by changing the paper’s form through folding alone. Famous origami models include the crane, the jumping frog, the rose, and more. Origami greatly develops abstract thinking and memory for fold sequences. It has its own masters and its own codified diagrams developed over decades.
Papercraft, on the other hand, is more recent and also draws on the principles of model making. Here, cutting and gluing are not only allowed, but essential. It also typically uses thicker paper than origami: around 200 gsm, compared with 60-90 gsm for traditional origami, since the structure needs to hold its shape once assembled. Papercraft is less “formal”: it doesn’t matter if you use ten sheets and glue - the important thing is the final object.
“Origami is the art of folding paper to create a sculpture. Papercraft is like a puzzle, but in three dimensions: the paper is cardstock… the technique involves cutting, folding, and gluing.” - Éric Vigier
So one is not “better” than the other - they are simply two different approaches. In fact, some enthusiasts enjoy both side by side. There are also hybrid forms: for example, what is sometimes called “3D origami” (or modular origami), in which many small folded units are inserted into one another to create an object (modular swans, etc.). While this technique is called “3D origami,” it comes closer to papercraft in the sense that multiple pieces are assembled, though the pieces themselves remain origami units (with no glue).
In summary: origami is a minimalist traditional art of folding, while papercraft is a modern creative hobby that combines cutting and folding to produce larger-scale objects. However, both share one essential common point: they transform a flat surface (paper) into a volume. It is this magic of “bringing paper to life” that fascinates people in both cases.
A Brief History of Paper Art: From Ancient Origami to Digital Papercraft
The origins of origami (and other paper-folding traditions)
The history of origami goes back a very long way. Paper was invented in China around the 2nd century BC, and it is believed that the earliest ceremonial folds may have appeared there. However, it was in Japan that origami truly developed as an art form. As early as the 6th century AD, when paper reached Japan, there is evidence of folds used in Shinto ceremonies (for example, paper butterflies decorating sake bottles at weddings). For a long time, paper was an expensive material reserved for symbolic uses (religious, aristocratic). Traditional origami was notably used to fold letters or offerings in a stylized way.
It was not until the Edo period (1603-1868) that origami became more widely popular in Japan, giving rise to the classic models still taught today (the famous orizuru crane, a symbol of peace, as well as objects like the boat, the balloon, and more). Elsewhere in the world, other folding traditions also existed: in China, zhezhi; in Europe, our familiar paper boats and paper airplanes made for children. But the term origami, meaning “folded paper” (from oru, to fold, and kami, paper), is the one that became internationally recognized for the art of paper folding.
Alongside origami, the art of paper cutting also has a long history. For example, papel picado in Mexico (finely cut paper banners) or cut-paper silhouettes in 19th-century Europe. These traditions involved creating decorative patterns by cutting sheets of paper, sometimes folded in half or more to produce symmetrical designs (like paper snowflakes). It was not yet three-dimensional, but it already showed the creativity made possible through cutting paper.
The rise of papercraft in the digital age
3D papercraft as we know it could only emerge with the widespread availability of affordable paper and printable templates. The earliest ancestors of papercraft can be seen in the cardboard models of the 19th century: at the time, magazines or printed sheets sold in bookstores offered cut-and-assemble models of cars, trains, famous buildings, and more. For example, as early as 1880, building a paper Eiffel Tower was a popular pastime after the World’s Fair. These models could be quite complex, but they remained a niche hobby.
In the 20th century, the practice continued (think cardboard house models for architects or paper toys from the 1950s and 60s), but papercraft really took off only at the end of the 20th century and the beginning of the 21st. Why? Because two key developments came into play:
- The democratization of 3D computing and modeling software. Creating a virtual three-dimensional model became much easier in the 1990s and 2000s.
- The development of specialized software to “unfold” 3D models. In 1994, the first version of Pepakura (a Japanese software program) was released, followed by other tools that automated the creation of templates from a 3D object. This allowed thousands of creators to generate their own papercrafts without having to calculate everything by hand.
With the rise of the internet, these templates began to spread widely, often for free or through online communities. In the 2000s, hugely popular “geek” papercrafts started to appear: for example, famous papercraft models of Mario or Pikachu, which many people downloaded and assembled at home. Video game and anime fans were among the first to embrace papercraft as a way to create figures of their favorite characters - an affordable alternative to PVC figurines.
It was also around this time that the term *paper toy* appeared to describe small, playful, often stylized papercrafts (such as paper Kubrick-style figures). Artists like Shin Tanaka helped popularize these paper toys in the street art and design scene.
As for the idea of decorative papercraft (polygonal animal trophies, faceted design objects), it became established later, in the 2010s. Designers such as PaperTrophy (a Berlin-based brand) or Ecogami (in France) began offering minimalist models, often low-poly style animals, intended to serve as genuine wall décor pieces. Their success showed that papercraft was not just a game or hobby, but could also become part of the world of trendy interior design.
Today, the circle is complete: you can find papercrafts that are both highly handcrafted (templates shared on a forum) and highly professional (premium kits sold commercially). Some papercraft creations have even reached the level of fine art, exhibited in galleries. For example, American artist Matthew Shlian creates highly complex kinetic paper sculptures, the result of his dual background as both artist and engineer. Likewise, origami has evolved into extremely sophisticated forms (complex origami, wet-folding techniques, etc., with masters such as Robert J. Lang).
But whether you are attached to tradition or fascinated by modernity, the essence remains the same as it was from the very beginning: taking paper and transforming it into something greater than itself. It is this long history and these exciting developments that give paper art its rich cultural depth.
Why Is 3D Papercraft So Popular Today?
You have probably noticed it all around you: DIY and creative hobbies are more popular than ever. 3D papercraft fits perfectly into this trend, and several reasons explain its growing success:
An accessible and modern creative activity
Accessibility: first of all, it is a hobby that is very accessible both financially and technically. There is no need to invest in expensive equipment or have an art school background to get started. Paper, glue, scissors - things most people already have at home - are enough. This easy entry point has attracted many people, especially during recent lockdowns when everyone was looking for hands-on activities to do at home. In 2020-2021, a survey revealed that more than 75% of people in France took the opportunity to try manual or creative activities they had never attempted before. Papercraft was discovered by a whole new audience looking for DIY projects. The advantage is that you can start small and simple, then gradually move on to more challenging projects at your own pace, which is highly motivating.
Modernity: paradoxically, although paper is a traditional medium, papercraft is seen as a modern activity. Geometric, highly “low-poly” designs (similar to computer-generated 3D rendering) fit perfectly with contemporary aesthetics. Displaying a white faceted elephant head in your living room is both an artistic statement and a trendy décor choice. This is far removed from the “old-fashioned” image that crafts once had. On the contrary, papercraft aligns beautifully with minimalist Scandinavian style and today’s decorating trends that celebrate handmade creations and clean lines.
Sharing on social media and the community effect
A major factor behind this enthusiasm is the buzz created through social media. On Instagram, Pinterest, Facebook, and TikTok, photos and videos of spectacular paper creations are everywhere. Hashtags such as #papercraft, #paperart, or #origami3D total tens of thousands of posts. For example, the TikTok channel of French creator DT Workshop had a viral video showing how “everything he touches turns into paper” (a humorous special effect in which he transforms objects into papercraft), which received more than 430,000 likes. This kind of content entertains and intrigues the general public, drawing new curious makers toward the hobby.
In addition, online communities make it easy for beginners to find help and inspiration. The r/papercraft subreddit (a Reddit community) has thousands of members who proudly share their creations and help one another when problems arise. A user can post a photo of a freshly completed papercraft and receive dozens of enthusiastic comments and tips for the next one. This kind of social encouragement is heartwarming and motivates people to keep going. It is incredibly rewarding to share your “creation” and see that others find it beautiful and want to make it too.
“I absolutely love it - I’ve made around 7 so far, and it brings me so much joy!” says one enthusiast after assembling several papercrafts inspired by the world of Ghibli.
“No matter the model, guests have been amazed by the result. […] With patience, anyone can do it.” shares another user about their homemade paper decorations.
These testimonials highlight two things: the immense personal enjoyment papercraft provides, and the “wow” effect it has on others - which, let’s be honest, is flattering and makes you want to create even more. Word of mouth works very well, and many people start papercrafting after seeing a paper trophy at a friend’s house or following a recommendation from someone close to them.
DIY, personalization, and sustainability
The appeal of papercraft is also part of a broader search for creativity and meaning. In an all-digital age, many people feel the need to disconnect by making something with their hands. Papercraft, like knitting, woodworking, or painting, offers the tangible satisfaction of creating a real object. There is a strong sense of pride in being able to say, “I made this myself.” In a world full of standardized store-bought items, making your own décor brings a personal and unique touch to your home.
In addition, the potentially eco-friendly aspect can also matter. Paper is a recyclable and renewable material; choosing to decorate with paper instead of plastic or buying brand-new decorative objects is a small green gesture. Even better, you can reuse paper you already have: some people enjoy making papercraft from old cereal boxes, magazines, and similar materials as part of an upcycling approach. This way, you create a decorative object without new industrial production. This environmental dimension may not be everyone’s main motivation, but it fits perfectly with today’s values of responsible consumption.
Finally, it is worth noting papercraft’s growing role in the fields of events and marketing. From shop windows to Christmas displays, paper is increasingly used to create temporary visual installations. There is therefore also a literal “showcase effect”: when major brands or exhibitions use paper art, it brings it into the spotlight for the general public. For example, French artist Mademoiselle Maurice has created monumental origami murals (walls covered with hundreds of multicolored origami pieces) for public spaces and commercial brands - projects that have been shared in the media and across social networks, inspiring admiration and curiosity for origami and papercraft.
In short, papercraft benefits from a perfect combination of favorable factors: it is easy to access, fully in tune with the DIY spirit of the times, visually refreshed for modern tastes, highly shareable within communities, and associated with positive values (education, relaxation, personalization, sustainability). No wonder it is winning over new fans every single day!
The Surprising Benefits of Paper Art (Creativity, Well-Being…)
Beyond the simple pleasure of creating a beautiful object, practicing paper art - whether origami or papercraft - can bring many benefits to both children and adults. It’s a hobby with educational, therapeutic, and social value that often goes unnoticed. Here are some of the main advantages it offers:
Focus, Fine Motor Skills, and Patience
Folding paper precisely or cutting/gluing small pieces requires real attention to detail. It’s an excellent way to develop fine motor skills (hand-eye coordination and finger dexterity). Many schools and parents use origami to help children improve these abilities. For example, folding an origami model or assembling a papercraft project teaches a child to handle materials gently and align pieces neatly - skills that also help later with writing, drawing, and more.
These activities also strengthen concentration. A child who usually struggles to sit still may become fully absorbed in making an origami piece because they want to see the finished result and must stay focused on each step. In the same way, a stressed adult can spend an hour gluing paper pieces together and forget about the rest of the world for a while. It’s easy to enter a flow state - that feeling of total focus when you’re completely immersed in what you’re doing.
This ability to focus has even been compared to a form of active meditation. In fact, some cognitive and behavioral therapists use origami as a mindfulness tool: concentrating on folds in the present moment, feeling the paper in your hands, can help quiet anxious thoughts. One study even reported that methodical paper folding can have effects similar to breathing exercises when it comes to reducing anxiety.
Learning paper art also teaches patience and perseverance. Let’s be honest: some creations take several hours, or even several days for the largest projects. You have to accept moving forward little by little, sometimes making mistakes (a badly glued piece means starting over), and not getting instant results. In a world of digital immediacy, this helps retrain our patience - and that’s a precious quality. And the sense of pride at the end is incredible. You could almost say, “Good things come to those who know how to fold.” ????.
Relaxation and a Natural Stress Reliever
Taking time to cut and fold paper is like giving yourself a timeless little escape. Many enthusiasts describe papercraft and origami as deeply relaxing activities. Focusing on hands-on work fully engages the mind and helps release tension. It’s a moment for yourself, a break from constant stimulation (screens, notifications, and so on). According to a survey published in the British Journal of Occupational Therapy, no fewer than 81% of people suffering from depression reported feeling happier after a crafting session (the study focused on knitting, but the findings can easily apply to papercraft). More than half even said they felt “very happy,” despite not feeling that way before the activity.
From a physiological point of view, researchers have found that creative hands-on activities can lower cortisol levels (the stress hormone). With regular practice, people often notice better stress management and sometimes a reduction in everyday anxiety. Some complementary therapies even recommend that patients dealing with anxiety or burnout take up a repetitive creative hobby (such as coloring, knitting, or paper folding) to help calm the mind. Papercraft can have that same soothing effect, especially when done in a pleasant setting (for example, while listening to soft music). Éric Vigier, who designs Ecogami models, shares: *“In the peace and quiet of my home, with my favorite music playing, cutting, folding, and gluing have become a source of relaxation - a hobby that’s also a form of entertainment.”*
Papercraft can therefore be seen as a form of play therapy through manual creation. Of course, it doesn’t replace medical treatment if someone is facing serious difficulties, but as a complement, it can be very beneficial. Many people feel calmer and get a small mood boost after spending time creating. That also comes from the satisfaction of having made something (see the next point).
Self-Esteem and Creative Expression
Making something with your own hands brings a very positive sense of accomplishment. You start with almost nothing (just a few sheets of paper) and end up with something real, beautiful, and worthy of pride. This process strengthens self-confidence and the feeling of being capable. Psychologists sometimes talk about the effect on self-efficacy: the more we see ourselves successfully completing projects, even small ones, the more capable we feel of taking on others in life. This is especially true for people who don’t often get to see the tangible results of their work (for example, an office employee who handles data all day may find real satisfaction in creating a physical object).
Papercraft and origami also stimulate imagination and creativity. Of course, beginners usually start by following existing templates, but before long it becomes natural to personalize things. You can choose your paper colors, paint your finished sculpture, add patterns, or combine several techniques (a collage background with origami layered on top, for example). The possibilities are endless. Some creators, for instance, design their own original templates after becoming familiar with other people’s models. Others place LEDs inside their papercraft creations to turn them into one-of-a-kind lamps.
Origami, in particular, also allows people to express emotions in an artistic way. Patients in psychiatric hospitals have been able to externalize feelings through paper folding when words were difficult - this has been documented in art therapy journals. The choice of model, the way it is folded, all of this can become a form of nonverbal language. On a lighter note, for all of us, creating is a way to disconnect for a moment from the role of “consumer” and become an active creator instead. That in itself brings joy and pride.
Finally, let’s not forget the social aspect: paradoxically, a solitary activity like papercraft can also bring people together. There are in-person workshops where strangers gather around a table to fold together, creating real social bonds through conversation and mutual help. Online, sharing your passion in a group or forum can break isolation and help you join a kind, supportive community. Many people make friends through these hobbies. And giving a handmade paper creation as a gift is a very personal gesture that people truly appreciate: “Handmade cards and gifts show thoughtfulness and that you put real effort into doing something for someone else,” as one creative card-making blog puts it. In that sense, paper art also encourages connection with others, whether directly (through workshops and gifts) or indirectly (through online communities).
“Experts say that creating - whether through art, music, cooking, sewing, or anything else - is beneficial in many ways. Becoming so immersed that nothing else seems to matter is the secret to happiness.” - Excerpt from a CNN article quoted by PaperPapers
In conclusion, practicing papercraft or origami can be seen as a kind of workout for the mind and the fingers: it engages the brain (logic, geometry, imagination), the hands (skill, coordination), and the heart (patience, satisfaction, sharing). All while having fun. That is probably one of the deeper reasons why these paper arts have stood the test of time and are making such a strong comeback: they answer fundamental human needs - to reconnect with ourselves, create beauty, challenge ourselves, and feel recognized. Today, they offer a simple and effective antidote to the stress of modern life, while also giving each of us a chance to unleash the artist within.
3D Papercraft: a hobby for kids or for adults?
Papercraft is often presented as a creative hobby for both children and adults - which raises a fair question: is it really suitable for every age group? The answer is yes, as long as you choose the right difficulty level and provide guidance for younger makers. Let’s look at how this hobby adapts to different ages:
For younger children: an educational and stimulating activity
Introducing children to the art of paper is not only possible, but highly beneficial. Of course, you wouldn’t hand an ultra-complex template to a 6-year-old. But there are plenty of simple models perfectly suited to kids. For example, very simplified papercraft animals (a fox, a penguin made from just a few pieces), or easy 3D origami (such as “puzzle origami” made from identical modules assembled together - a form of papercraft without glue, sometimes loosely referred to as 3D origami). These fun activities help develop their dexterity (as mentioned earlier) and their ability to follow step-by-step instructions.
Many publishers offer papercraft kits for children: for example, booklets with pre-cut models where the child simply has to pop out the pieces (without using a dangerous craft knife) and glue them together. Popular themes include dinosaurs, farm animals, paper superhero masks, and more. Once finished, the child can play with their creation or proudly display it in their bedroom, which helps build self-confidence. One blog article describes origami/3D papercraft as *“an educational and stimulating activity”* to introduce younger children to paper art. And that’s exactly what it is: part game (you’re making a toy or character) and part stimulating exercise (you need to focus and glue neatly).
That said, it’s important to supervise young children during cutting and gluing, both for safety reasons (scissors, glue) and to provide assistance. In general, from around ages 7-8, a child can begin cutting and gluing simple shapes with a bit of help. Before that age, it’s better to focus on origami (no scissors needed) with basic models suited to small hands (boat, airplane, fortune teller). Around ages 10-12, many children are able to complete intermediate papercraft models almost entirely on their own, especially if they are already patient or enjoy calm, focused activities. It’s also a great way to reduce screen time by channeling their energy into a rewarding hobby.
The educational benefits for children were detailed earlier (motor skills, concentration, patience). I would add that there is also a logical/mathematical dimension: understanding how a 2D shape becomes 3D is a great hands-on geometry exercise. Some elementary school teachers use it to illustrate concepts like solids (prisms, polyhedra, etc.) in a playful way. Children manipulate the shapes directly, which often makes the concept easier to grasp than a drawing on the board.
Finally, it’s an ideal family activity. Many parents who enjoy papercraft invite their children to join them, with everyone working on their own little project at the table. It creates a special bonding moment, away from digital distractions. You share the joy of making something together. One customer review on a shop mentioned: *“The models are super easy and fun - it was a great time with my kids!”*. Feedback like this clearly shows how papercraft can bring generations together around a shared creative activity.
For adults: a creative and rewarding hobby
If papercraft entertains children, it also captivates adults. In fact, many models are clearly designed for teens and adults because of their complexity or theme (for example, a papercraft Darth Vader bust or a 50-page replica of the Eiffel Tower). Adults find in it a creative hobby that breaks away from daily routines, a way to unwind after work by focusing on a hands-on project, and the satisfaction of adding a unique piece to their home décor.
As mentioned earlier, papercraft has won over many young adults, especially through online geek and DIY communities. In some circles, it has almost become a trend - just as knitting had its revival among 25-35-year-olds in recent years, origami and papercraft have built their own fanbase among creative millennials. The design aspect and customization options also appeal to interior décor lovers. You see it in home décor magazines: a small paper trophy can add an original touch to a modern interior, and handmade creations are highly valued.
For adults, the challenges of papercraft can be intellectually stimulating. Some compare it to a puzzle or a construction game, with an extra artistic element. It keeps the brain engaged (spotting numbers, visualizing the 3D assembly) while also being relaxing. We’ve already mentioned its anti-stress benefits, but it also has an impact on self-confidence: completing a big project feels incredibly rewarding, and gives you that boost of pride that comes from finishing something complex. As one enthusiast put it on a forum: *“After building my big papercraft dragon, I felt like nothing could scare me anymore… not even Ikea flat-pack furniture!”* (half joke, half truth - it really does build confidence in your technical abilities).
It’s also worth noting that for some adults, papercraft can become a source of extra income or even a professional activity. For example, some creators sell their own models online (on Etsy, on their own website). Others build finished papercraft pieces to order for people who love the result but not the process. And that’s without even mentioning artists who exhibit their work. Of course, this isn’t the norm, but there is a real papercraft economy. The PaperPapers blog also points out that many makers have started monetizing their passion through online stores, to the point that *online craft sales on Etsy reached nearly $5 billion in 2019* - a huge market of which papercraft is a part. So for some, it can go far beyond being “just a hobby.”
Finally, it’s also an excellent hobby for seniors. Many retirees who already enjoy origami or model making find in papercraft a new creative playground that keeps their minds sharp and their hands nimble. It helps maintain fine motor skills, prevents boredom and isolation by encouraging participation in clubs, and lets them decorate their homes with pride. Some retirement homes have even organized origami workshops to stimulate residents cognitively and encourage social interaction. So from age 7 to 77 (and beyond), the art of paper can truly be for everyone.
In summary: 3D papercraft is neither “just for kids” nor “an old-fashioned pastime” - it is a genuinely intergenerational hobby. Whatever your age, you can enjoy it as long as the difficulty is adapted to your level. Children will see it as a creative game, teens as a way to express their geeky side or upgrade their room décor, adults as a stress-reliever and personal challenge, and seniors as enjoyable brain training. It’s quite rare for one activity to bring together such a wide audience, and that’s yet another strength of paper art.
Essential supplies to get started right (tools and paper)
One of the great things about papercraft is that you don’t need an endless collection of tools. A basic starter kit is enough for your first creations. Let’s go over the essential supplies, along with a few useful extras:
Basic papercrafting tools
- Scissors: A good pair of precision scissors (small size, fine blades) is recommended for cutting pieces cleanly. Make sure they’re sharp enough so they don’t “chew up” the paper. Alternatively, or in addition:
- Precision craft knife: An X-Acto-style knife or hobby scalpel with replaceable blades. It’s ideal for inner cuts, fine details, or speeding through long straight lines with a ruler. A craft knife offers excellent precision, but it requires a proper surface (cutting mat) and careful handling.
- Glue: White PVA glue (wood glue or school glue) works very well for papercraft. You can find it in bottles with a fine-tip nozzle, which makes application easier. Some people prefer gel cyanoacrylate glue (like gel Super Glue) because it dries faster - just use it sparingly. Avoid double-sided tape on large surfaces: even though it’s clean to use, it may peel over time. Glue remains your best friend.
- Metal ruler: Essential if you’re using a craft knife, to guide straight cuts. It’s also useful for helping with folds along a line (hold the ruler in place and lift the paper against it).
- Bone folder or scoring tool: A plastic bone folder (like those used in bookbinding) is perfect for scoring fold lines before folding. If you don’t have one, the back of a craft knife blade (the dull side) or an empty ballpoint pen can do the job. Scoring the folds with a tool helps create crisp, straight folds.
- Cutting mat (optional): A thick board that protects your table when cutting with a knife. Optional if you use a craft knife often. If you don’t have one, an old piece of thick cardboard can work as protection.
- Tweezers or fine pliers (optional): Useful for holding very small pieces or pressing down a tab inside a structure where your fingers can’t reach.
- Toothpick (optional): A handy glue trick: use a toothpick to apply a very thin line of glue to the tabs to avoid messy blobs. A very fine brush can also be used to spread the glue evenly.
With this relatively simple set of tools, you’ll be ready for almost any project. The investment is minimal: many of these tools are probably already in your home, and if not, they’re inexpensive and easy to find in any craft store.
It’s worth noting that there are also automated cutting machines (Silhouette Cameo, Cricut, Brother ScanNCut, etc.) that can cut out your pieces for you once the template is printed or traced. They’re a great upgrade once you really get hooked and start making lots of papercraft, as they save time and reduce strain on your hands. But these machines are expensive (often over €200), so they’re absolutely not necessary for beginners. They can, however, open up other possibilities (cutting complex shapes, batch production, and so on). Still, one of the charms of papercraft is the time you spend cutting everything by hand - it’s part of the relaxing experience ????.
How to choose the right paper
The paper itself is, of course, the key element. As mentioned earlier, papercraft requires thick paper, similar to light cardstock or Bristol board. Here are the main criteria to consider:
- Weight: Measured in g/m² (GSM), this indicates the thickness and stiffness of the paper. For papercraft, a range of 160 to 250 g/m² is ideal. Below that (~120 g), it’s more like drawing paper and usually too flimsy to hold a 3D shape unless the piece is very small. Above that (~300 g), you’re moving into true cardboard territory, which is harder to fold neatly. Eric from Ecogami recommends *“a weight between 200 and 300 GSM”* and personally uses 260 g, which works very well. You can adjust depending on the model: for example, a very large design may need 240-250 g for extra strength, while a more delicate model may be easier to fold with 180-200 g.
- Size: Most templates are designed for A4 paper (21 × 29.7 cm), since that’s the standard for home printing. So A4 cardstock will work in 90% of cases. If you want to make larger models or have an A3 printer, you can buy A3 paper for bigger parts. Keep in mind that some home printers struggle with paper heavier than 200 g, so you may need to use a manual feed tray or select a “thick paper” setting. Otherwise, you can print on regular paper and glue it onto thin cardstock, but that’s more work.
- Color: This is completely up to the effect you want! You can use white paper if you plan to paint the model afterward or if you like a clean monochrome look. Or you can go straight for colored paper for a finished solid-color result. There are even patterned, metallic, and glitter papers that can create original effects. For beginners, solid-core colored paper is easier to work with because the color is the same on both sides (helpful if the inside of the model is visible). If you’re printing a template with an inkjet printer, be careful: printing large solid color areas uses a lot of ink and can slightly warp the paper. Often, it’s better to print fold lines on the back (the white side) and leave the front plain.
- Texture/finish: Smooth paper is recommended for better gluing and cleaner folds. Bristol paper or satin-coated cardstock works well. Paper that’s too textured (like grainy drawing paper or watercolor paper) has two drawbacks: it absorbs more glue (so adhesion is worse) and it may tear more unevenly along folds. Also avoid glossy paper like photo paper: the slick surface doesn’t take glue well (it slips). Eric points out that *“Photo paper won’t work because the glue won’t stick to it.”* If you want a glossy effect, it’s better to paint or varnish the model after assembly.
You may be wondering where to find this kind of paper. You can usually get it from a stationery store or craft store, either as large loose sheets (such as Canson 50×65 cm sheets to cut down) or as A4 packs of heavy paper (for example, a ream of white 160 g Bristol board). There are also 210 g scrapbooking paper pads available in different colors. Traditional origami paper is generally too thin (and often too small), with a few exceptions such as kami duo 110 g, which can be used for mini papercraft models.
In short: choose thick, smooth A4 paper in the color of your choice. A pack of 50 sheets of good-quality 210 g paper will already let you make quite a few models. Don’t hesitate to test with whatever you already have on hand (for example, poster paper or old Bristol board) to see how it holds up. And remember: poor paper can ruin the experience - too thin and it warps, too thick and it becomes impossible to fold. So this is definitely not something to overlook. Fortunately, it’s now easy to find the right balance in stores.
“Personally, I use 260 GSM paper, which is perfectly suited to this type of creation. […] On the other hand, standard office paper (75/80 GSM) won’t work because it will warp.” - Eric Vigier
Tips for successfully completing your first 3D papercraft (without the stress)
So, you’ve got your printed template, your sharp scissors, and your glue stick ready to go? Before you dive in headfirst, here are a few practical tips from experienced papercrafters to help you succeed with your first models:
Before you start: get organized and identify the pieces
Read the instructions carefully if there are any. Some commercial templates come with an assembly guide or step-by-step diagrams. If not, take a moment to look over the entire pattern. Identify the numbers and the different parts, and try to picture where each piece will fit in the final sculpture. This will save you from getting lost once you start assembling.
Cutting: Cut out all the template pieces neatly. Don’t hesitate to roughly separate each piece first, then refine the cut more carefully one piece at a time. Tip: leave a small white margin around the tabs when cutting them out - this makes them slightly sturdier and prevents them from ending up too narrow. Be sure to cut any slots or holes cleanly as well (a craft knife is useful for inside corners). Group the pieces by section number if indicated (for example: head, body, legs of an animal).
Scoring the folds: Before folding, score each fold line with a bone folder or the back of a craft knife, especially on thick paper. Follow the usual convention: dotted lines often indicate a “valley” fold (fold inward, meaning the printed side ends up inside), while dash-dot lines (or long dashes) indicate a “mountain” fold (fold outward, so the printed side ends up outside). If no folding convention is provided, you’ll need to infer it from the geometry: a tab is always glued inside the structure, so it will sit beneath the neighboring piece; fold accordingly. Take your time and make each fold clean and straight, using a ruler to help start the crease.
Workspace: Make sure you have a clear, well-lit area to work in. A clean table is important (no dust or crumbs - they could get stuck under your paper with the glue). If possible, set up on a surface you can dedicate to the project for its entire duration, so you can take breaks and come back later without having to pack everything away.
During assembly: method and patience
Gluing order: Most of the time, the template is numbered to guide the build. For example, you’ll start by joining the tabs marked “1,” then “2,” and so on. Follow this order as closely as possible - it usually reflects the geometry of the model and helps you close the structure gradually. Don’t skip ahead and glue higher-numbered sections before finishing the earlier ones, or you may make things harder for yourself or lose access to certain areas.
Use small amounts of glue: The key is to apply very little glue to each tab. A thin layer is more than enough for paper. Too much glue = overflow, warped paper, and longer drying times. Apply the glue only to the tab, spread it lightly (with the bottle tip or a toothpick), and press the tab against the matching piece for a few seconds. Some glues set in 5-10 seconds, while others need 30 seconds of pressure. Be patient - don’t let go too soon or it may pop back open.
Support and pressure: When gluing a tab, apply gentle pressure while it sets. On accessible pieces, press from both sides of the paper (tab underneath, finger on top) for a nice flat bond. If the area is small, use the end of a ruler or a clip to press it down. Be sure to check alignment: the edges of the pieces should line up exactly. If something overlaps or gaps, adjust it before the glue fully dries (you usually have a few seconds to reposition if needed).
Work gradually: Build the structure slowly, piece by piece. Sometimes you’ll need to leave an opening and come back later to glue the last tab and close everything up. On enclosed models (for example, a solid polyhedron), the final piece can be trickier to glue because you have less room to hold it from the inside. That’s normal. You can use a thin object to press the final tab from the inside (for example, the handle of a paintbrush through a remaining hole, or a stick). There’s also the tab-closing technique: use a small piece of temporary tape to hold an inaccessible tab in place, then slip glue through a slit with a skewer. Everyone has their own tricks.
“Take your time and enjoy the process. Start with something simple, even if it’s just a paper cube - you’ll build your technique and confidence little by little.”
“Always score your folds well before gluing; it makes all the difference for a clean assembly.” - Tips shared by community members (Reddit forums)
Don’t get discouraged: If a step feels difficult, take a break and come back to it later with fresh eyes. Sometimes it’s better to let the glue dry for 10 minutes in one area before pulling on it to assemble the next section, especially if it takes a bit of force. There may be “hedgehog moments” when lots of unglued tabs are sticking out in every direction - that’s normal. Keep going methodically, and everything will fall into place in the end.
Keep in mind that your first papercraft is always a bit of an experiment. You’ll learn as you go. Maybe it will have a few imperfections (slight misalignment, a bit of glue showing), but that’s okay. From a distance, those small flaws are barely noticeable, and the overall result will still look great. Most importantly, the next one will be even better! Every model you complete helps you improve. Many hobbyists become “hooked” precisely because they can see their own progress and want to challenge themselves with a harder model next time.
After the hard work: finishing touches and display
Once your sculpture is finished and the glue is fully dry, you can take care of the finishing touches. For example:
- If construction lines or numbers are still visible (depending on whether you printed on the front or back), you can gently erase them if they’re in pencil, or paint over them if they’re printed. Many people paint their finished papercraft with acrylic paint, either to cover lines/white edges or to add color and depth.
- You can also varnish the object (matte or satin spray varnish) to protect it from moisture and dust. This also adds a bit more rigidity and gives it a polished look.
- If some joints are slightly open, a tiny extra dab of glue or a small piece of transparent tape on the inside can fix it.
- If you want to hang a wall-mounted trophy, remember to glue a small hanger (a loop of string or a wire hook) to the back before sealing everything shut, so you can hang it on the wall.
Finally, take a moment to admire your creation ????! It matters, because after staring at it for hours, you almost stop seeing it clearly. Set it down, take a step back, and appreciate how far it’s come - from flat paper to the 3D sculpture now in your hands. Don’t hesitate to show it off to the people around you - shared pride doubles the joy. And of course, post a photo on social media or in papercraft groups; you’ll almost certainly get encouraging feedback that makes you want to start again.
By following these tips, you should avoid the classic pitfalls (too much glue, the wrong paper, rushing, etc.) and enjoy a satisfying experience. The real key is patience and enjoyment. Rome wasn’t built in a day, and neither was your paper unicorn; but each little step is something to savor. As Éric Vigier says, “the assembly process is also a pleasure in itself, which is why I don’t count the hours”. Embrace that mindset, and your papercraft projects will quickly become a lasting source of relaxation and pride.
Creative ideas and decorative uses for 3D papercraft
After all that theory, let’s talk a little about inspiration! What beautiful things can you make with paper art? Here’s an overview of some great papercraft creations to enhance your home or brighten up special occasions:
Decorating your home with paper art
3D papercraft offers endless possibilities for interior decoration. Here are a few very popular examples:
- Animal trophies: Probably the stars of decorative papercraft. These are polygonal, faceted animal heads that you hang on the wall, like hunting trophies (but 100% cruelty-free, of course). Deer, tiger, elephant, unicorn, bear… there are all kinds. White for a sleek designer look, colorful for more fun, or even painted in a multicolored origami style. They instantly become the focal point of a room. Guaranteed to impress your guests (“Wait, you made that yourself?!”).
- Designer masks: Displayed on a shelf or mounted on the wall, paper masks inspired by Venetian carnival styles or geometric animals look stunning. Some people also use them for costume parties or original photo shoots. For example, a low-poly fox mask or a papercraft Stormtrooper mask is seriously eye-catching.
- Display sculptures: Almost any object or character can become a paper sculpture. Think of famous papercraft models like Baby Yoda, Groot (the Marvel character), or abstract shapes for shelf decor. You’ll also find practical papercraft items like stylish pencil holders, vases (with a waterproof container placed inside), and more. Paper flowers are also especially popular: you can create a gorgeous bouquet of origami and paper flowers that will never wilt.
- Paper lighting: Paper and light work beautifully together when you use slightly translucent materials (such as tracing paper or polypropylene). You can find origami lamp kits (accordion lamps, modular hanging lights) or create a papercraft candle holder with openings for the light to shine through. For safety, LED bulbs are the best choice since they don’t heat up. The soft glow created by an origami lampshade is wonderfully poetic.
- Paper art wall pieces: Beyond 3D papercraft, techniques like paper cutting and quilling also allow you to create framed artwork. For example, intricately cutting out a city skyline from black paper and mounting it on a white background makes for a modern wall piece. Or quilling - rolling paper strips into shapes - to write a word or create a floral pattern under glass. It’s another fantastic way to expand the decorative possibilities of paper art.
As you can see, there are countless ways to personalize your decor. One of the great advantages of decorative papercraft is that you can adapt it to your taste (choice of colors, minimalist or detailed style), and it stays lightweight and easy to hang (a paper deer head weighs only a few dozen grams, so no heavy-duty nails needed!). And if you ever want a change, it’s recyclable or can simply be repainted in a different color. It evolves with your style and your mood.
It’s also worth mentioning the cost: for just a few dollars’ worth of paper, you can create an object that looks as impressive as a high-end designer accessory. For example, a resin rhinoceros head in a store can easily cost €80-100. In papercraft, for maybe €5 in raw materials, you can achieve a visually similar result - with the added pride of having made it yourself. That makes it a fantastic decor alternative for creative budgets.
And it’s not just for the home: papercraft is also perfect for event decoration. Weddings, birthdays, holiday celebrations… paper art is showing up more and more. A few examples:
- Wedding: origami garlands (lucky cranes), personalized origami place cards, paper flower centerpieces, a photobooth backdrop made of origami butterflies attached to a wall… a wow effect with a minimal budget.
- Christmas: hanging kirigami snowflakes, a paper Christmas tree (there are modular 3D tree models you can assemble instead of a real small tree), origami stars to hang in the windows, and more. It’s magical - and you made it yourself ????.
- Children’s birthday party: Star Wars, Pokémon, Harry Potter - every theme has its iconic papercraft models. Why not create a few characters as table centerpieces, or paper masks for a photobooth? The possibilities are endless, and they add a homemade touch that will definitely impress (let’s be honest, the other parents might get a little jealous of your skills ????).
“PaperCraft is really having a moment right now when it comes to decorating our interiors” - Arts Déco interior design blog
For inspiration, don’t hesitate to browse Pinterest by searching for “paper art decor” or “origami decor ideas.” You’ll find incredible creations there. Fair warning: you may come away with 50 projects in mind! Better to tackle them one at a time ????.
Case studies: display-worthy origami and giant papercraft
Here are two fascinating examples that show just how far paper art can go:
Mademoiselle Maurice - This French artist is globally known for her street origami installations. She folds thousands of origami pieces (often small colorful triangles or cranes), arranging them into giant murals on building facades, bridges, and gallery walls. Her works feature rainbows, geometric patterns, or vibrant floral designs, often carrying messages of peace or ecology. They have been exhibited in Paris, New York, and beyond. The fact that something as simple as paper can be used to create such monumental works is absolutely breathtaking. It has helped give contemporary paper art a new level of recognition.
TeamLab Planets Origami (fictional) - Imagine for a moment an immersive installation where visitors walk through a room filled with suspended paper polyhedrons, lit from within and shifting colors in sync with calming music. This kind of artistic experience centered on paper could absolutely become reality (and perhaps something similar already exists). Paper has a unique sensory potential - texture, translucency - that spatial designers can fully explore. In another field, architects draw inspiration from origami to create deployable structures, such as emergency shelters that fold and unfold in a single motion - proof that the art of folding also has real-world functional applications.
This little detour is just to say: don’t limit your imagination. Maybe today you’re starting with a small papercraft panda on your shelf, and who knows - in a few years, you might be covering an entire wall with multicolored origami, or teaching these techniques to others. Paper art is an incredibly vast universe, ranging from a simple hobby to fine art, which is exactly why it never gets boring.
Where can you find 3D papercraft templates and patterns?
After reading all this, you’re probably eager to get your hands on a papercraft model and give it a try. The good news: there are plenty of resources out there, both free and paid. Here are a few ways to find your next paper project:
Kits, books, and specialist shops
Many online stores specialize in selling papercraft templates or kits. For example, our website Papercraft-3D.com offers more than 1,500 models of papercraft and 3D origami: animals, characters, themed decorations, and more. You can buy the model of your choice either as a downloadable PDF (the file is delivered instantly for you to print at home) or as a physical kit (we send you printed/pre-cut sheets ready to assemble). It’s the perfect option for getting started with quality materials and clear instructions.
Other internationally recognized shops also exist: PaperTrophy, Kamibox, CubicFun… On Etsy, search for “papercraft 3D template” and you’ll find a huge variety of independent creators selling their models (usually between €5 and €15 for a PDF template depending on complexity). Just make sure to choose highly rated sellers - that’s often a good guarantee of template quality (because struggling through a poorly designed model is no fun at all). One helpful tip often shared is to “always check customer reviews” and take advantage of discounts or promo codes when available - a smart way to buy several models for less.
If you prefer a printed book format, there are also papercraft books, often organized by theme: “50 paper toys to build,” “Low-poly animal papercraft,” and so on. These books usually include sheets you can cut out directly. They also make lovely gifts. You can even find “creative kits” in stores containing a few models and everything you need (paper sheets, glue, sometimes even child-safe scissors). Check the craft section of your local bookstore or toy store - you might be surprised.
Finally, don’t overlook brick-and-mortar craft stores or trade shows (DIY fairs, Japan Expo, etc.), where you may sometimes find booths selling papercraft models. The advantage of buying in person is seeing the assembled model in real life and possibly getting advice directly from the seller.
Free online resources
For those on a tight budget or simply wanting to test things out for free, the internet is full of free printable templates. Here are a few useful sources:
- Canon Creative Park: Canon’s website offers hundreds of free, high-quality models sorted by theme (animals, architecture, vehicles, parties, etc.). You just need to create a free account. You’ll find everything from simple to very advanced designs.
- Instructables: this DIY tutorial site includes several papercraft guides with files provided by the authors. For example, a tutorial like “how to papercraft [object]” where the creator shares their PDF as an attachment.
- Paperkraft.net / Papercraft Paradise (blogs): these sites used to list lots of free models back in the day. Some links are old, but they’re still great places to get ideas and then search the model name on Google.
- Pinterest: by searching “free papercraft template,” Pinterest will often lead you to blogs or creators’ personal websites offering a template in exchange for a newsletter signup or as a free download. Be cautious when downloading, though - stick to reliable sources whenever possible.
- Communities: forums such as Papercraft Museum or Paper Replika share a huge number of models (for free or with links to the creators). The r/papercraft subreddit also has a section listing free and open-source resources.
If you search thoroughly, you can find just about anything in papercraft online - legally, or sometimes through less official sharing. However, if you truly love a model and it’s available for just a few euros, don’t hesitate to support the creator by buying it. You’ll often get a higher-quality file and more complete instructions as well.
To get started at no cost, visit our “Free Papercraft” section on this site ????. We offer several small models as free downloads, perfect for getting some hands-on practice. For example, a super cute 3D origami rabbit or a simplified fox mask. You can print them right away and dive in.
Once you’ve gained some experience, who knows - you may even want to design your own models! Some 3D modelers start using Pepakura and create original papercraft designs to share or sell. That’s a whole different skill level (you need to know 3D modeling and how to optimize a template), but it’s an exciting direction to explore for the more geeky among us.
In the meantime, enjoy the huge variety already available. You’ll never run out of inspiration. In fact, the hardest part will probably be choosing which model to make from all the ones you want ????. One tip: start with a free or inexpensive low- to medium-complexity model to get comfortable with the technique, then work your way up little by little. Before long, you’ll have a real collection of paper sculptures at home, each with its own little story.
FAQ for Beginner Papercrafters
• What is the difference between papercraft and 3D origami?
Some people use the term “3D origami” to refer to paper sculptures, but that’s not quite accurate. Origami (even in 3D) is made without glue, using folds only, often with several small interlocking pieces. Papercraft, on the other hand, involves cutting and gluing multiple pieces together to create a 3D shape. In short: origami = folding, papercraft = paper assembly (with folds + cuts + glue).
• What type of paper is recommended for papercraft?
It’s best to use cardstock between 160 g/m² and 250 g/m². For example, 210 g/m² is a great balance for beginners. Paper that is too thin (like 80 g/m²) won’t hold its shape well and may warp when glue is applied. Standard A4 size is fine, smooth finish, and any color you like. Avoid glossy or heavily textured papers, as they don’t glue well and can be harder to fold.
• What glue should I use to assemble papercraft?
White PVA glue (wood glue or standard school glue) works very well. Use a small amount, as it dries clear. You can also use quick-setting gel glue (gel cyanoacrylate) for almost instant bonding, but be careful with your fingers and excess glue since it can leave marks. Avoid glue sticks (they don’t hold well on thick cardstock) and hot glue (too bulky and likely to warp the paper).
• How long does it take to complete a model?
It really depends on the model! A small, simple object can take 1 to 2 hours. A medium-sized model (15-20 cm, a few sheets) often takes around 5-6 hours. Large, complex models may require 10-15 hours or more, spread over several days. It’s best to take your time and enjoy the process without rushing. As you gain experience, you’ll naturally get faster. But the goal isn’t speed - it’s enjoyment.
• How can I fold neatly without damaging the paper?
For clean folds, the trick is to score your fold lines before folding. Using a bone folder (or the back of a craft knife), trace along the fold line with moderate pressure. Then fold gently along that scored line: the fold will happen exactly where you want it, with much less effort. If possible, press the piece against the edge of a ruler to help start a straight fold. And fold on a hard surface rather than in the air so you can flatten the crease properly.
• I can still see the cut lines / numbers once the model is assembled - how do I hide them?
There are several options: if the lines were printed on the visible side and are still showing, you can erase them if they were drawn in pencil, or cover them with a little matching paint using a fine brush. Many papercrafters paint their finished sculptures for a flawless result. If you plan to leave the model unpainted, the best option is to print the construction lines on the back side of the paper (inside the model) so they are less visible. As for the numbers, once the model is closed up, they normally won’t be visible from the outside. If any remain on visible areas, a small touch of paint or even a matching colored marker can hide them.
• Where can I get help if I’m stuck on assembly?
The papercraft community is very supportive ????. You can post a photo of your issue on a forum (for example, r/papercraft on Reddit or a dedicated Facebook group) and explain what’s not working - usually someone will offer advice. Don’t hesitate to contact the model designer if you purchased it either: many are happy to help guide you. Finally, check YouTube to see whether there’s a video tutorial for your model or a similar one - watching someone else build it can often get you unstuck.
Now you’re equipped with the knowledge and tips you need to dive into the world of paper art and 3D papercraft. Whether you choose to fold a simple origami crane or assemble a huge paper dragon, the most important thing is to enjoy yourself and let your creativity shine. Grab your paper and scissors, and bring your ideas to life in three dimensions! Happy crafting!
✂️???????? Have fun with papercraft and don’t forget to share your creations! ????✨