Introduction
Between ages 6 and 10, children become more precise, more independent, and more curious about how the world works. Montessori-inspired hands-on activities create the perfect setting to handle, observe, test, correct, and create - especially with paper, templates, and 3D models.
Why offer Montessori-inspired hands-on activities for ages 6-10?
The Montessori approach focuses on independence, concentration, precise movement, and learning through experience. For children aged 6 to 10, hands-on activities are more than just crafts: they become tools for thinking, planning a task, solving problems, and building confidence.
Paper is especially valuable because it’s accessible, versatile, and easy to transform. A child can cut, fold, assemble, color, label, sort, or start over without feeling stuck. With a template, they get a reassuring structure while still enjoying real freedom with colors, textures, and details.
In this spirit, the adult prepares the environment instead of doing the activity for the child. Materials are visible, tidy, sized for small hands, and presented with a clear instruction. The child can then move forward at their own pace, observe the result of each action, and adjust their method. That balance between freedom and structure is what makes these activities so powerful.
1. Build a papercraft animal to improve precision
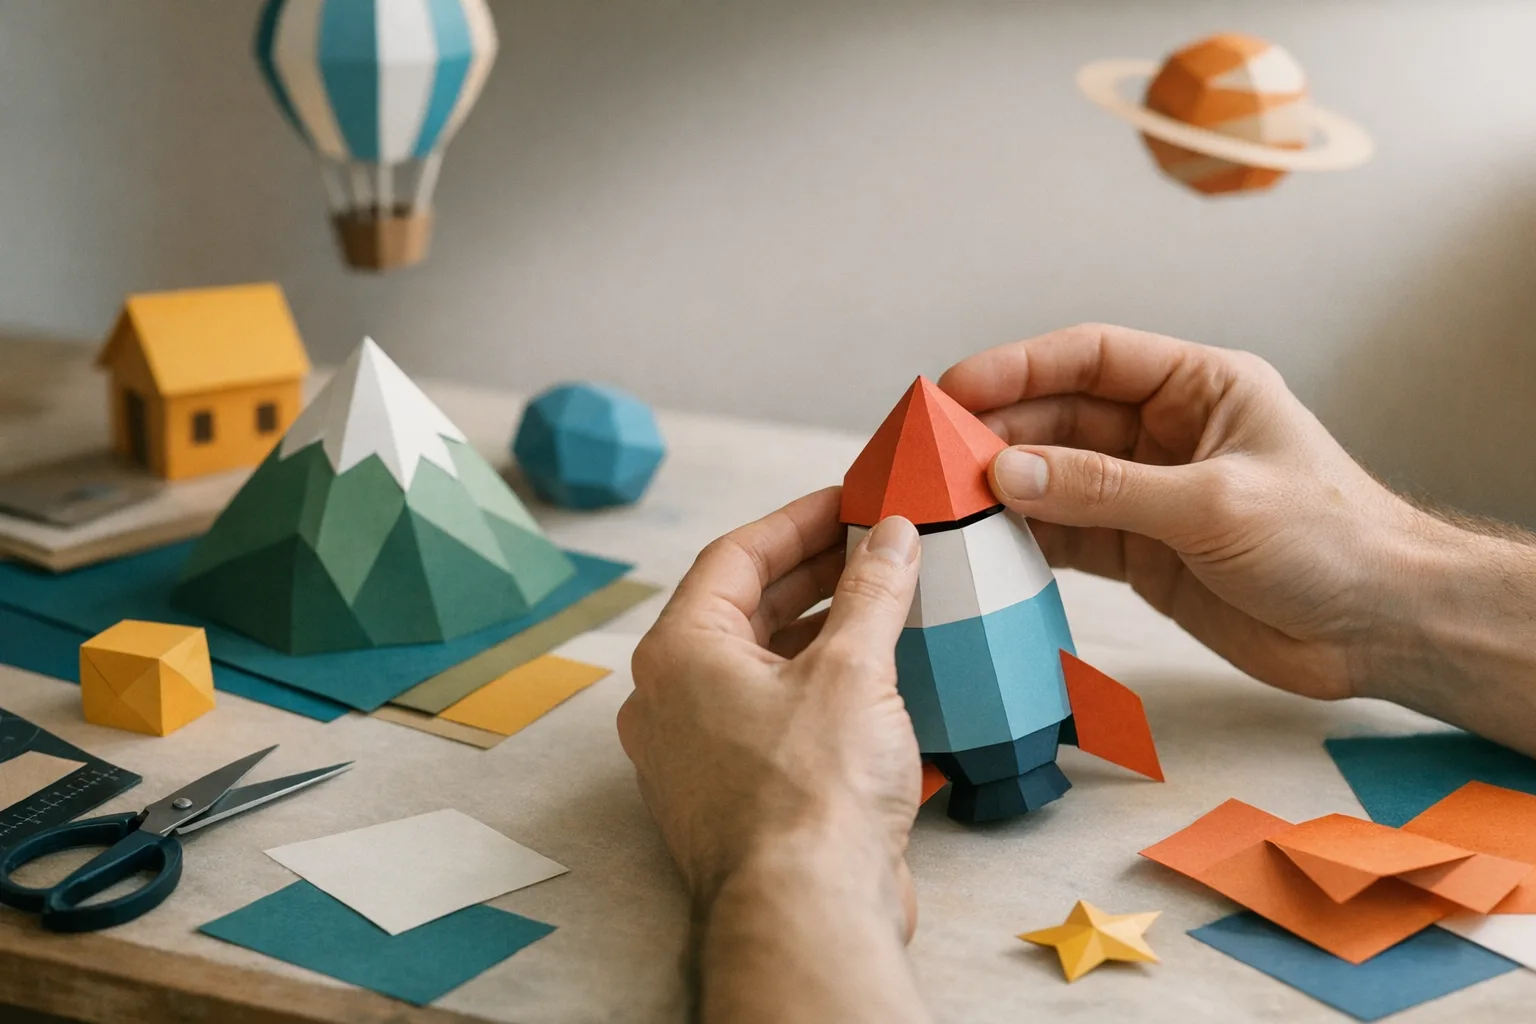
3D papercraft is ideal for ages 6-10 because it combines creativity, fine motor skills, and spatial awareness. The child starts from a printed template, identifies the cutting lines, scores the folds, then assembles the different parts to reveal a three-dimensional shape. The final result - often impressive - gives a strong sense of achievement.
To keep the Montessori-inspired spirit, it’s best to begin with a simple model: a fox, a cat, a bird, or a small dinosaur, for example. The goal is not speed, but quality of movement. The child learns how to hold scissors properly, follow a line, fold neatly, and understand that each step prepares the next one.
How should you present the activity?
- Prepare the template, scissors, glue, and a folding ruler or scoring tool.
- Show just one step, then let the child try.
- Invite the child to look at the glue tabs before applying glue.
- Praise perseverance as much as the final result.
Once the animal is finished, the child can give it a name, create an info card, or invent its habitat. Papercraft then becomes a springboard for richer vocabulary, storytelling, and observing the natural world.
2. Create geometric solids with foldable templates
Paper solid templates make geometry tangible. Instead of only seeing a cube, pyramid, or prism in a textbook, the child builds it with their hands. They discover faces, edges, vertices, and the relationship between flat shapes and 3D forms.
This activity works especially well for children who like understanding how things are built. You can start with a cube template, then compare it with a rectangular prism, a pyramid, or a cylinder. The child notices that some shapes fold easily while others require more anticipation. They also discover how important glue tabs are - small and discreet, but essential.
To take the activity further, invite the child to sort solids by their characteristics: the ones that roll, the ones that stack, the ones with only flat faces, the ones with a triangular or square base. This kind of manipulation develops logical thinking without relying on abstract lessons.
Families who want to vary their materials can also explore a Montessori-inspired store to find complementary educational games. The key is choosing materials that encourage children to handle, compare, check for themselves, and try again - instead of objects that instantly give the answer without any thinking.
Using thick paper, the solids can be stored in a small geometry box. The child can come back to them later to measure them, draw their nets, or build a model.
3. Make illustrated nomenclature cards
Nomenclature cards are widely used in Montessori environments because they connect image, word, and classification. For children aged 6-10, making them yourself can strengthen engagement. The topic can be chosen based on the child’s interests: animals, plants, monuments, tools, planets, insects, musical instruments, or everyday objects.
The activity begins with research and observation. The child picks a subject, draws or prints an image, writes the matching word, and optionally creates a definition card. They can then sort the cards by category, match them, read them aloud, or invent a guessing game.
This work builds precise vocabulary, spelling, visual memory, and the ability to organize information. It also makes learning more personal: a child who loves birds will remember the words more easily if they connect them to their own drawings or to observations made outdoors.
In classroom or workshop projects, choosing paper and supplies can also become an opportunity to raise awareness about where materials come from. Some educational approaches also highlight schools certified for fair trade, linking practical activities to wider ideas of responsibility, consumption, and respect for human work.
To make the cards last, it’s a good idea to glue them onto thicker paper or store them in sleeves. The child can expand the collection week after week and clearly see their progress.
4. Create a paper herbarium to observe nature
A paper herbarium is a calm, gradual, and highly enriching activity. It encourages the child to observe shapes, veins, colors, and the differences between leaves. If collecting plants is possible, it should be done respectfully, avoiding protected species and taking only a very small amount. Otherwise, the child can work from fallen leaves, photos, or drawings.
For a fully paper-based version, invite the child to trace the outline of a leaf, cut it out, and reproduce it on different colored papers. The child can compare a simple leaf and a compound leaf, observe symmetry, or note the edge shape: smooth, toothed, rounded, or lobed. They can also create one page per plant with a title, drawing, description, and place of observation.
Creative variations
- Make leaf rubbings by placing leaves under thin paper.
- Create a green color chart using pencils, markers, or cut paper.
- Sort leaves by shape instead of by name.
- Invent an imaginary botanical plate while keeping a logical visual structure.
This activity encourages close attention to the real world. It shows the child that creativity and scientific observation are not opposites - on the contrary, the better they observe, the richer and more accurate their creations become.
5. Make a paper weaving project to explore patterns
Paper weaving is easy to set up, yet incredibly educational. You simply prepare a base sheet with parallel slits, then weave paper strips over and under to create a pattern. The child immediately sees alternation, rhythm, and the impact of color choices.
This activity develops hand-eye coordination, patience, and sequential logic. It works especially well for children who need repetitive movements to focus. Weaving requires following an order, but it also leaves plenty of freedom in the choice of strips, widths, contrasts, and patterns.
To go further, invite the child to create a series of weavings with different rules: two alternating colors, a gradient, thin and wide strips, a regular pattern, then a free pattern. The child can compare the results and explain what changes. This helps them identify a visual rule, modify it, and anticipate the effect produced.
The weaving can then become a notebook cover, a wall decoration, a card background, or part of a model. Giving the creation a purpose strengthens the meaning of the activity and the satisfaction of finishing a carefully made object.
6. Build a miniature environment model
A miniature model brings together several skills: cutting, folding, gluing, spatial organization, storytelling, and attention to detail. The child can represent a bedroom, a forest, a street, a classroom, a farm, an aquarium, or an imaginary landscape. Paper becomes a complete building material, capable of forming walls, trees, furniture, characters, and decorative elements.
In a Montessori-inspired approach, it’s especially interesting to begin with a concrete question: what does an animal need in its habitat? How should a room be arranged to make it practical? What areas do you find in a garden? The child doesn’t just decorate - they think about the function of each element.
You can provide a cardboard base, then let the child draw a simple plan before starting. This step helps them anticipate volume and manage the available space. They can then make the elements one by one, move them around, test different layouts, and choose the most coherent one.
A model is also excellent for language development. The child can present the project, explain their choices, tell a story, or add labels. Manual work becomes a support for structuring thoughts and communicating clearly.
7. Create an independent creative challenge booklet
A creative challenge booklet is a great way to extend hands-on activities while encouraging independence. It can be a small homemade notebook, folded and stapled, where the child finds short prompts. Each page offers one challenge that can be done with paper, scraps, templates, or materials already available.
The challenges should stay open enough to leave room for invention. For example: build an object that stands up, invent an animal using three geometric shapes, make a card with a window, turn a strip of paper into a character, recreate a natural pattern, or build a box to store a treasure. The child chooses the order, ticks off completed challenges, and can add their own ideas.
This booklet supports planning skills because the child learns to read an instruction, gather the materials, make the object, then evaluate the result. They can note what felt easy, what took several attempts, and what they would like to do differently next time. This kind of self-observation is incredibly valuable: it turns mistakes into useful information.
For ages 6-10, the booklet can grow with the child. Younger children will enjoy visual challenges and simple shapes, while older ones can add constraints related to symmetry, volume, strength, or storytelling.
Tips for setting up a successful paper workshop
A successful workshop often depends on simple, clear preparation. Before starting, gather the materials on a tray or in a box: sheets of paper, templates, child-friendly scissors, glue, ruler, pencils, erasers, clips, or small sleeves. Having everything within reach helps the child stay focused on the activity instead of searching for tools.
Explain the instruction in just a few words, then demonstrate the key action. There’s no need to explain everything in advance. A child aged 6 to 10 often understands better by doing, observing the result, and correcting as they go. The adult can guide with questions: what do you notice? Which part would you like to try now? How could you strengthen this area?
It’s also helpful to provide a space for works in progress. Some activities, such as models or detailed papercraft projects, are best completed over several sessions. Allowing a break prevents rushing and respects the child’s rhythm.
Finally, value the process. A clean fold, an original idea, a successful correction, or an instruction reread carefully all deserve to be noticed. The child then understands that creativity is not limited to the finished object - it also includes effort, observation, patience, and the ability to improve.
FAQ
Are these activities really suitable for children aged 6 to 10?
Yes - provided you choose templates and instructions that match the child’s level. Younger children will need simple models and short steps, while older ones can handle longer, more precise, and more open-ended projects.
Do you need special materials to get started?
No. Paper, child-friendly scissors, glue, a ruler, and a few pencils are enough to begin. Printed or hand-drawn templates can then give structure to the activity without making the setup complicated.
How can you keep the Montessori spirit without official Montessori materials?
The essential thing is to prepare a clear environment, encourage independence, demonstrate gestures precisely, and let the child experiment. The materials can stay simple, as long as they invite the child to handle, observe, correct, and improve on their own.
What should you do if the child gets discouraged during an activity?
Offer a break, simplify one step, or return to the basic movement without doing it for them. It helps to remind the child that folding, cutting, and assembling take practice. Success often comes after several attempts, especially with 3D projects.
Ready to put this into practice? Browse our free papercraft to print and our downloadable PDF papercraft kit.