The paper workshop
Two cuts, a few folds, and the paper lifts. Start with a one-step card.
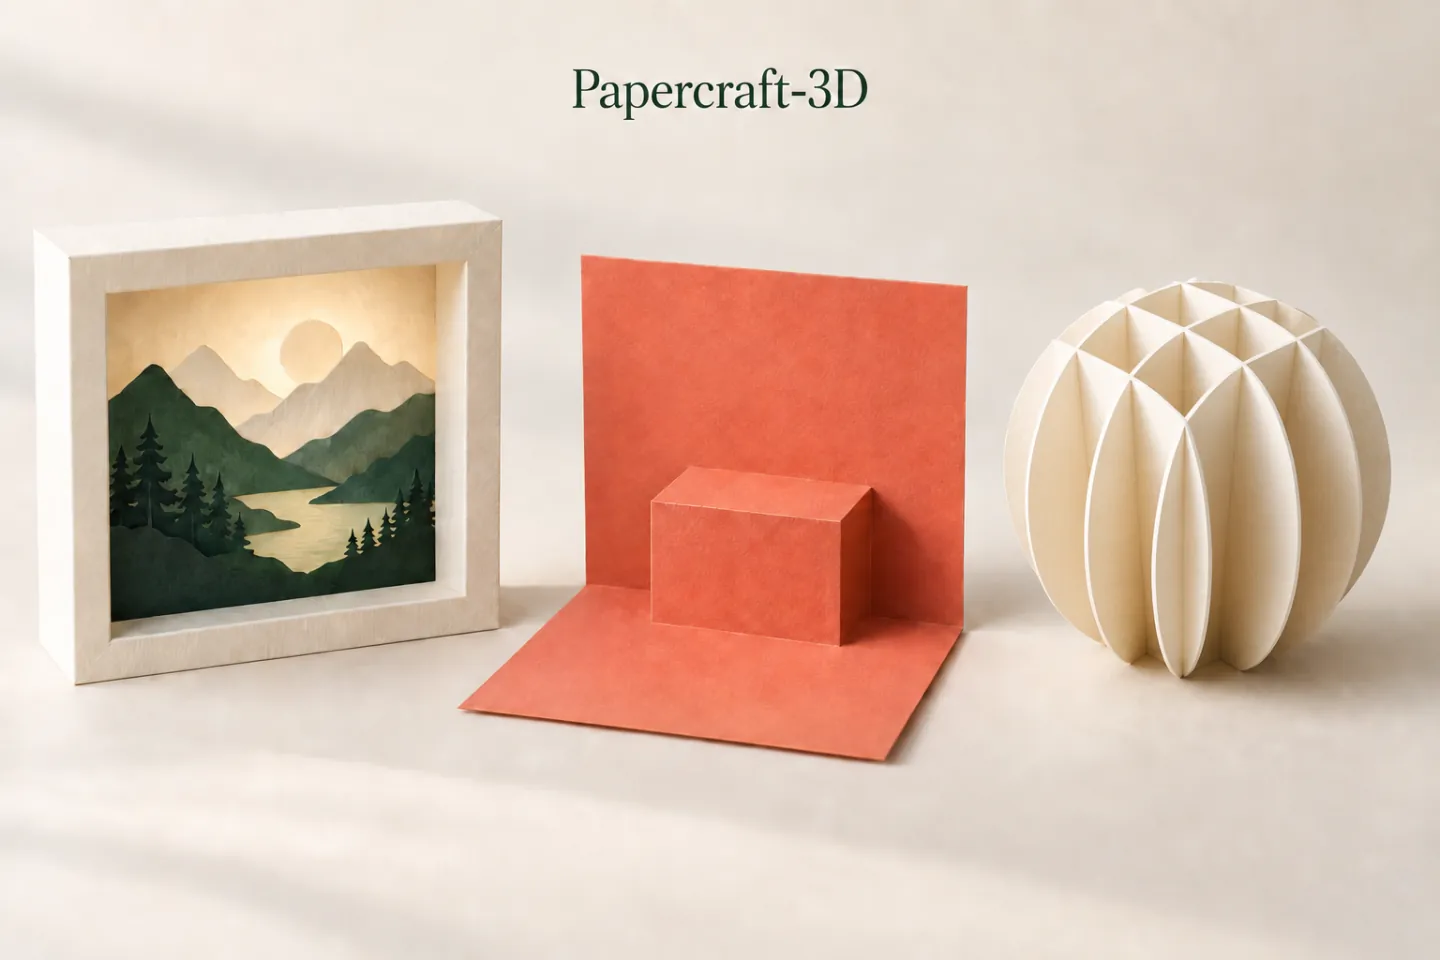
Kirigami combines cutting and folding paper to create relief. This page covers the essential basic moves before you start a simple first model: a single step to print and cut yourself.
Tell cutting lines from fold lines
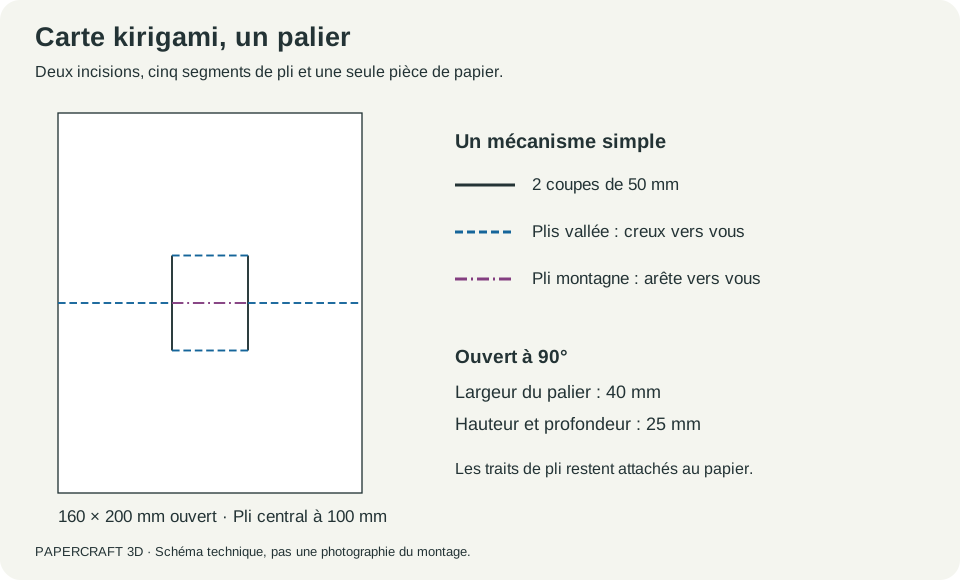
On a kirigami template, two kinds of lines almost always sit together. The cut line goes all the way through the paper and separates two areas. The fold line does not cut anything: it only marks where the paper must fold, one way or the other depending on the result you want.
Before cutting anything, locate both line types on your template. Mixing them up is the most common beginner mistake, and it is often impossible to fix once the cut is made.
Prepare the paper and cutting mat
Paper that is too thin tears easily at small motif tips, while paper that is too thick resists a crisp fold. For this one-step template, start with 160 à 200 g/m², as stated in the notes, and test the fold on a scrap. Our origami paper collection offers several weights suited to this kind of precise folding.
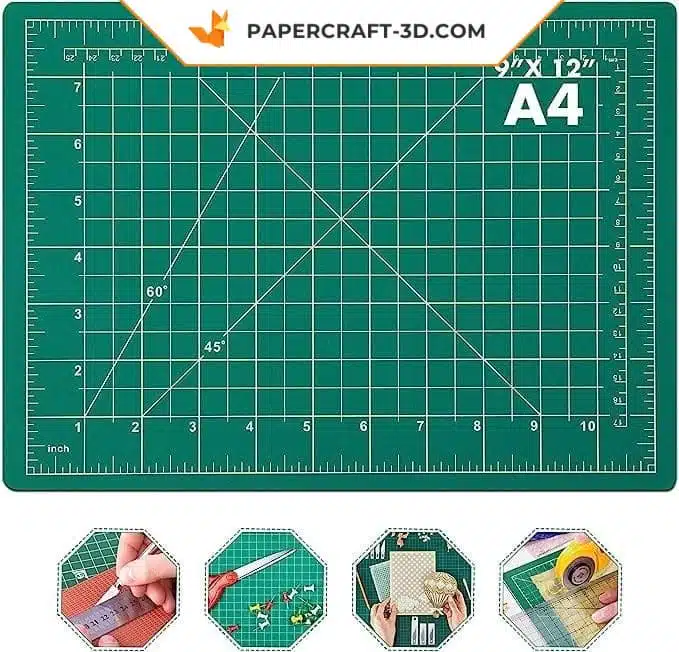
Always work on a dedicated cutting mat, never directly on a table: the blade needs to sink slightly without damaging the surface underneath.
Cut cleanly without damaging the surface
Hold the knife at an angle and make several light passes rather than one hard press: the paper cuts more cleanly and corners stay sharp. On the finest parts of the motif, slow down so you slice the paper instead of tearing it.
Score before folding
Scoring means lightly marking the fold line before you actually fold, using a non-cutting tool with a rounded tip, such as a bone folder or scoring stylus. This step makes a clean fold and stops the paper from crumpling unevenly along the crease.
The step: a first relief exercise
The PDF model on this page uses a single step: a raised tab created by two small cuts and a set of reverse folds in the centre of the card. When the card is closed, the step folds flat inside; when reopened, it pops into relief.
The mechanism looks simple, but the fold order must be exact. For the full step mechanics, exact measurements and the sequence to follow, see our page on the kirigami pop-up card and its raised step.
Adapt the technique to age
Can a child cut this model alone?
With round-tipped scissors and a simplified motif, a child can join the folding steps fairly easily. Fine cuts with a craft knife, however, need an adult, especially on short incisions and tight corners.
Which tools are best to start with?
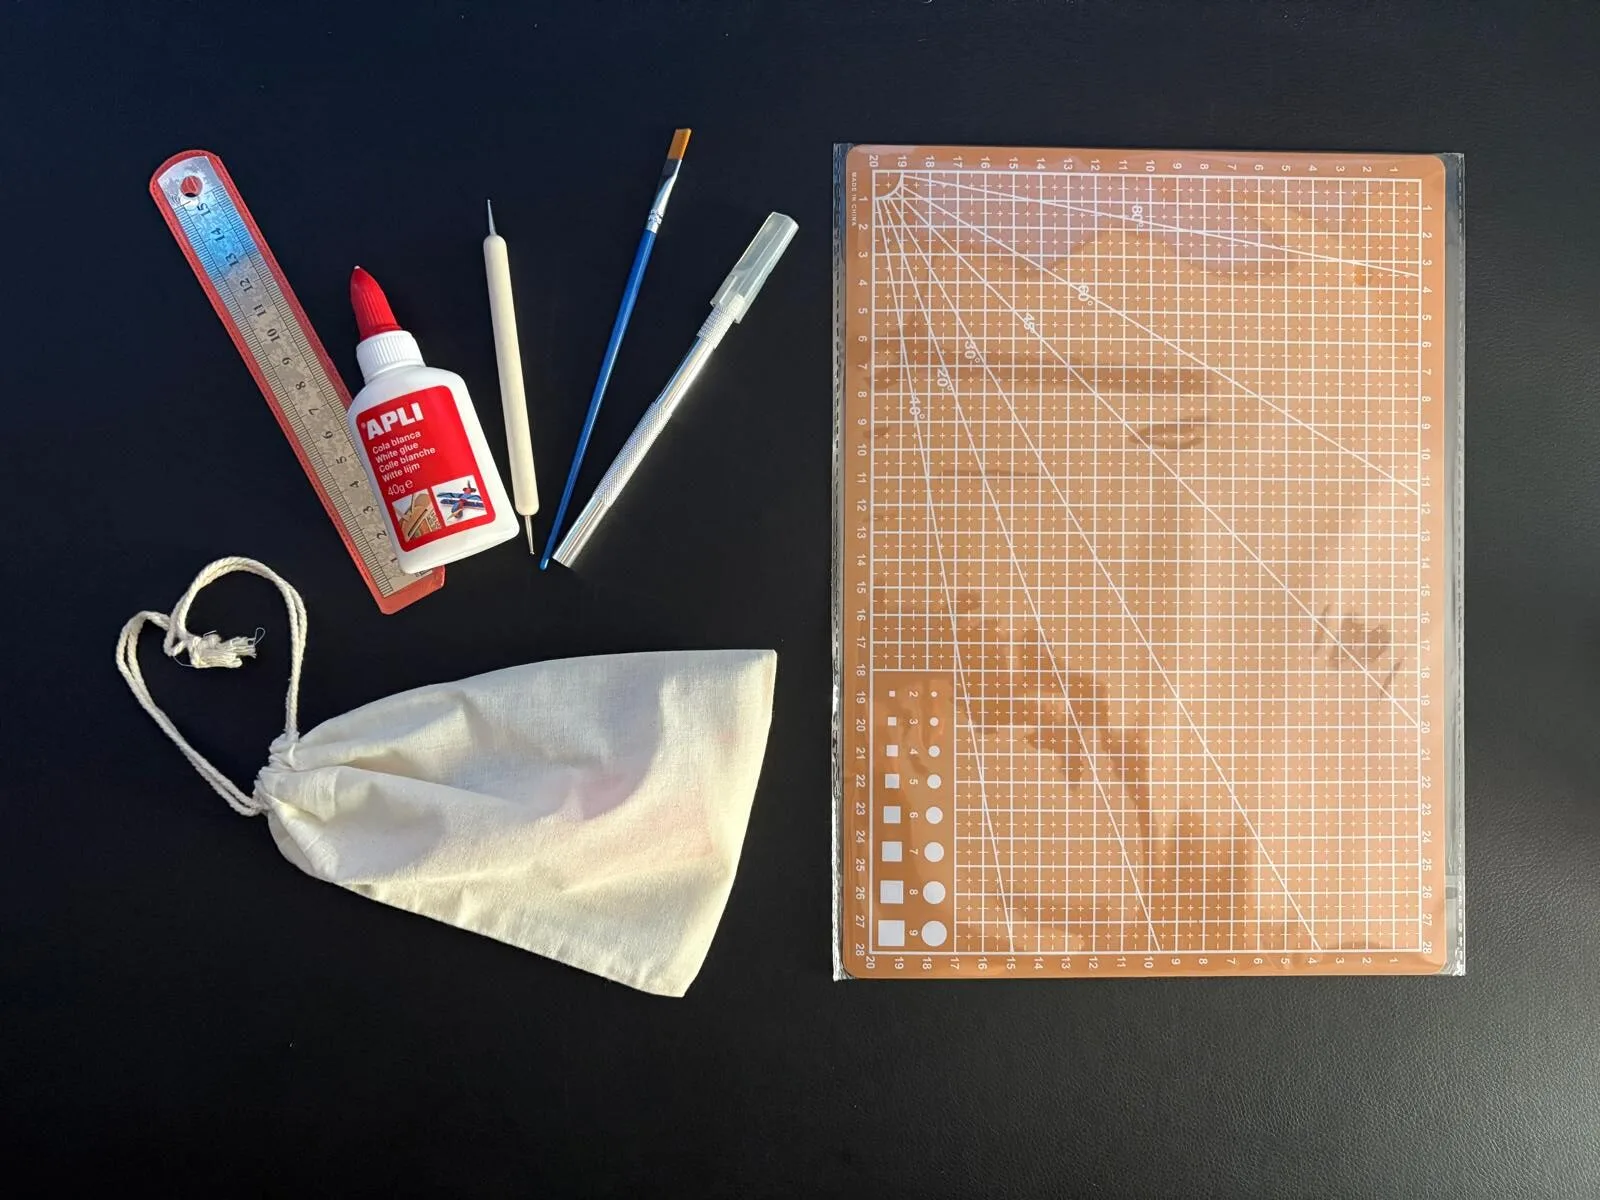
A fine craft knife with a fresh blade, a metal ruler for straight lines, and a cutting mat are enough for most first models. You will find these tools in our papercraft accessories collection.
To go further into broader kirigami uses, our article kirigami, the art of paper cut and folded in 3D adds to this practical introduction.